Landed Cost
Landed Cost
Landed cost can be defined as the total price of a product that a buyer should pay at the time of purchase. This includes transport, customs duties, handling fee, service charge, shipments, and many more. To get the selling price of the product, these additional costs are added to the actual price of the product. Based on the company policies, the method of calculation of the landed cost will be different in different companies. In the Odoo Inventory module, you can calculate the landed cost and split them between each quantity of the product to update their selling price.
Go to the Settings menu to activate the Landed Costs option as shown in the image below.

Activating this feature will assist you to implement customized landed costs on products. In order to understand the operations of the landed cost, you can first create a purchase order for some products from the same product categories and confirm the order. You can set landed costs for products whose costing method is configured as AVCO or FIFO. The inventory valuation of such products should be automated. This is the mandatory condition for landed cost that you should take into account before configuring it.
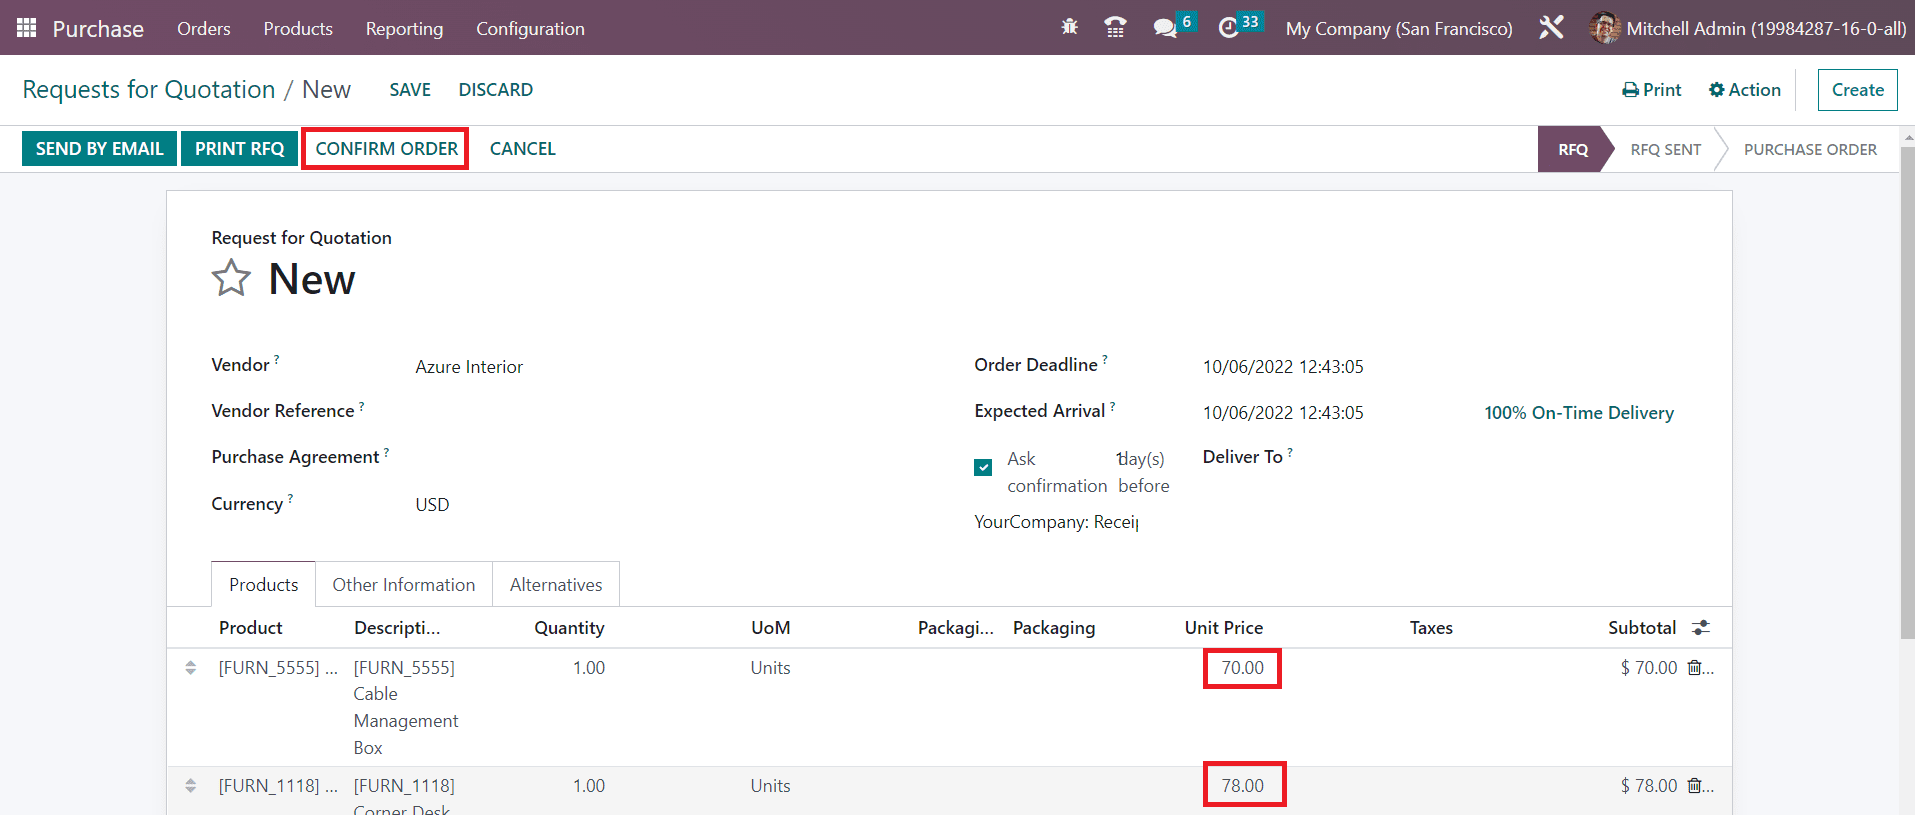
The Unit Prices of the products while purchasing them can be observed under the Products line. Clicking on the Confirm Order button will confirm your purchase. Now, you can receive the products in your inventory.
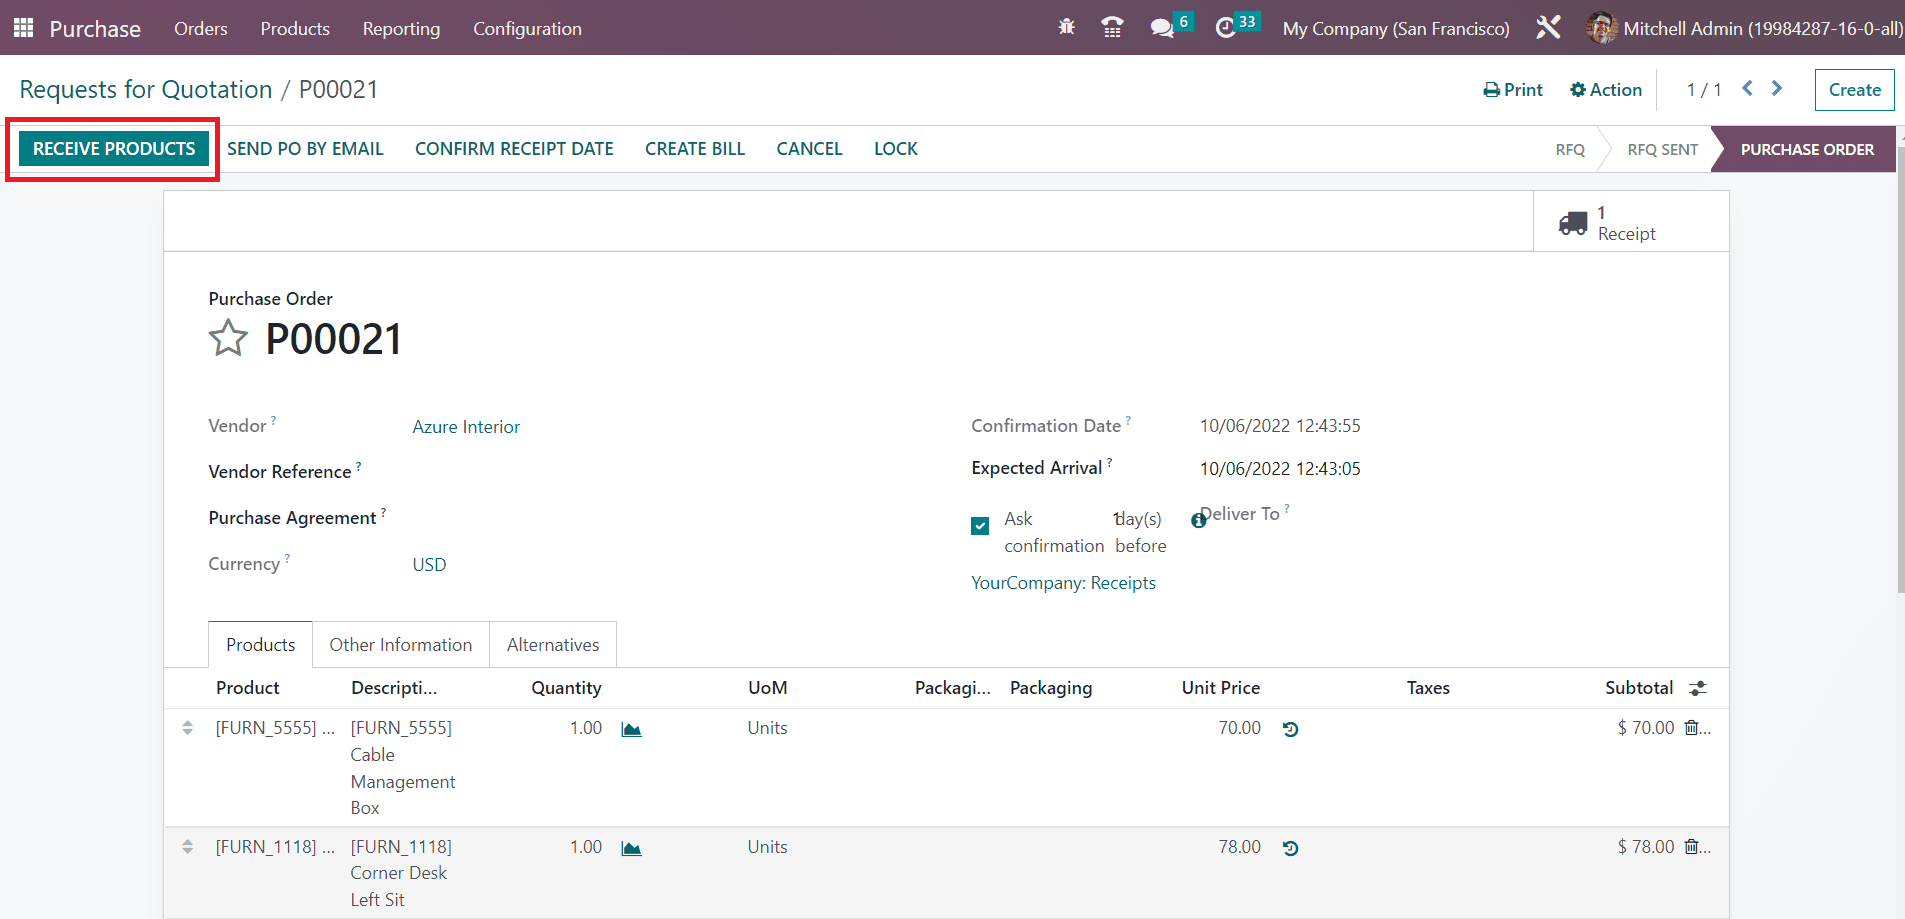
Clicking on the Receive Products button will add these products to your inventory records.
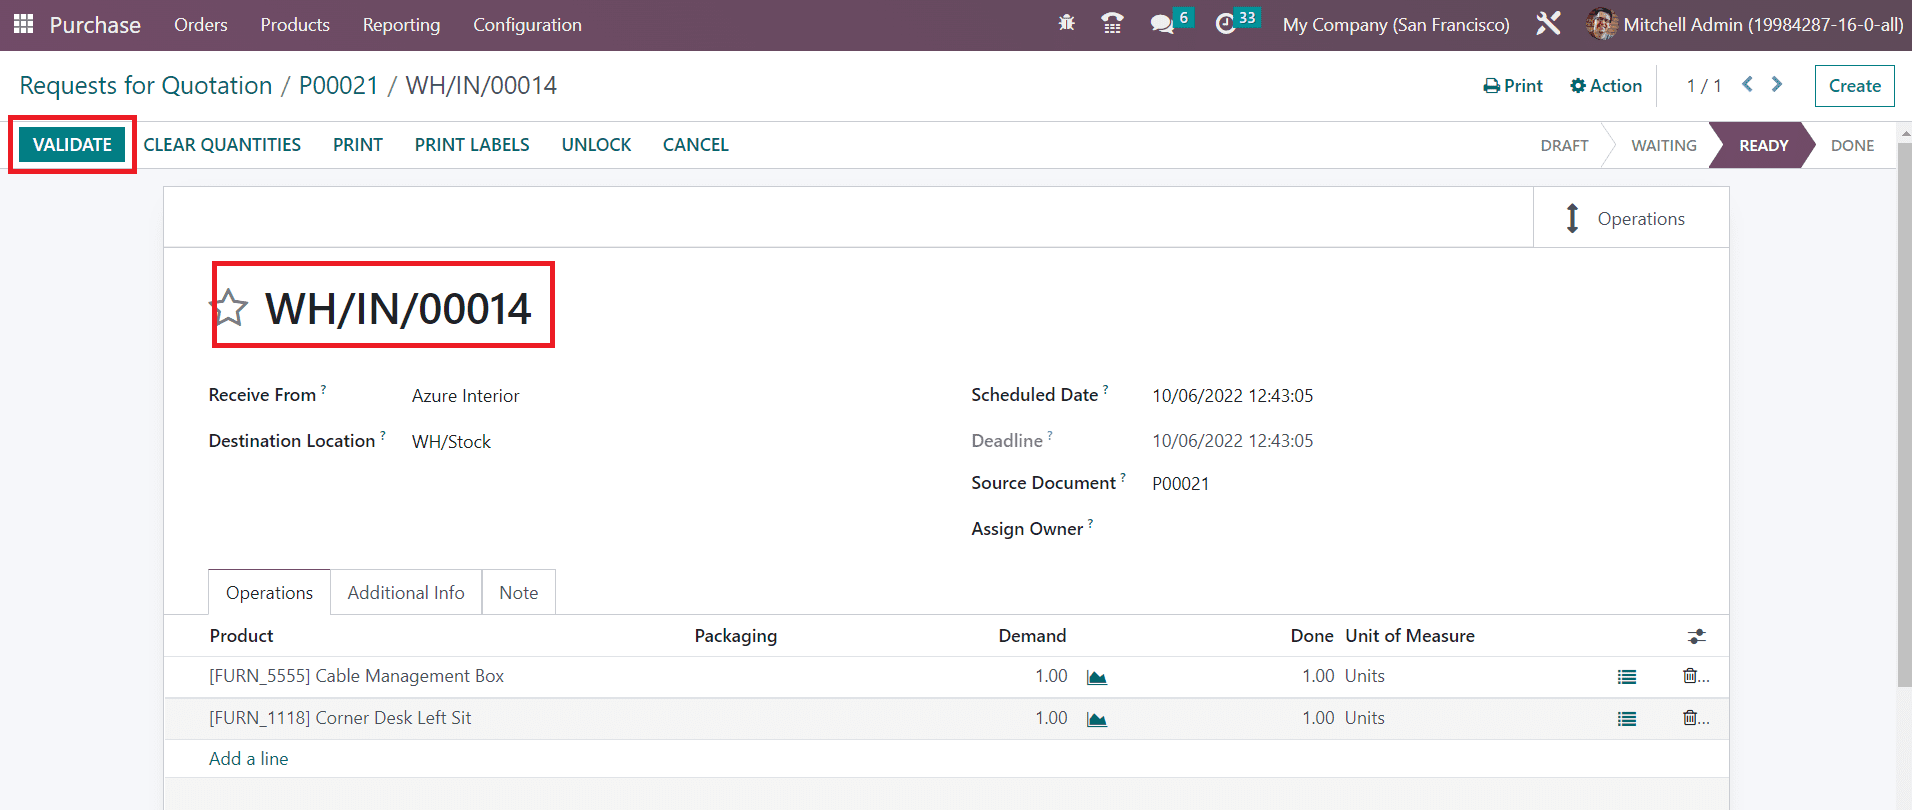
You can validate the transfer of the products by clicking the Validate button. Now, the purchased products are stocked in the destination location mentioned in the receipt. You can add landed costs to these products while selling them. Imagine, while moving these products to the destination location, you spent some money on the transfers. You can add your lost money on transfers to the products as an additional charge. With the help of the landed cost feature in Odoo Inventory, you can create additional charges for the products. For this, go to the Operations menu of the Inventory module. You can find the Landed Costs platform there as shown in the image below.

The details of the already created landed costs can be obtained from this window. Using the Create button, you can create a new landed cost.
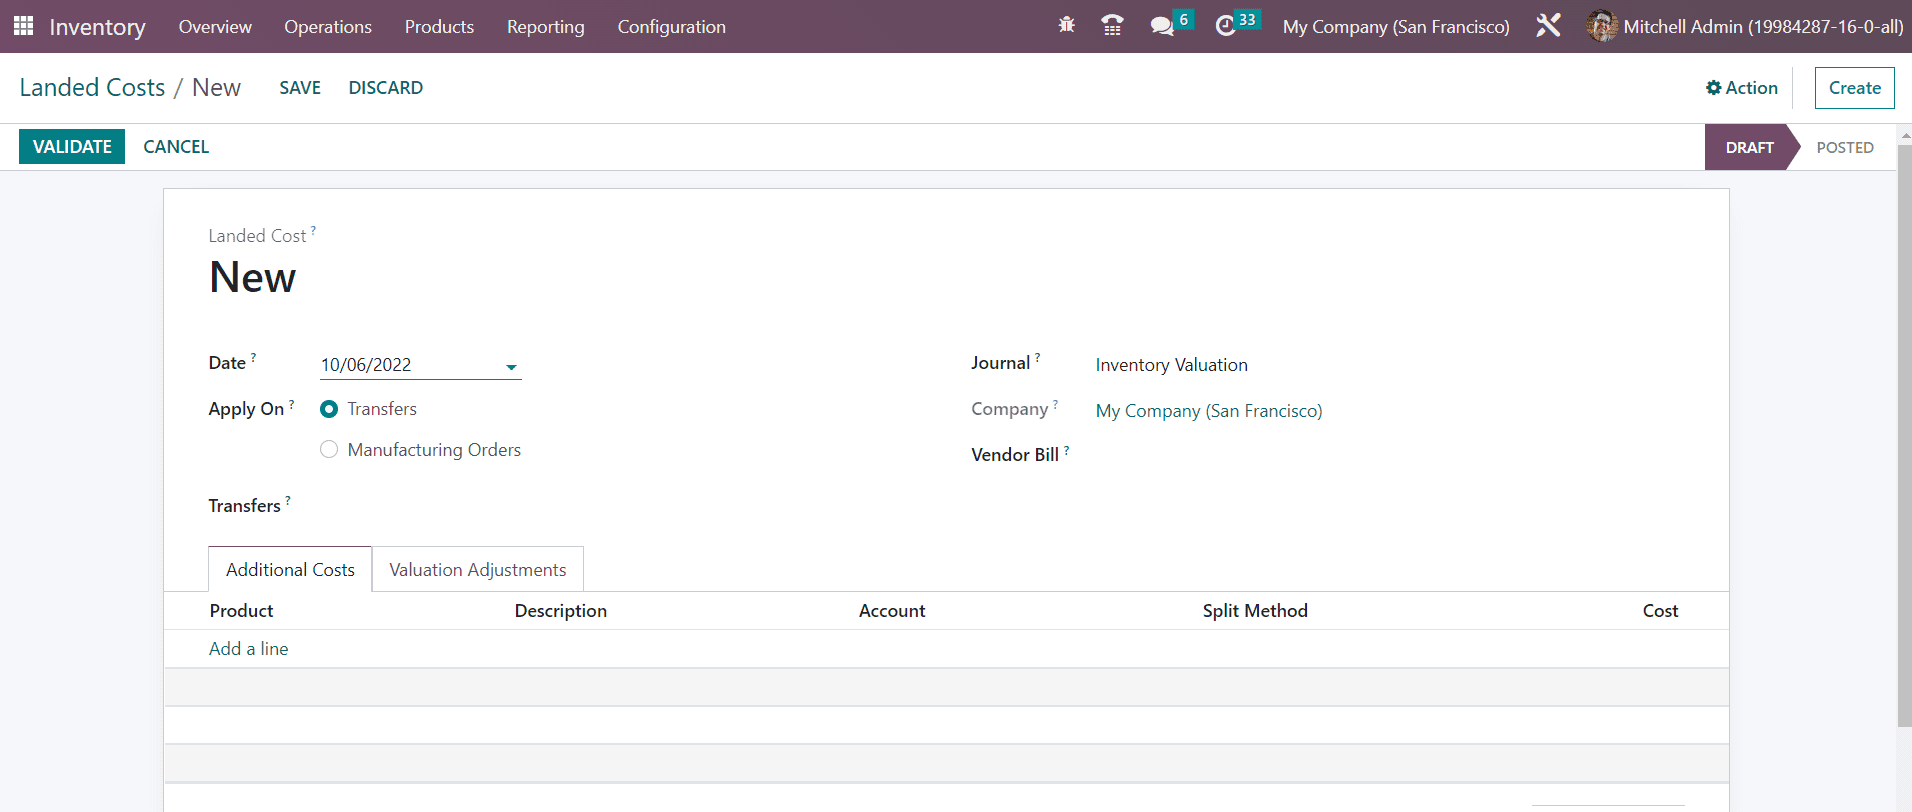
Here, you will get the Date of creation in the respective field. You can set the new landed cost on Transfers or Manufacturing Orders. In the Apply On field, we can select Transfers since we want to add landed costs for transfers. You can mention the id of the receipt that we created earlier in the Transfers field. The Journal, Company, and Vendor Bill of the products can be specified in the corresponding fields. Under the Additional Costs tab, you can mention the additional costs using the Add a Line button.
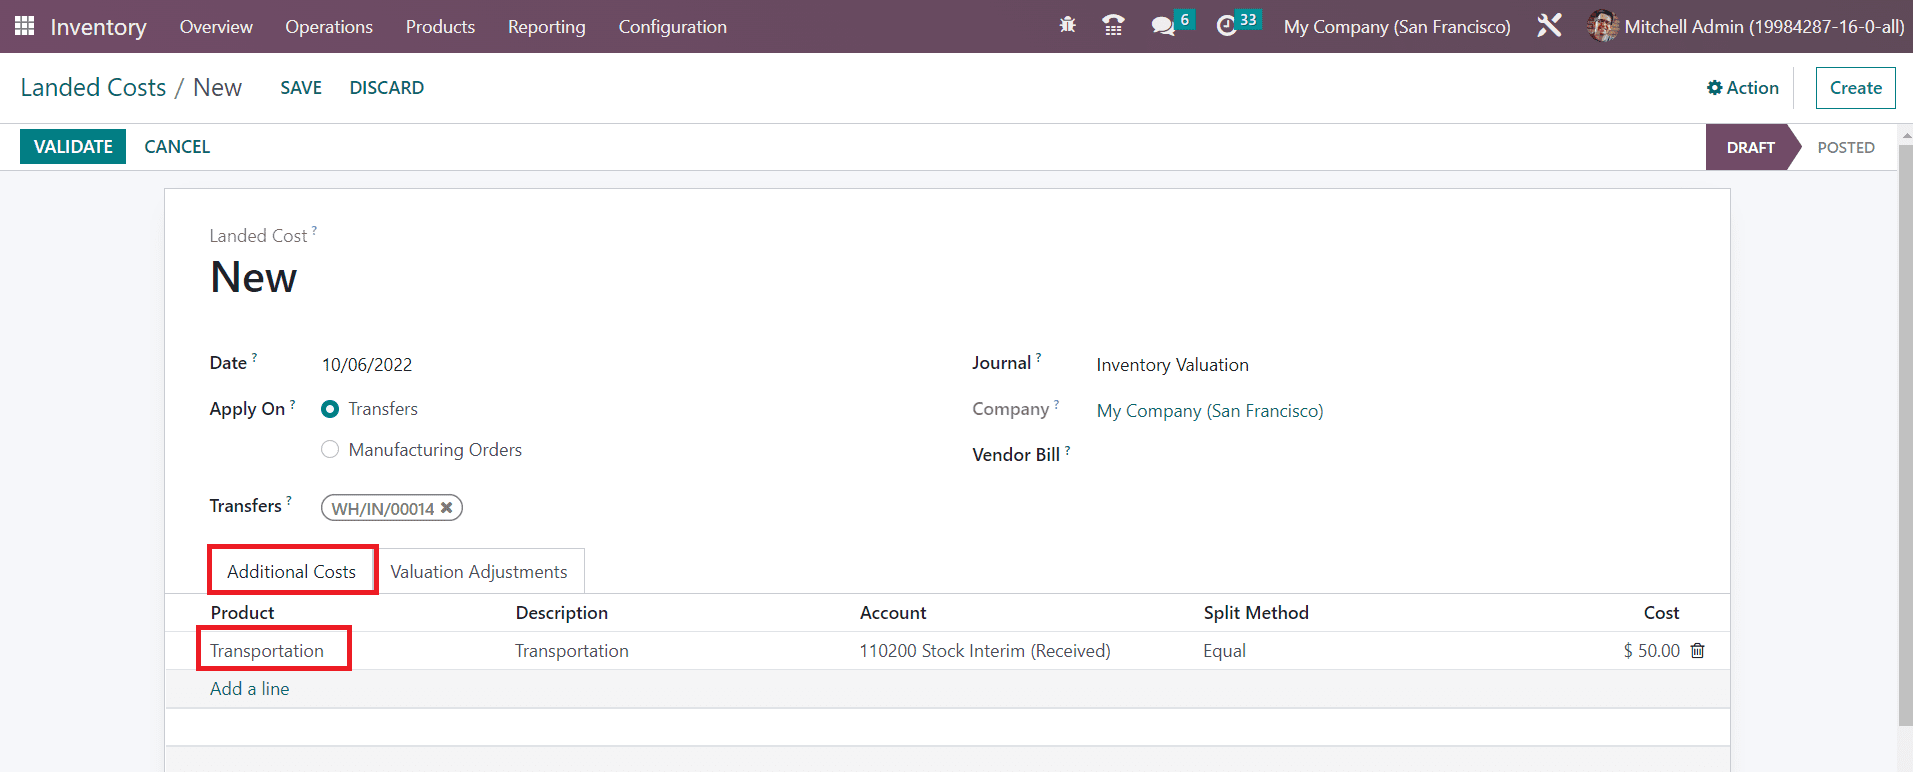
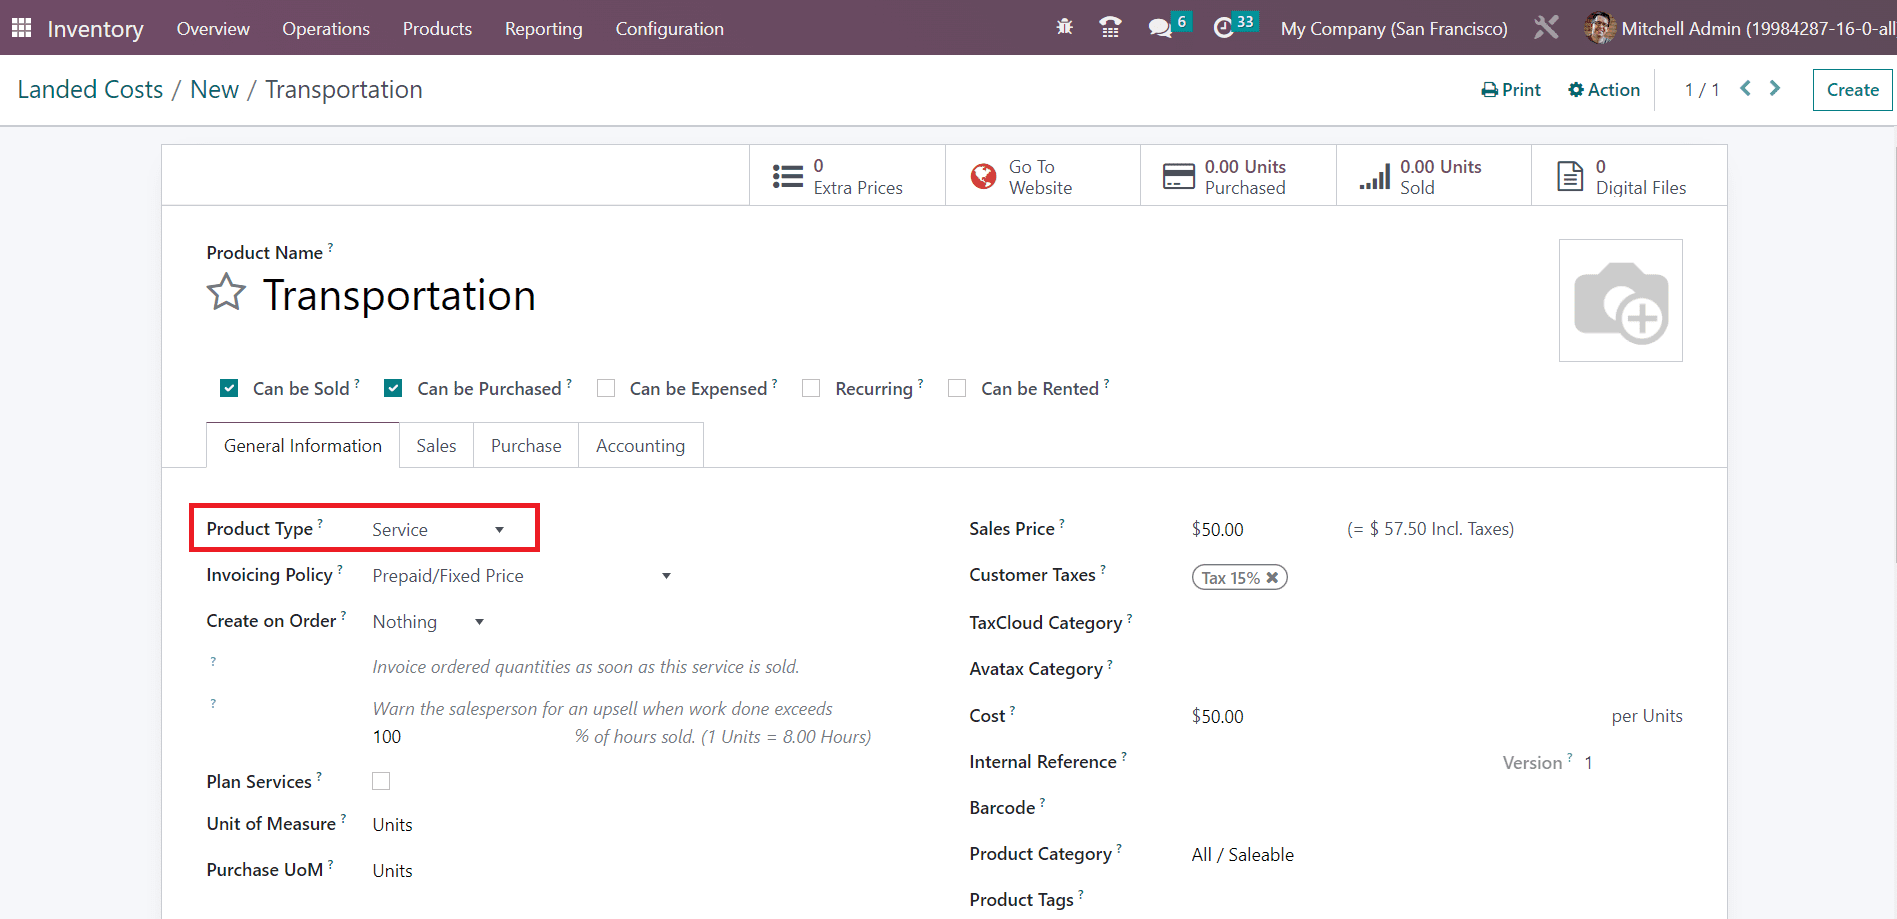
Here, we mentioned Transportation as an additional cost. While configuring Transportation as the additional cost, don’t forget to save it as a service product as shown in the image below.
After mentioning the Product, Description, and Account details, you can select the suitable Split Method.
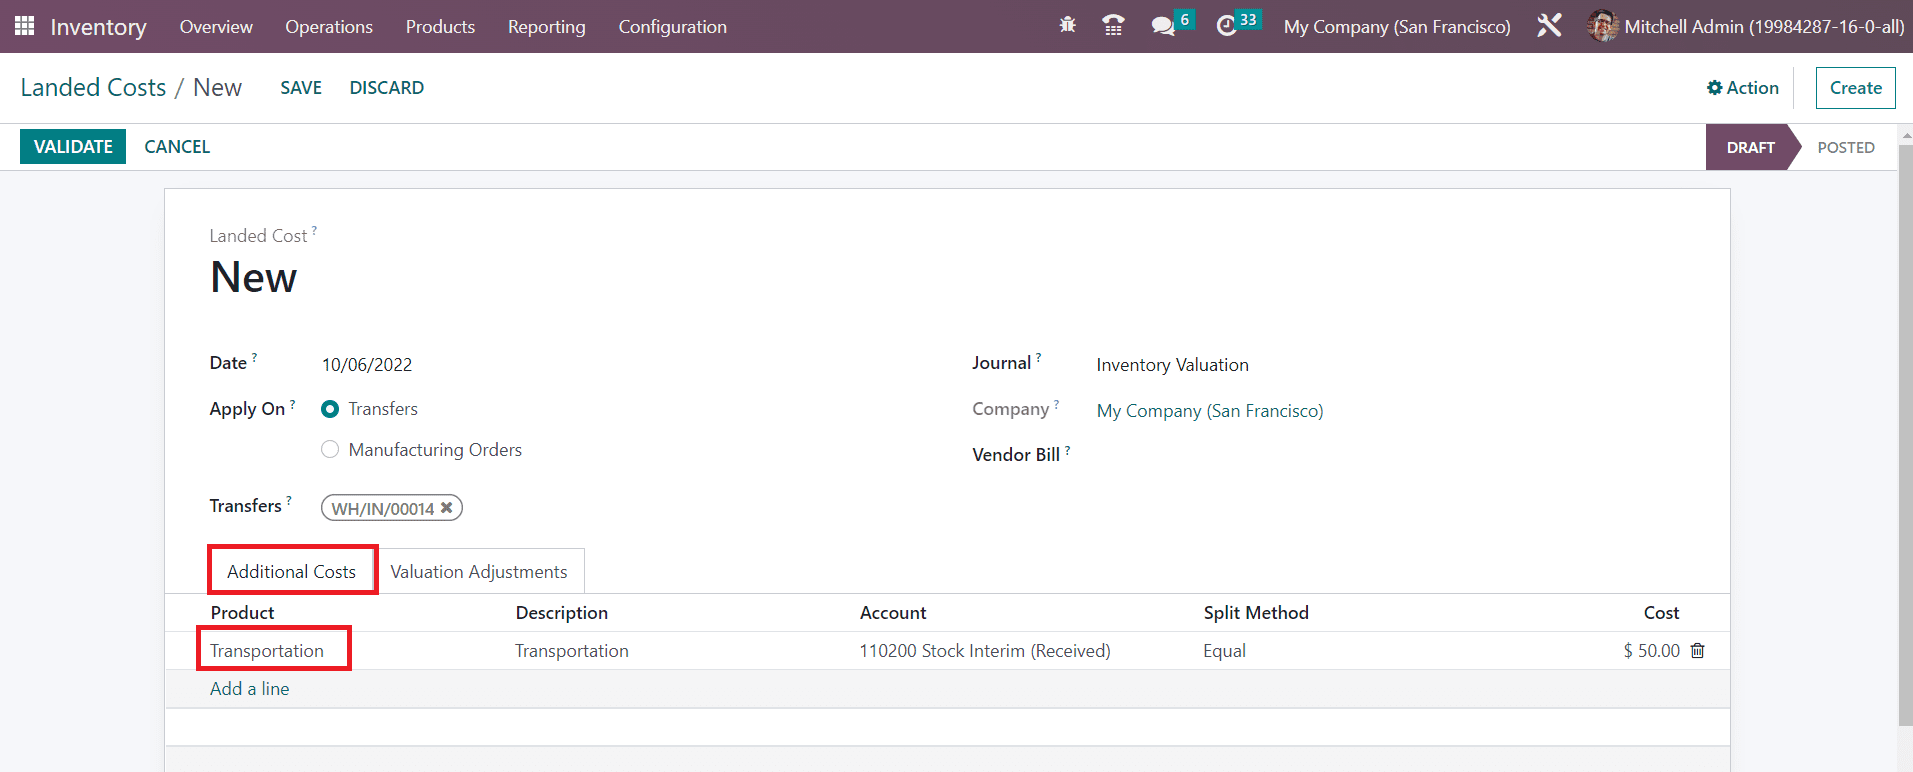
The Split Method will decide how to split this landed cost to the products mentioned in the transfer receipt. It can be set as Equal, By Quantity, By Current Cost, By Weight, and By Volume as per your company policy. We can select the split method as Equal in this case. Now, you can validate the landed cost using the Validate button.
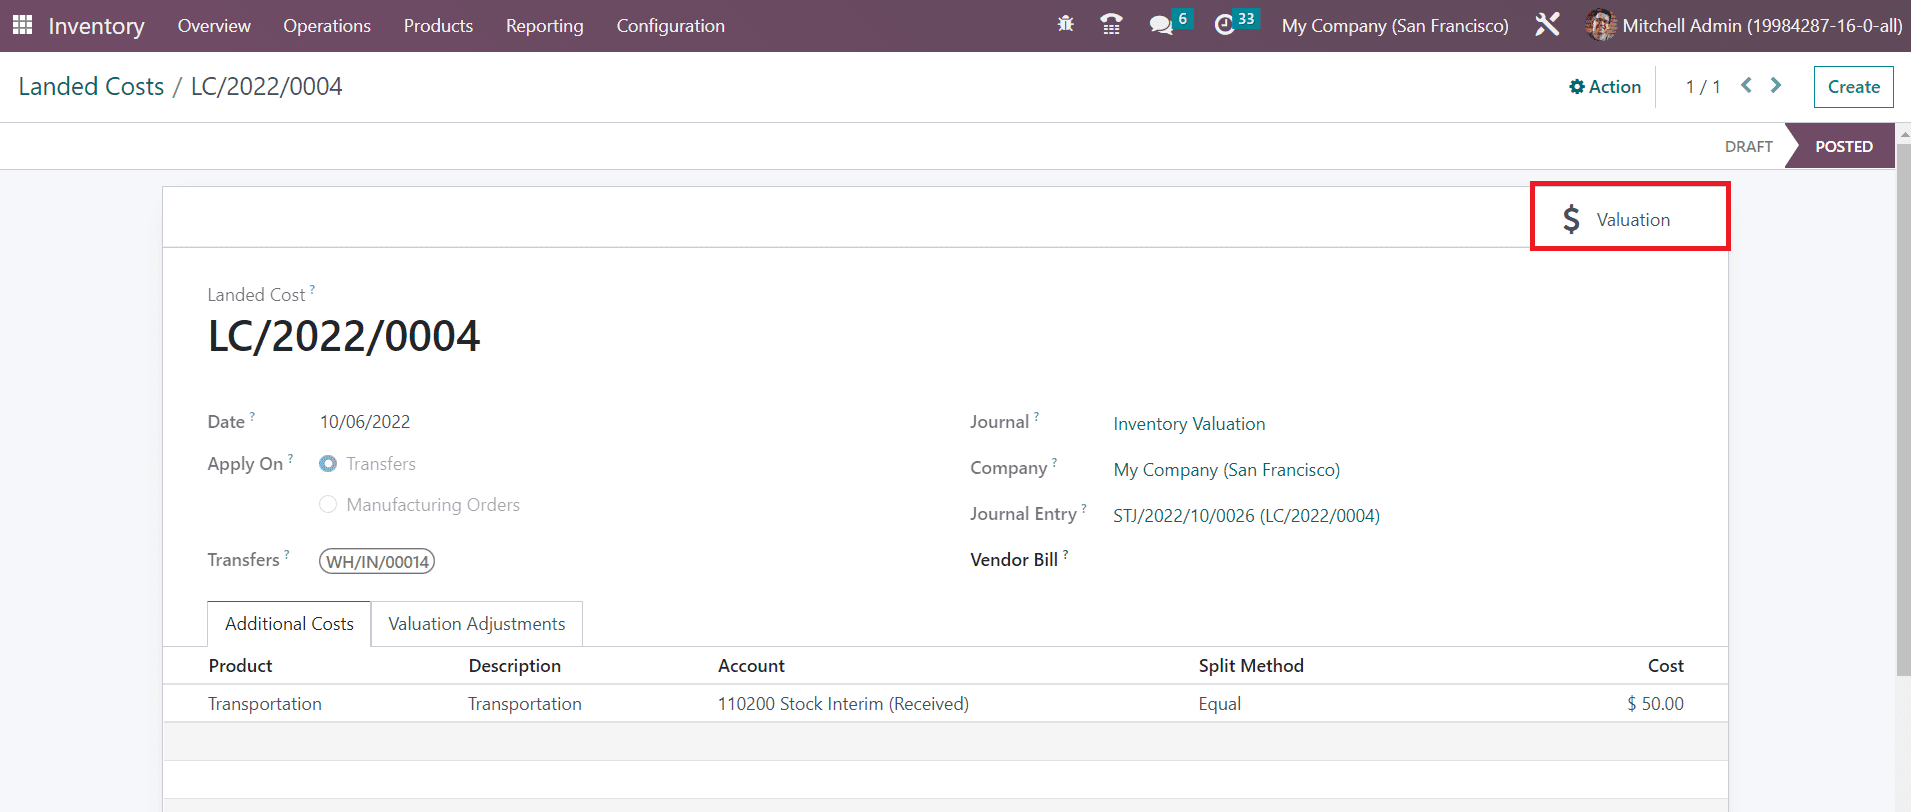
The smart button Valuation will give the valuation details of the landed cost. As shown in the screenshot below, you can observe that the landed cost is equally distributed to the products included in the particular receipt.

This cost will be added to the selling price of the products. Using this method, you can create landed costs for your products and increase your sales profit.
Last updated