ACCOUNTING
#Odoo16
ACCOUNTING
video tutorial: https://drive.google.com/drive/folders/12wO0Q8zDAIH3e8LeIyl5J6cTfHJUV0NL?usp=drive_link Note: Only people in the work environment can access it with work email.
Accounting is an inevitable part of any kind of business. No matter the size or type of business you run, if the financial processes are not governed and monitored in an adequate manner, you will face a drastic financial failure in the future. Managing all accounting operations manually is not a good idea since it requires lots of time and effort. The chances of error in accounting are high in the case of manual accounting management. Every financial transaction and statement done on the company's behalf should be recorded and maintained properly. The new Odoo 16 Accounting module will improve your accounting management proficiency by offering automated tools and reporting systems.
Automated recording of payments, receipts, vendor bills, customer invoices, and other financial transactions is ensured by Odoo. It allows for bill reconciliations with banks and synchronizes your bank statements with your bank accounts automatically. You can effortlessly generate accounting reports of a particular time period and compare the performance to analyze workflow. Odoo streamlines all actions related to accounts payable and accounts receivable thereby evading the cash flow issues to enrich cash management. Odoo accounting module provides multi-currency support to businesses so that you can make transactions hassle-free with other countries.
In this chapter, we will describe all available features in the Odoo 16 Accounting module. When you click on the Odoo Accounting module from your main dashboard, Odoo will lead you to the accounting dashboard of the module as shown in the image below.
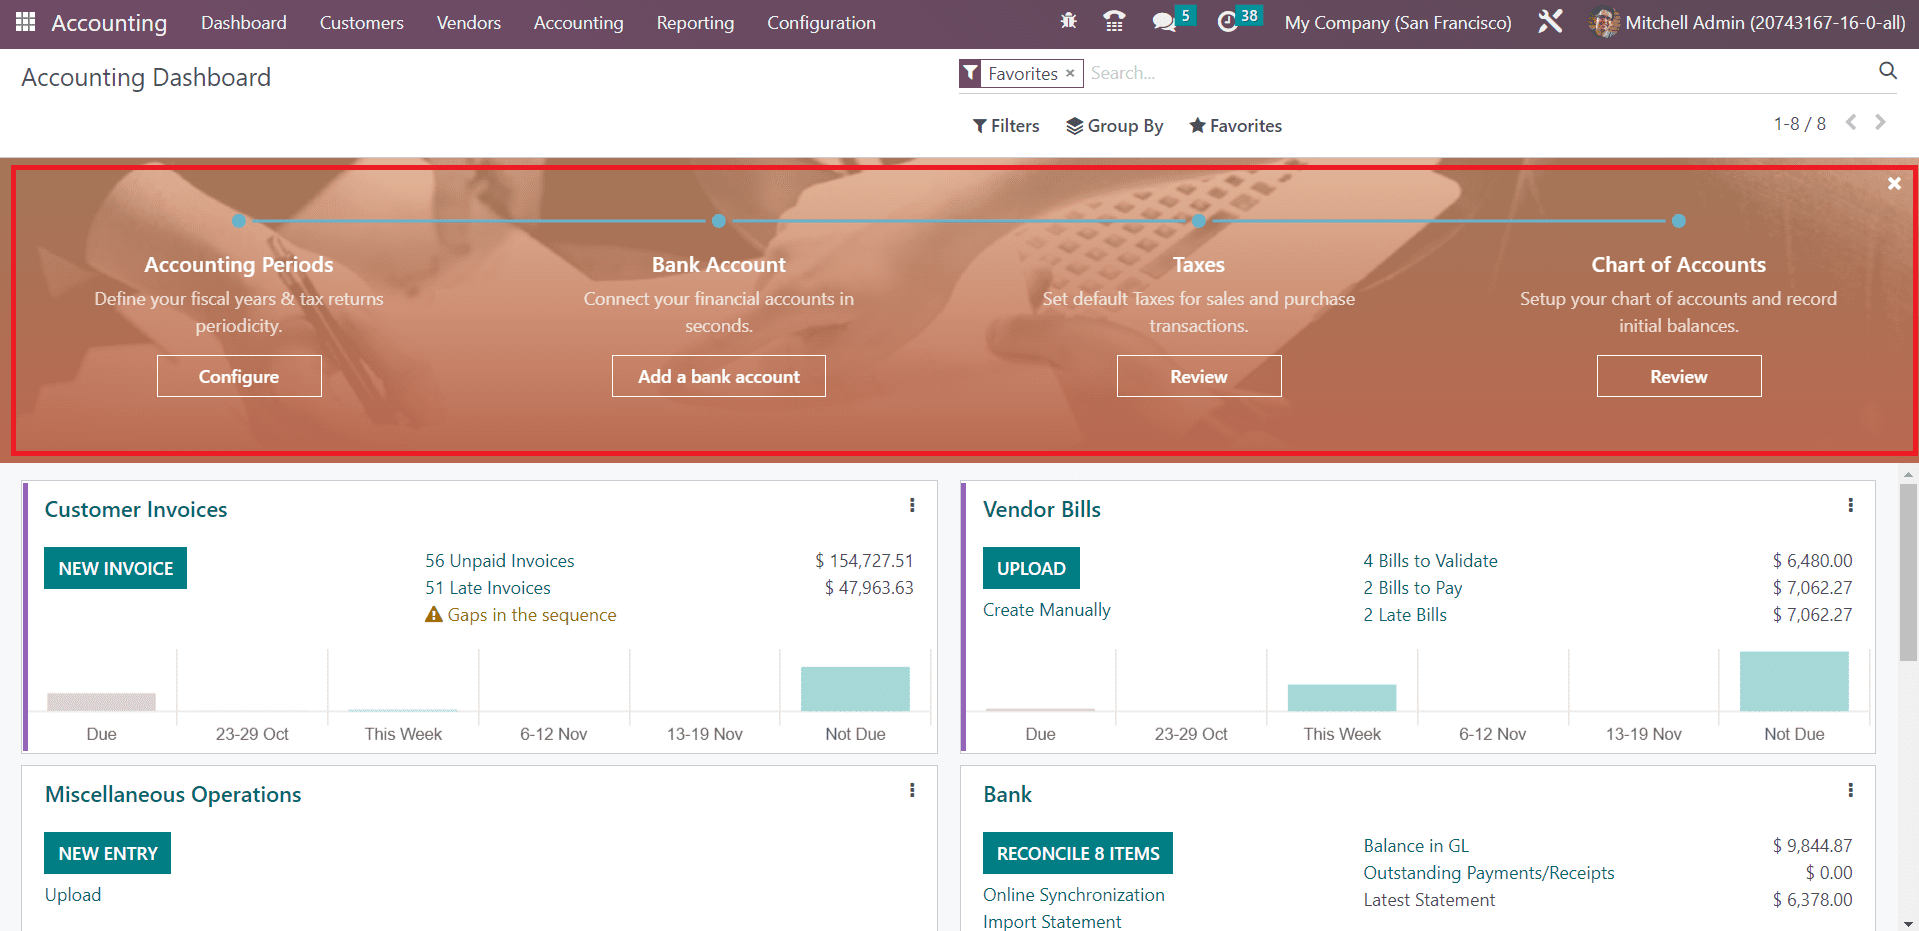
This is the image of the Accounting Dashboard of the module. Here, you will get a configuration panel where you can set Accounting Periods, Bank Accounts, Taxes, and Chart of Accounts step by step before starting any accounting operations.
Initially, let's define the fiscal year and tax return periodicity in the Accounting Period section. Defining the accounting period is essential for any kind of accounting management operation. Click on the Configure button and Odoo will open a new pop-up window where you can mention the Fiscal Year and Tax Return period.

The date from which accounting is managed in Odoo can be seen in the Opening Date field. It is the date of the opening entry. Mention the Fiscal Year End in the respective field. The last day of the month will be used if the selected date doesn't exist. In the Tax Return field, you can specify the Periodicity, Reminder, and Journal in the corresponding field and click on the Apply button. We have configured the Accounting Period and you can see that on the screen as the Step Completed.
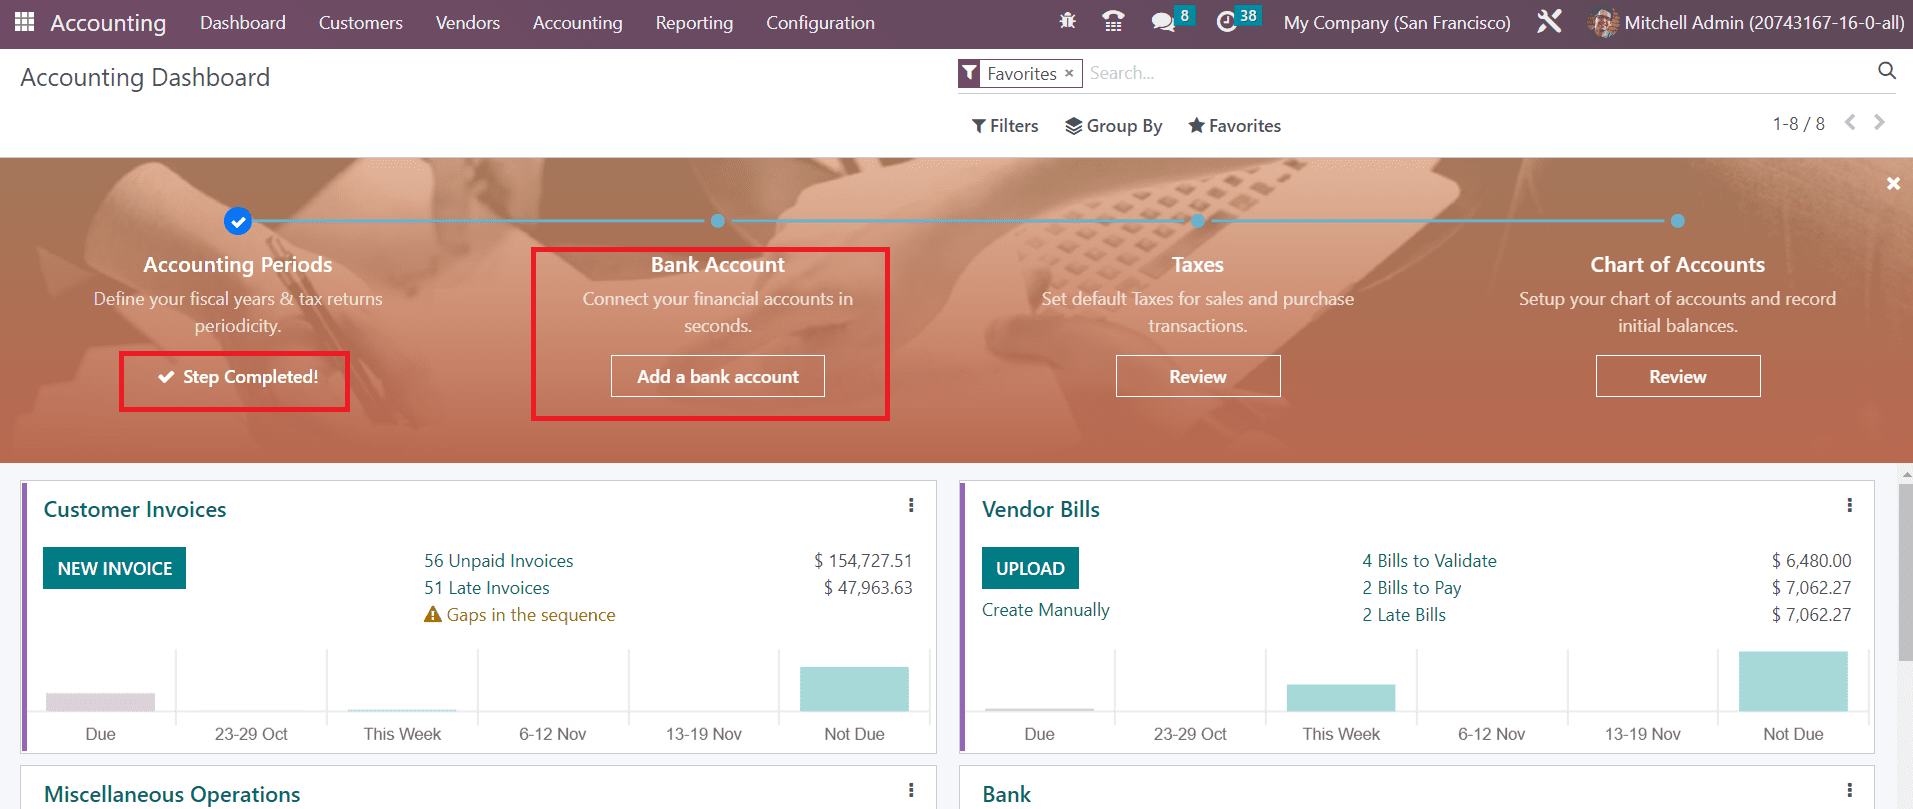
Now, let’s move to the next step which is the configuration of the Bank Account. You can connect your bank account with the Odoo Accounting module within seconds by using the Add a Bank Account button. A pop-up window will appear on the screen with the list of banks from where you can select your bank and account type.
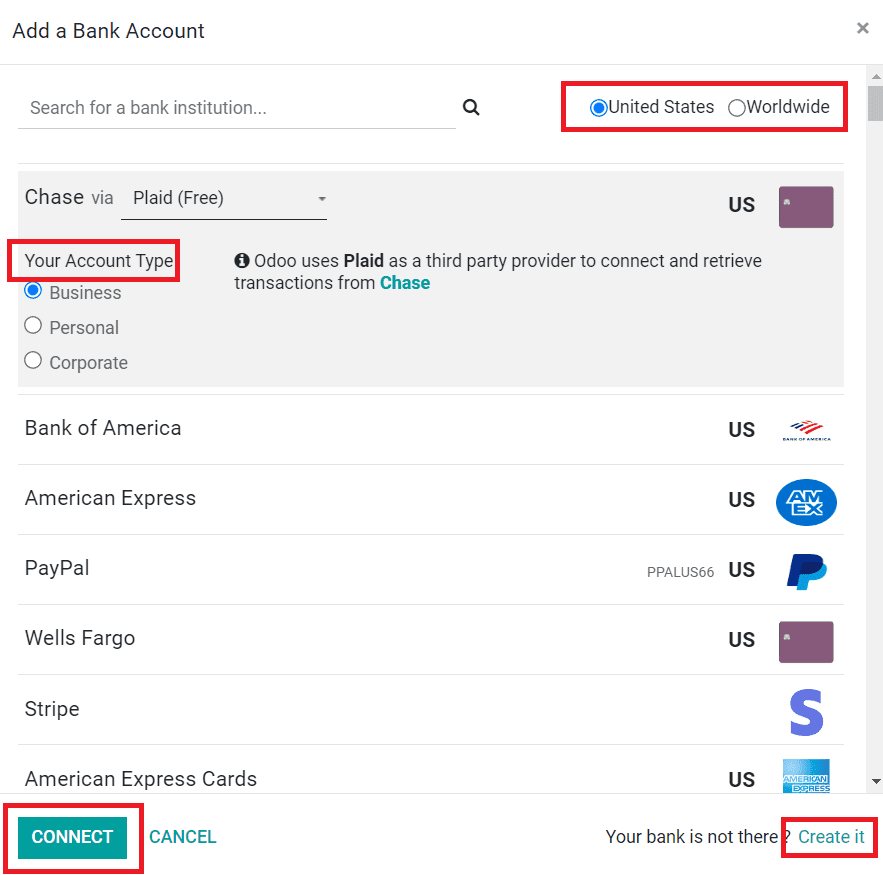
The screenshot given above shows the list of banks available in the United States region. You can use the filter Worldwide to get the list of banks available worldwide. After selecting the account, you can click the Connect button to connect with your account. If your bank is not available in the list, you can click the Create it button.

Here, you can specify your Bank Account Number, Bank, Bank Identifier Code, and Journal. Click the Create button and configure your account with the Odoo Accounting module. You can also add bank accounts to the Accounting module by using the Add a Bank Account option from the Configuration menu. To synchronize your bank account with the Odoo Accounting module, you can use the Online Synchronization button available in the same menu.
Now, you can set default taxes for the sales and purchase transactions.
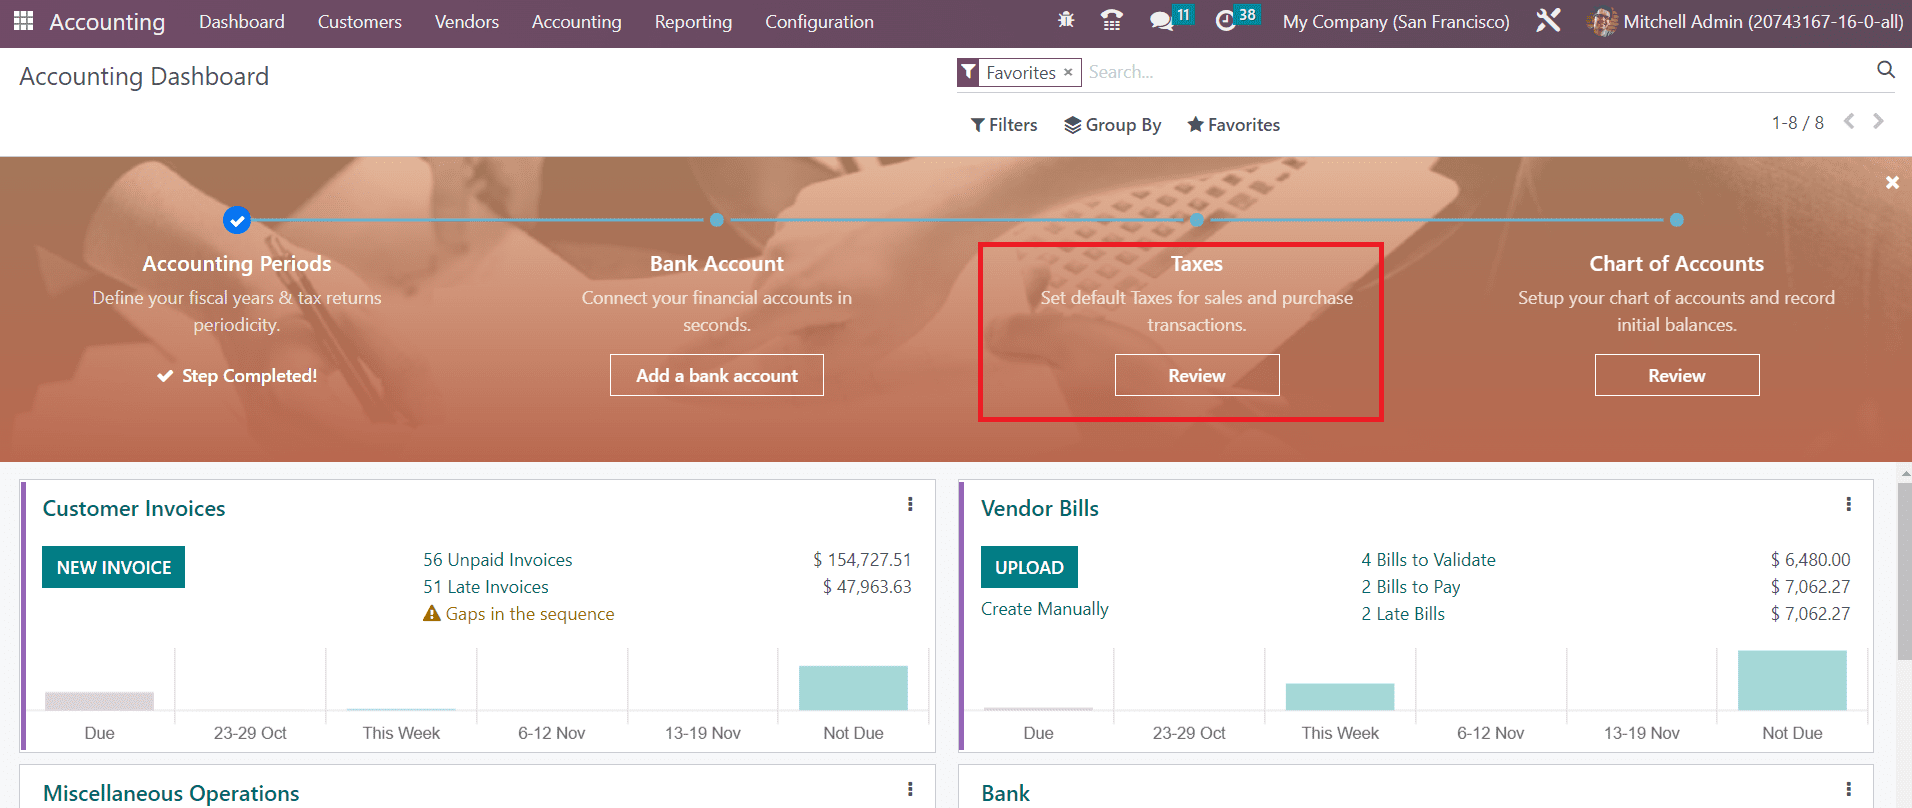
Click on the Review button. You will get the list of already available taxes in the Accounting module as shown below with the details of the Tax Name, Tax Type, Tax Scope, Label on Invoices, and Company.

If you want to create a new tax for transactions, you can use the Create button. Using the Active button, you can activate the taxes and set them as default options for your sales and purchase operations.
The last option available in the Configuration Panel is the Chart of Accounts.
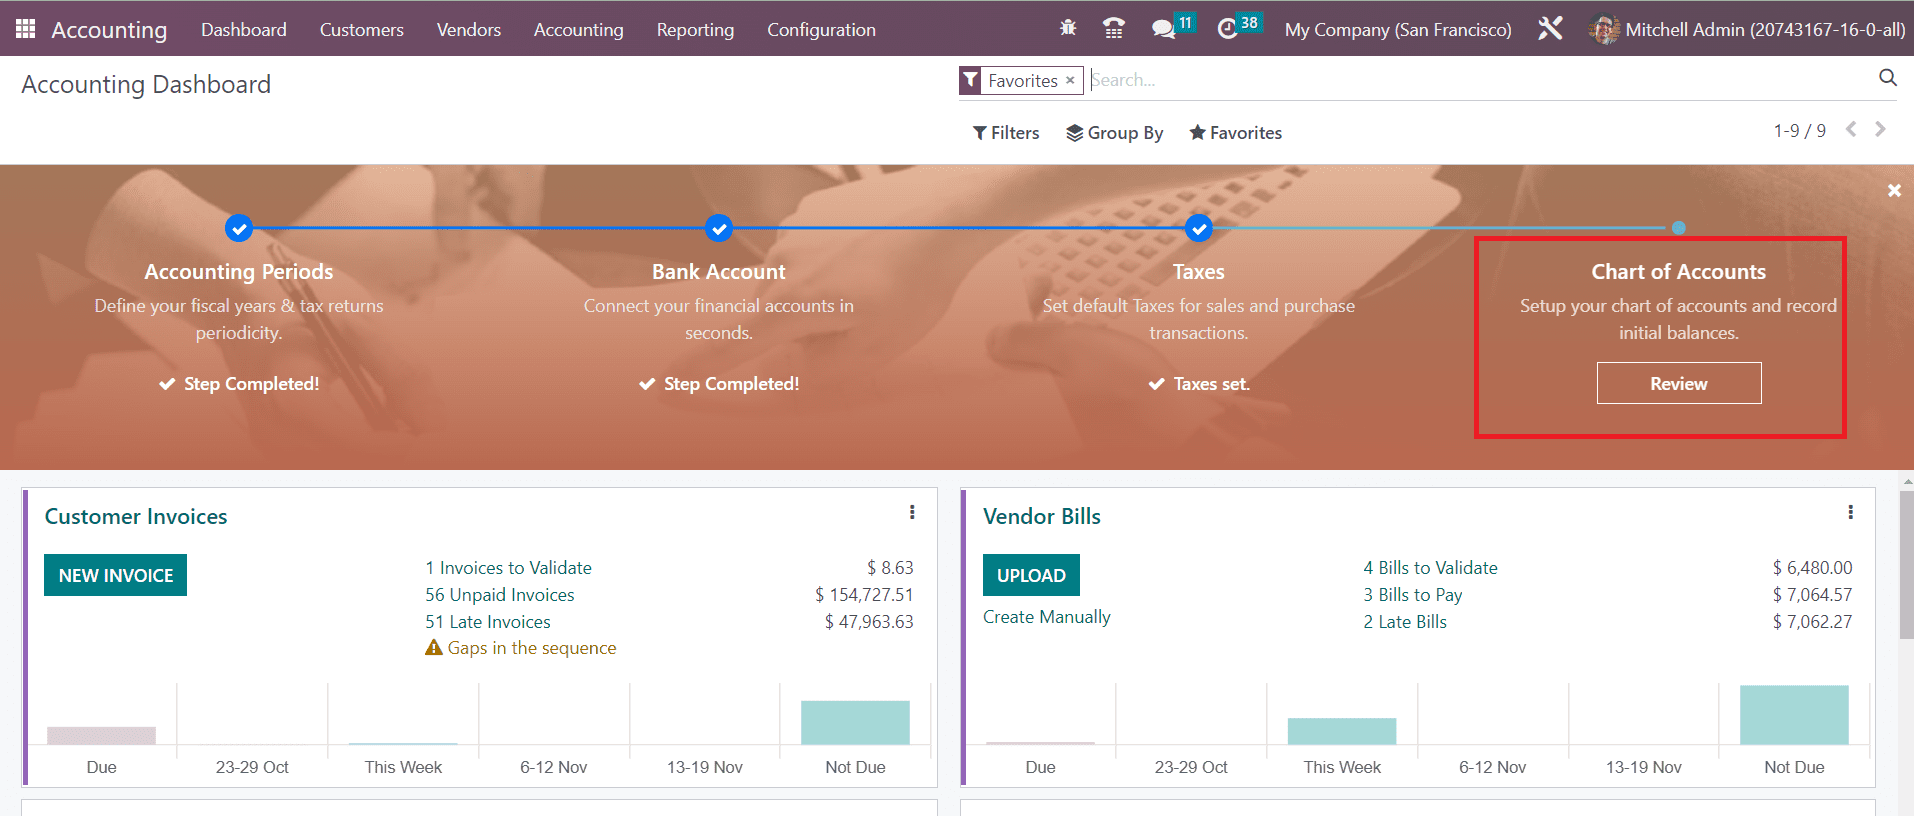
Click the Review button to set up your chart of accounts and record the initial balances.
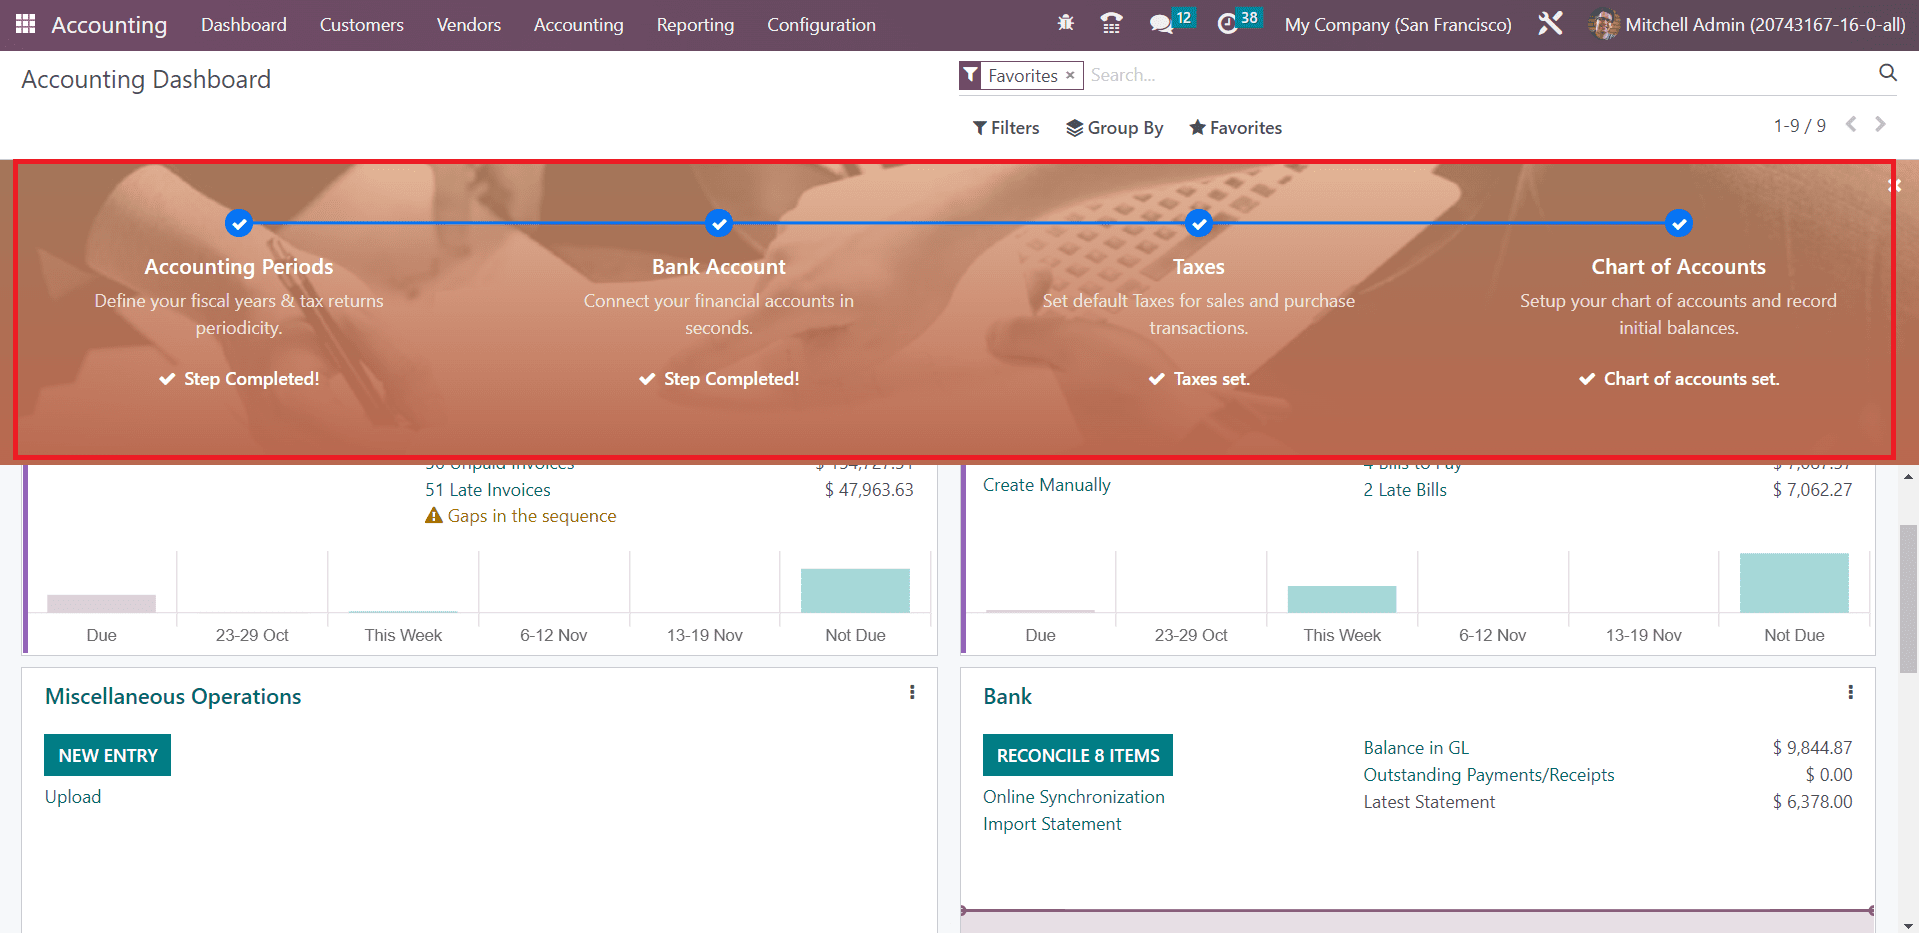
The Accounting dashboard gives a preview of all major operations available in the module. You can manage Customer Invoices, Vendor Bills, Miscellaneous Operations, Bank, Cash, Point of Sale, Expenses, Exchange Difference, Cash Basis Taxes, Inventory Valuation, Salaries, and many more from the dashboard itself. Corresponding operation tools will be available for each accounting operation tab. You can use Favorites, Sales, Purchases, Liquidity, Miscellaneous, and Archived as default Filters. It is possible to use the customizable group by and filter options to organize data available in the accounting dashboard.
It is possible to view and create new data in a journal from the dashboard itself. For this, you can use the three vertical dots available on each journal entry. Here, let’s look at the options available in the Customer Invoices journal.
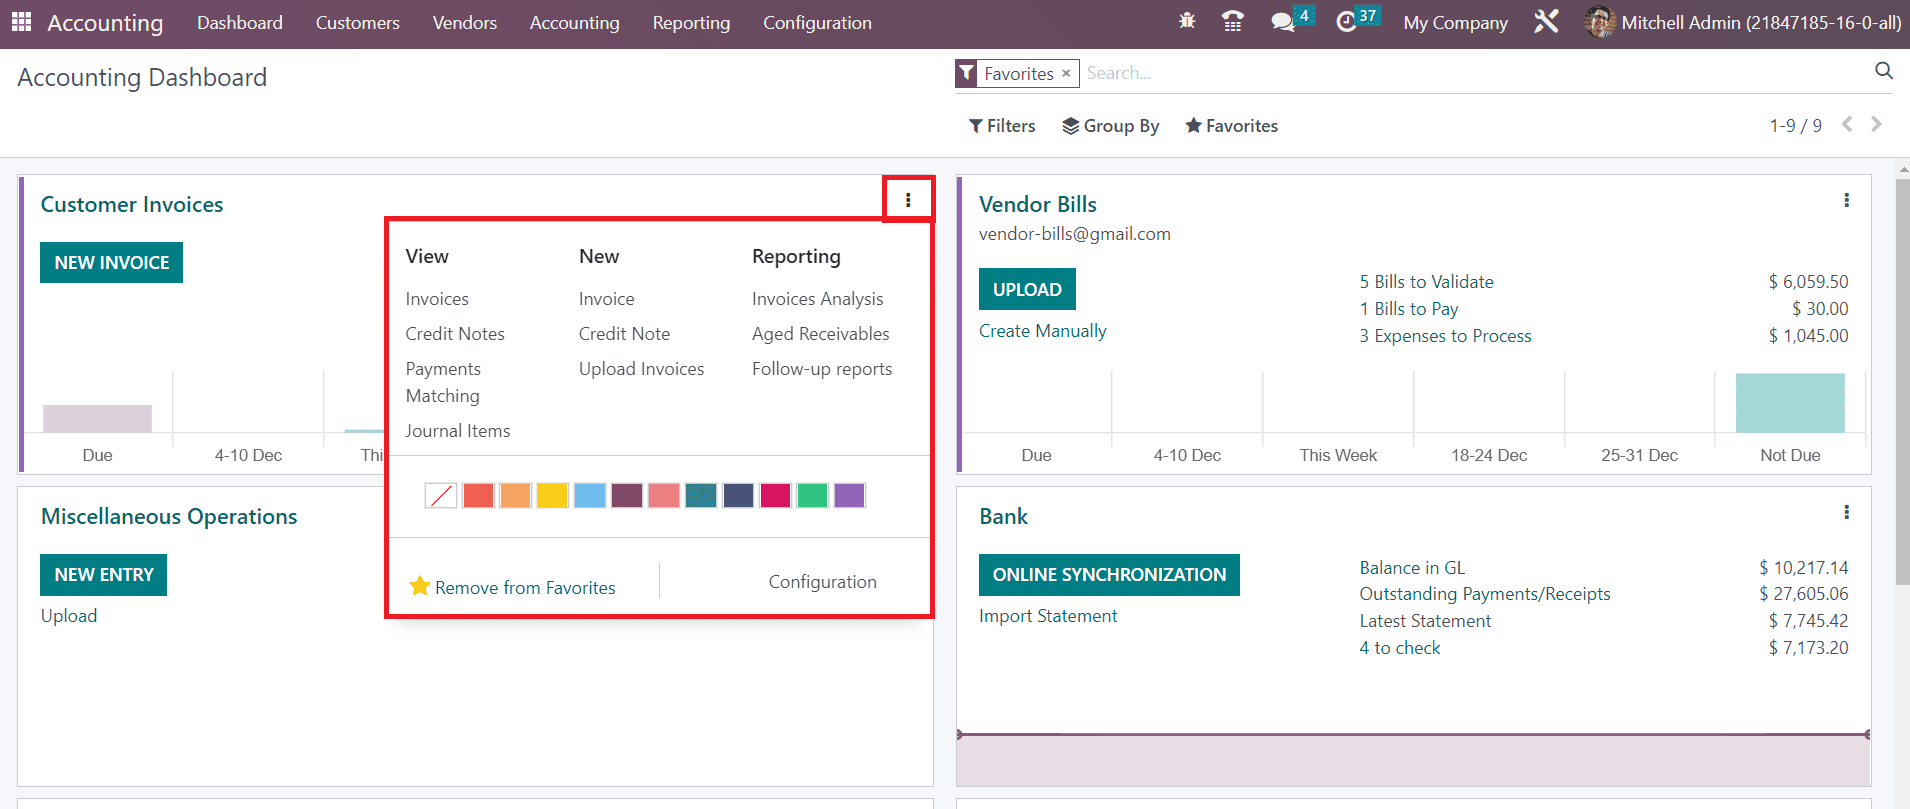
As you can see, you will get the options to view the Invoices, Credit Notes, Payment Matching, and Journal Items recorded under the Customer Invoices journal. Under the New session, you will get access to create new Invoices, Credit Notes, and to Upload Invoices to the respective journal directly from the dashboard. You will also get the buttons to generate reports of Invoice Analysis, Aged Receivables, and Follow Up Reports in this menu. Like this, each journal possesses an advanced menu inside the three dots that enable you to monitor and manage the operations of the respective journal.
Last updated