> For the complete documentation index, see [llms.txt](https://docs.wafra.sa/llms.txt). Markdown versions of documentation pages are available by appending `.md` to page URLs; this page is available as [Markdown](https://docs.wafra.sa/accounting/analytic-accounts.md).
# Analytic Accounts
### Analytic Accounts
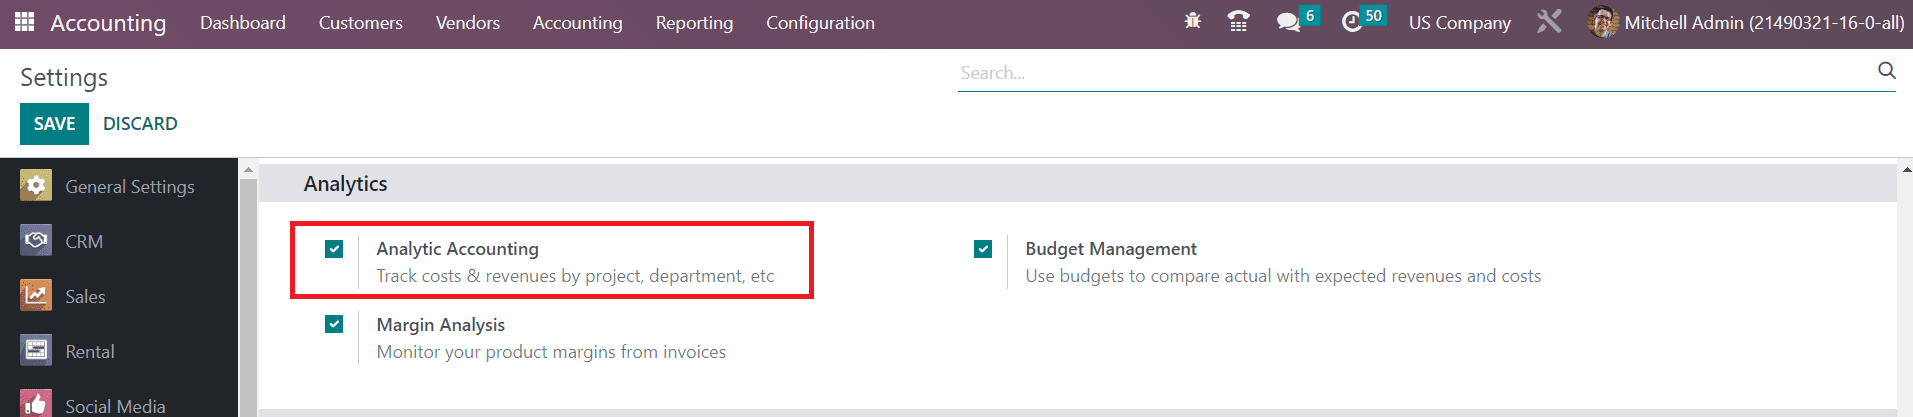
In order to keep track of specific costs and revenues, you can use the Analytic Accounts feature available in the Odoo Accounting module. You can create a chart of analytic accounts in your system for recording particular analytical entries as per your business requirements. These accounts are linked to the general accounts in Odoo but treated independently. In order to get this feature in your Accounting module, you have to activate the **Analytic Accounting** option from the **Settings** menu of the module.
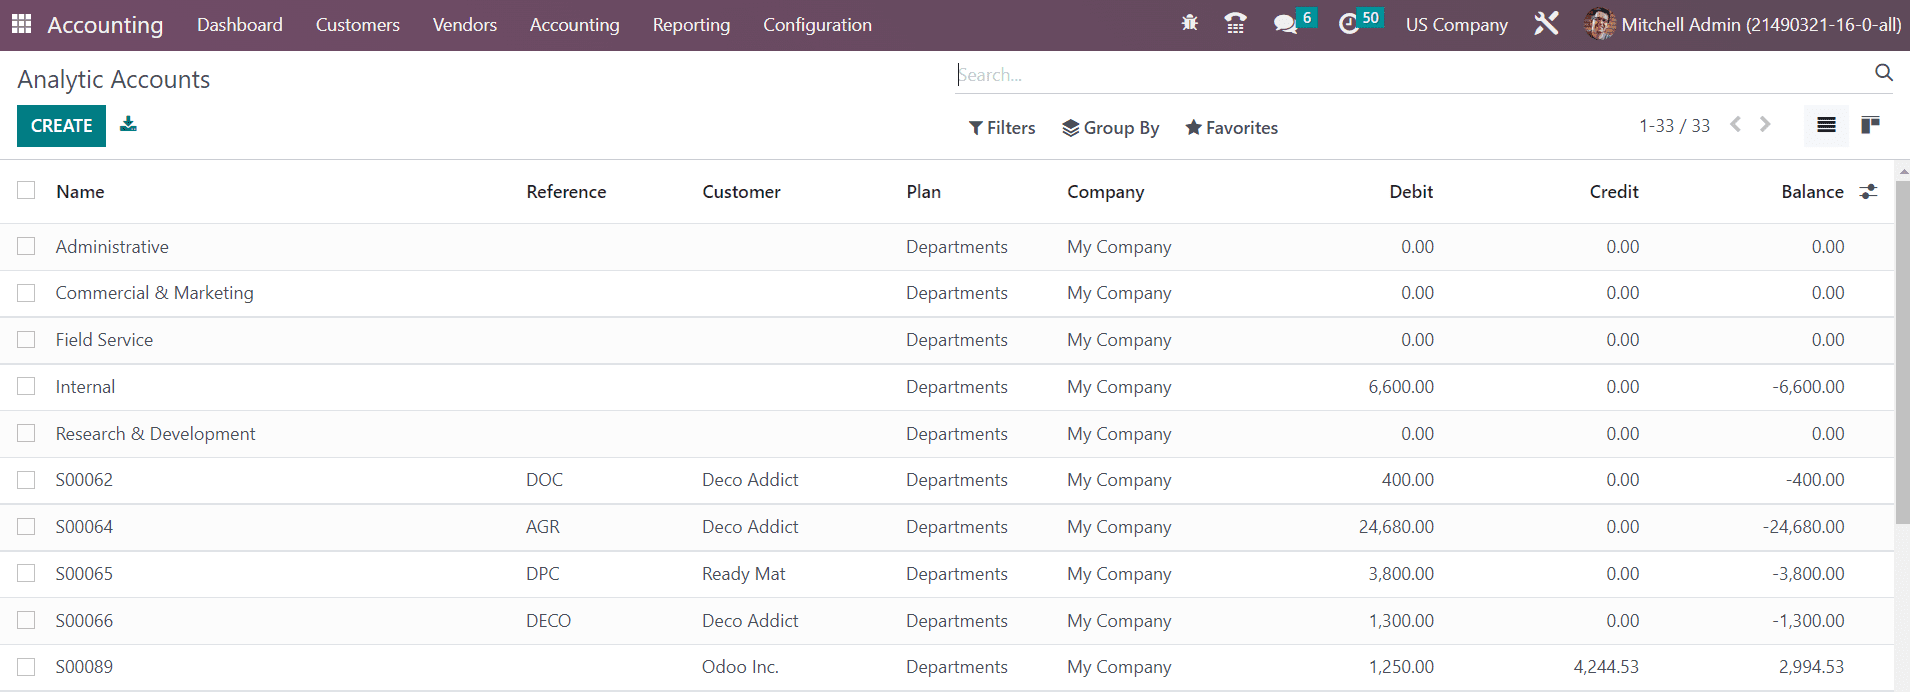
As soon as you activate this feature, the **Analytic Accounting** options will appear in the **Configuration** menu of the module. By clicking on the **Analytic Accounts** button, you will get the list of all available analytic accounts in your system. The list view shows the Name, Reference, Customer, Plans, Company, Debit, Credit, and Balance of each analytic account.
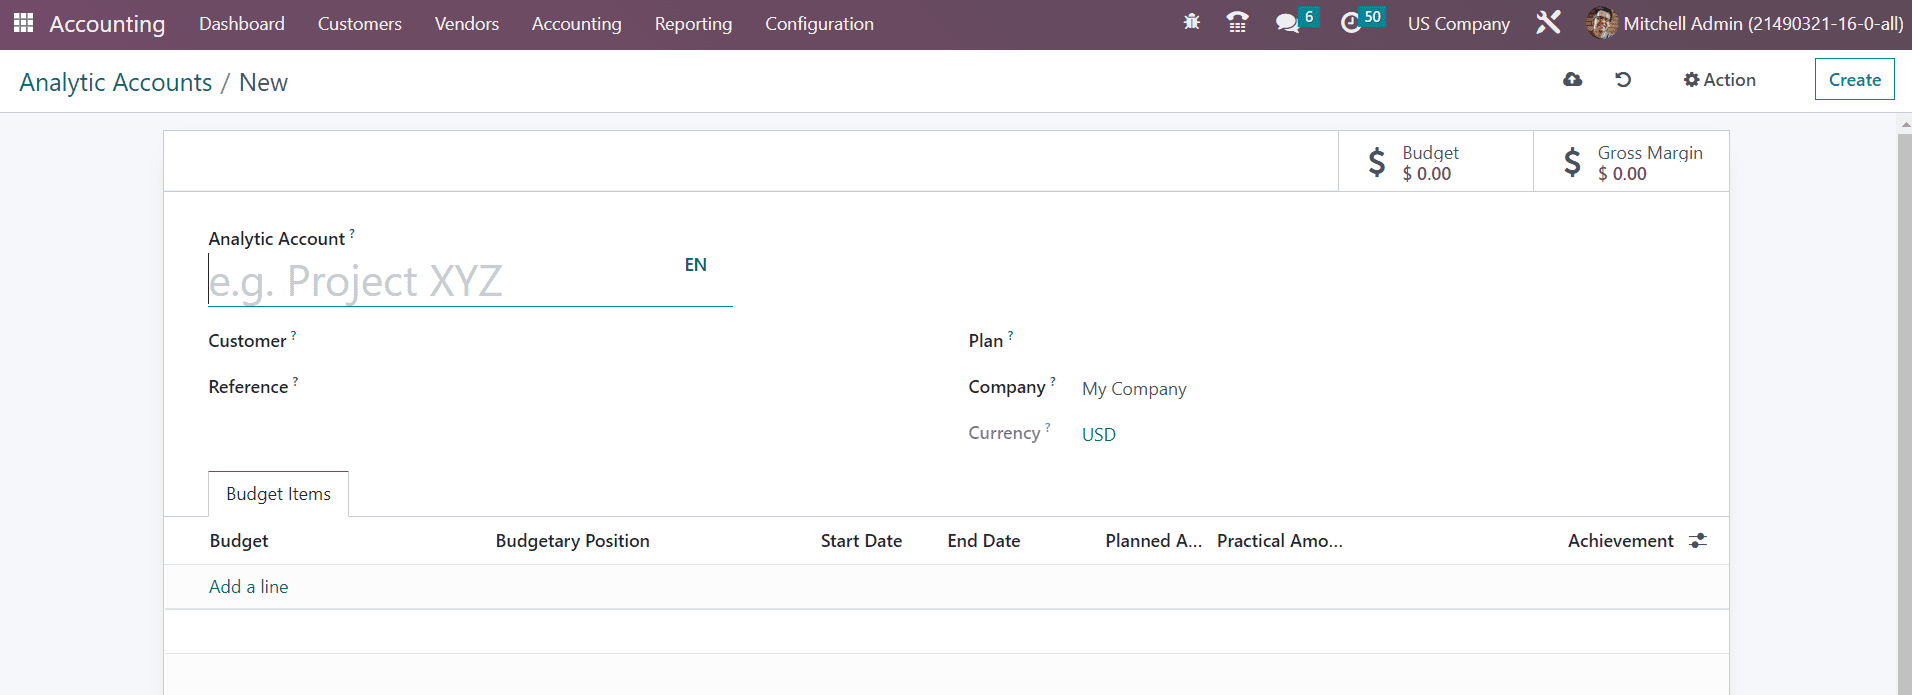
It is easy to configure a new analytic account in the Accounting module. Click on the **Create** button to get a new configuration window as depicted below.
Provide the name of the account in the **Analytic Account** field. If this account applies to any particular customer, you can mention their ids in the **Customer** field. Mention the Reference, Company, and Currency used to record the analytic entries in the corresponding field. The **Plan** field is a new feature in Odoo 16 where you can select a suitable analytic plan for this account. It is also possible to create a new **Analytic Plan** from the **Configuration** menu of the module.
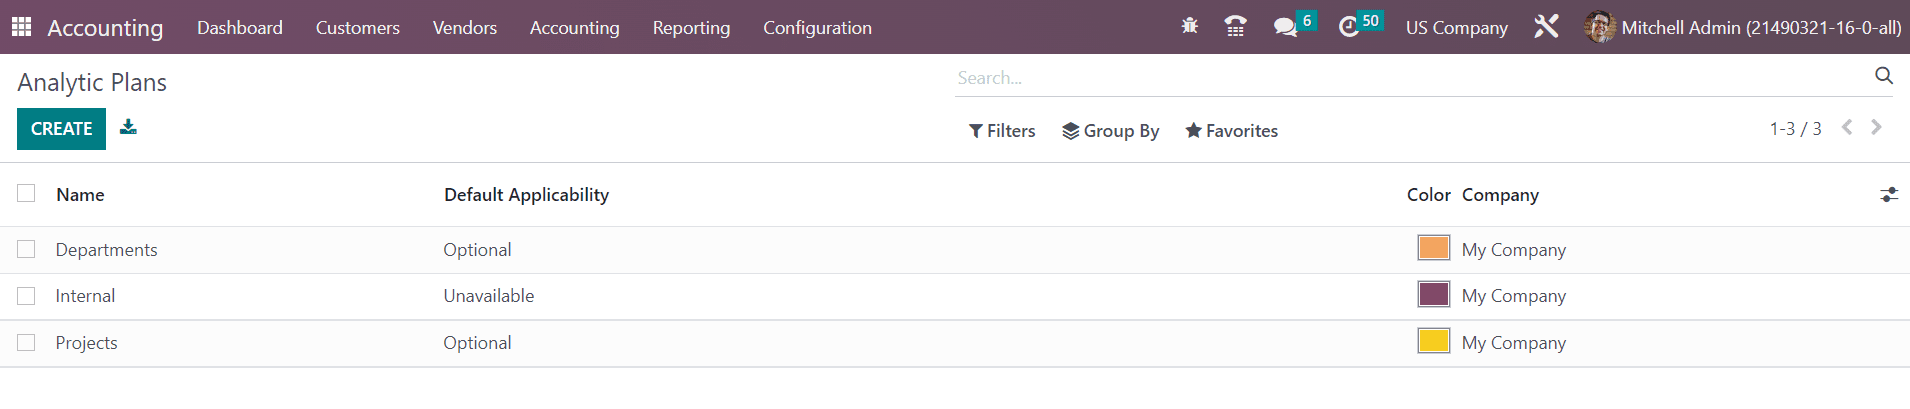
As you can see in the screenshot below, you will get the list of available Analytic Plans in this window.
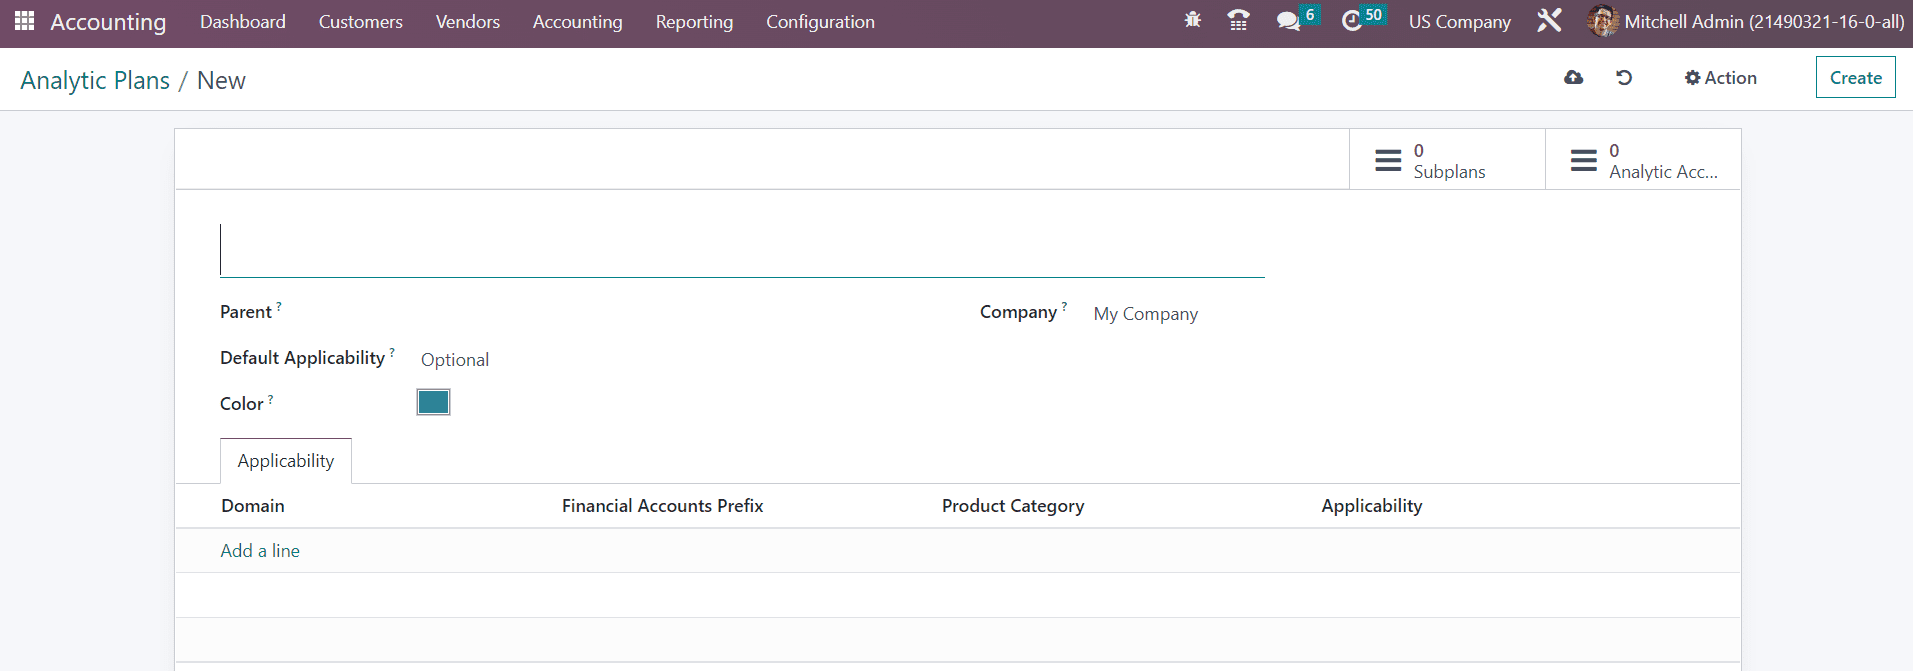
Clicking on the Create button, you can create a new plan.
After mentioning a name for the plan, you can set the **Parent** plan and **Default Applicability** of the plan in the respective fields. You can select a suitable Color for your plan for identification. The name of your company will be auto-populated in the corresponding field. Under the **Applicability** tab, you can define the applicability of this plan using the **Add a Line** button. The Domain can be set as Invoice, Expense, Vendor Bill, Sales Order, Purchase, or Miscellaneous. The prefix mentioned in the **Financial Accounts Prefix** defines which accounts from the financial accounting this applicability should apply on. Similarly, mention the **Product Categories** also to apply this analytic plan. You can set the **Applicability** as Mandatory, Optional, or Unavailable. In order to add **Sub Plans** to a parent plan, you can use the smart button available in the window.
You will also get another smart button in the same window to observe the analytical accounts under this plan.
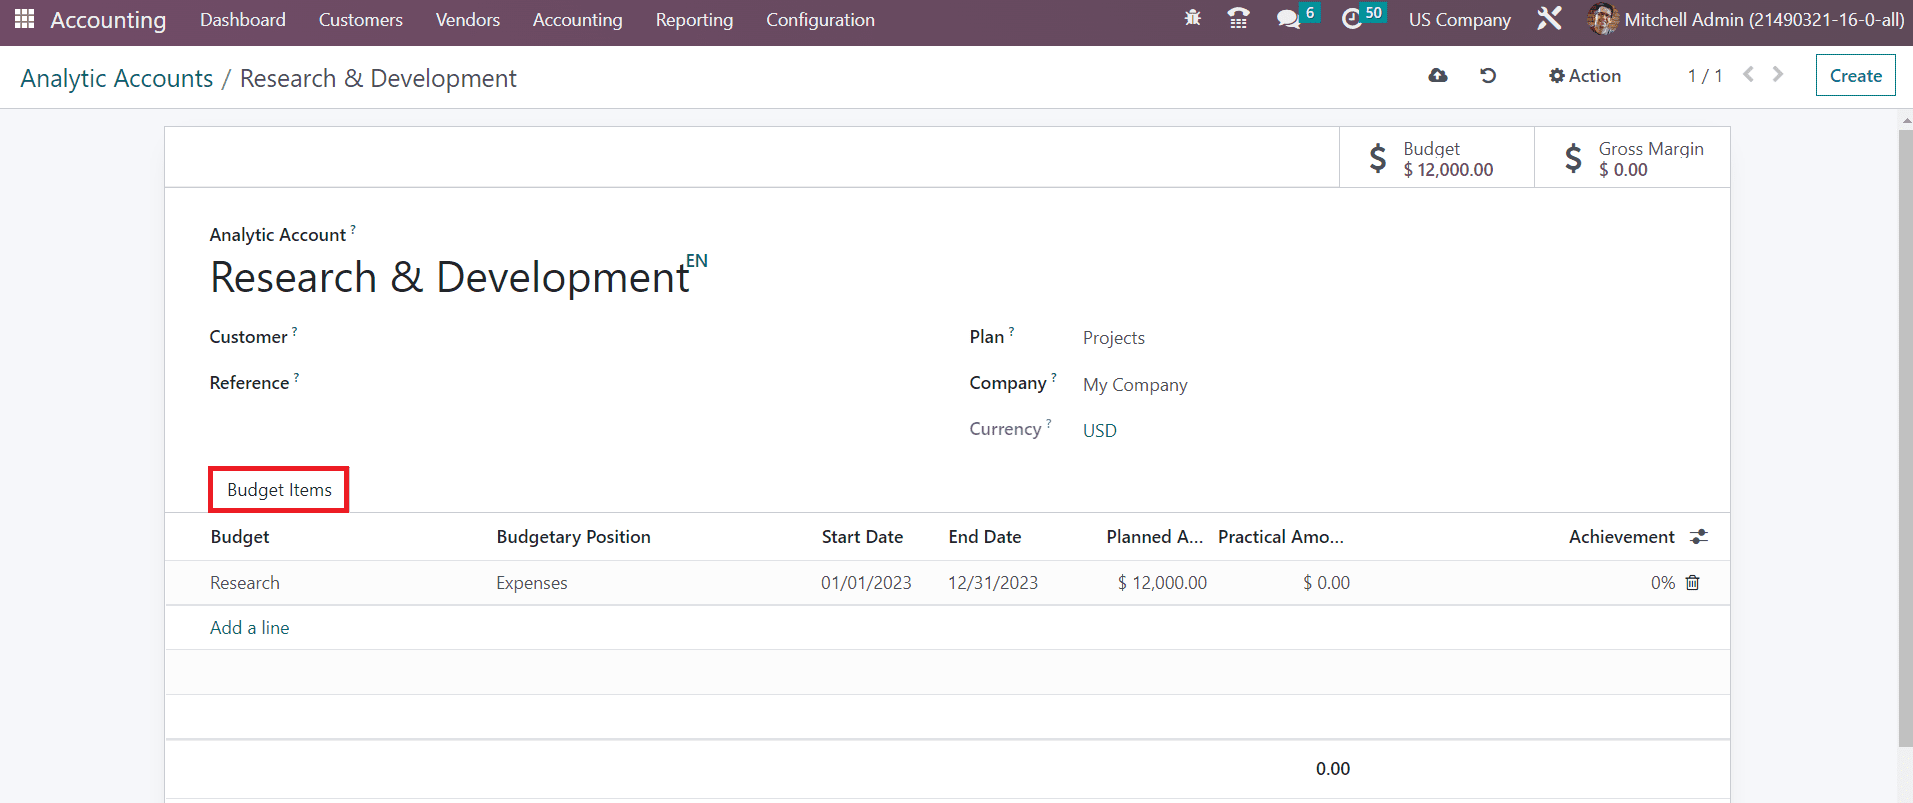
Now, let’s go back to the configuration of the analytic account. Under the Budget Items, you can add Budget plans so that this analytic account can record the cost and revenue of the items included in the budget.
Using the **Add a Line** button, you select a budget from the pre-configured list. The configuration of the budget is already detailed in this chapter and you can check that portion for additional information. Once you complete the configuration of the analytic account, the budget amount and gross margin can be observed in the respective smart buttons.
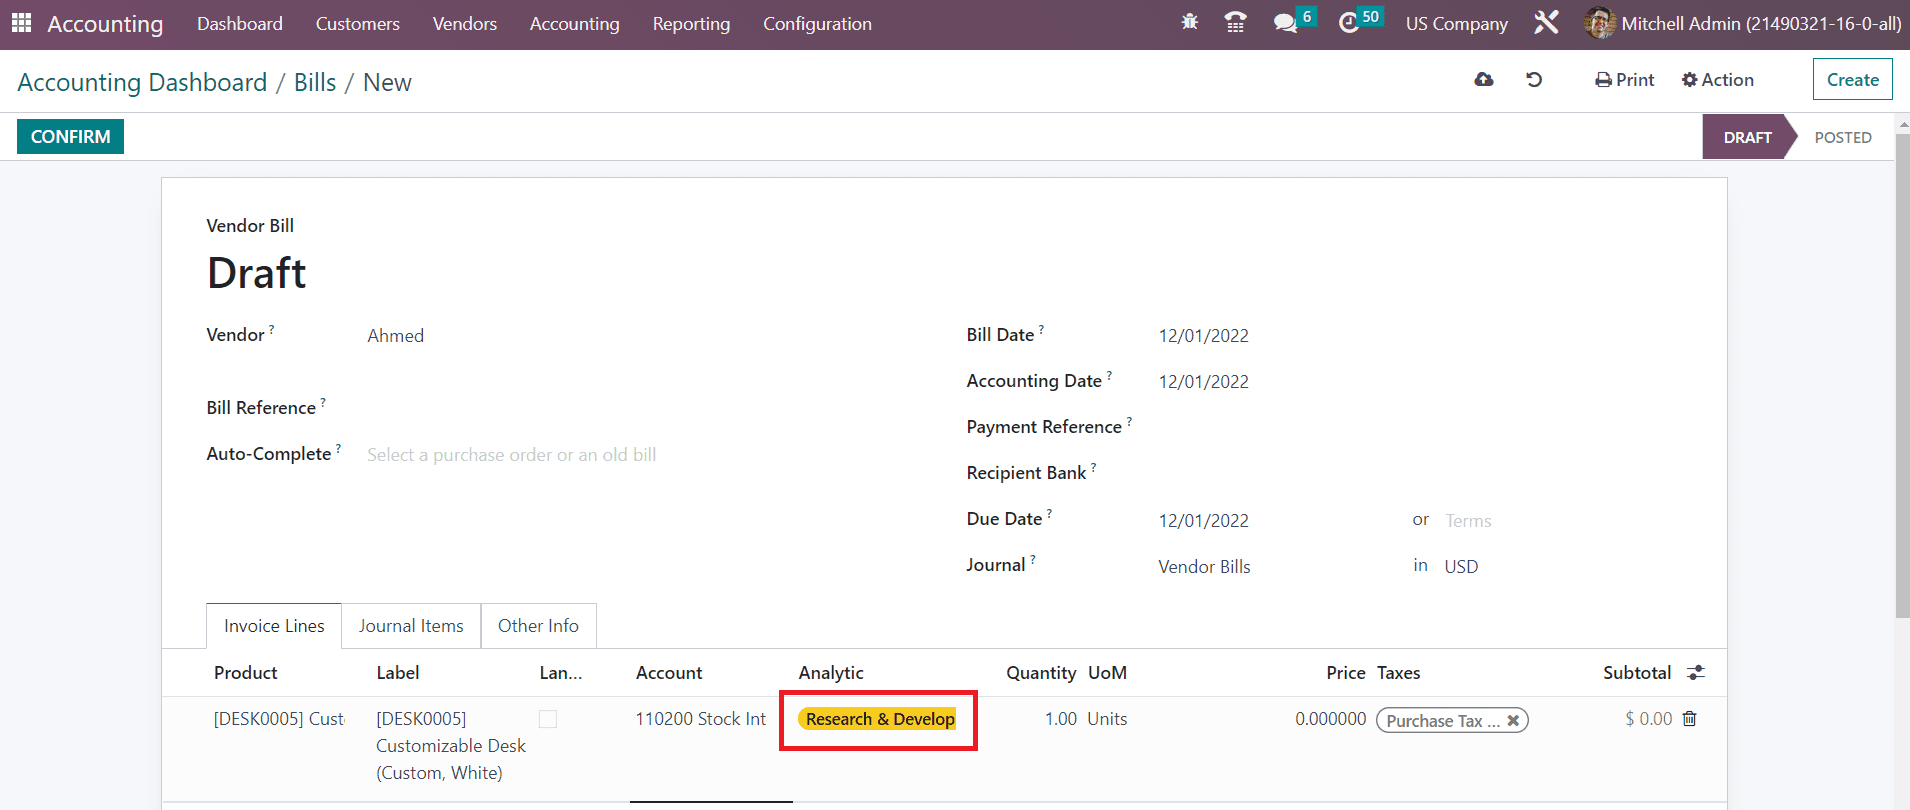
Now, let’s take a look at how to add analytical items to an analytic account. For example, you want to record the amount of a vendor bill in your analytic account. While creating the vendor bill, you will be asked to mention the analytic account to record the accounting details of the vendor bill.
Once you confirm the bill, the entry will be added to the selected analytic account.
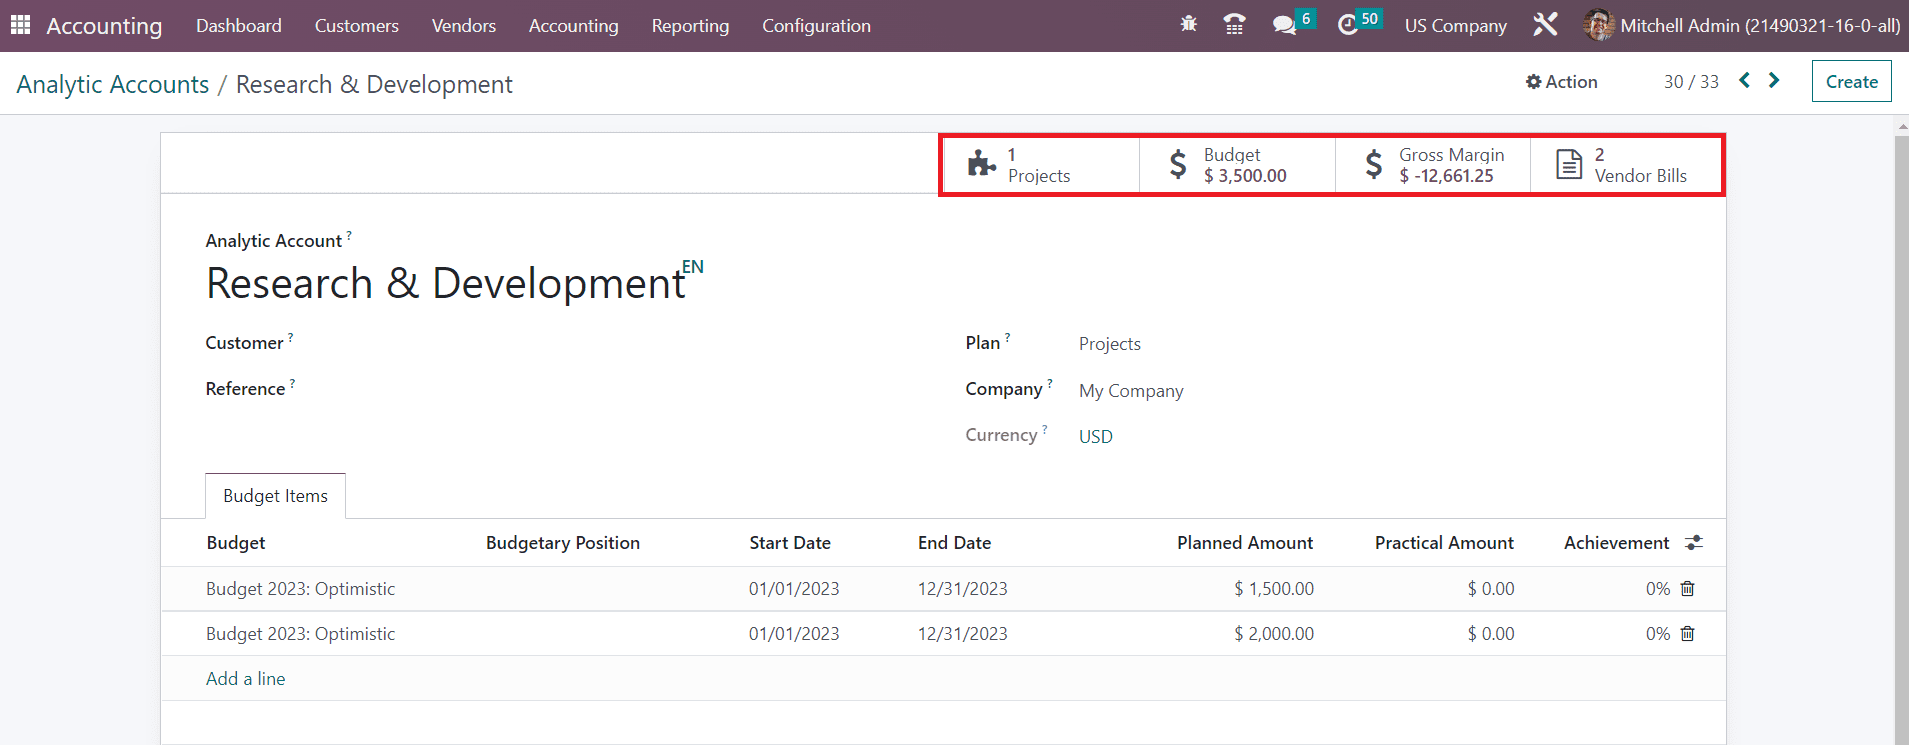
You can observe the recorded vendor bill details in the analytic account using the respective smart button as shown in the image above.
#### Analytic Distribution Model
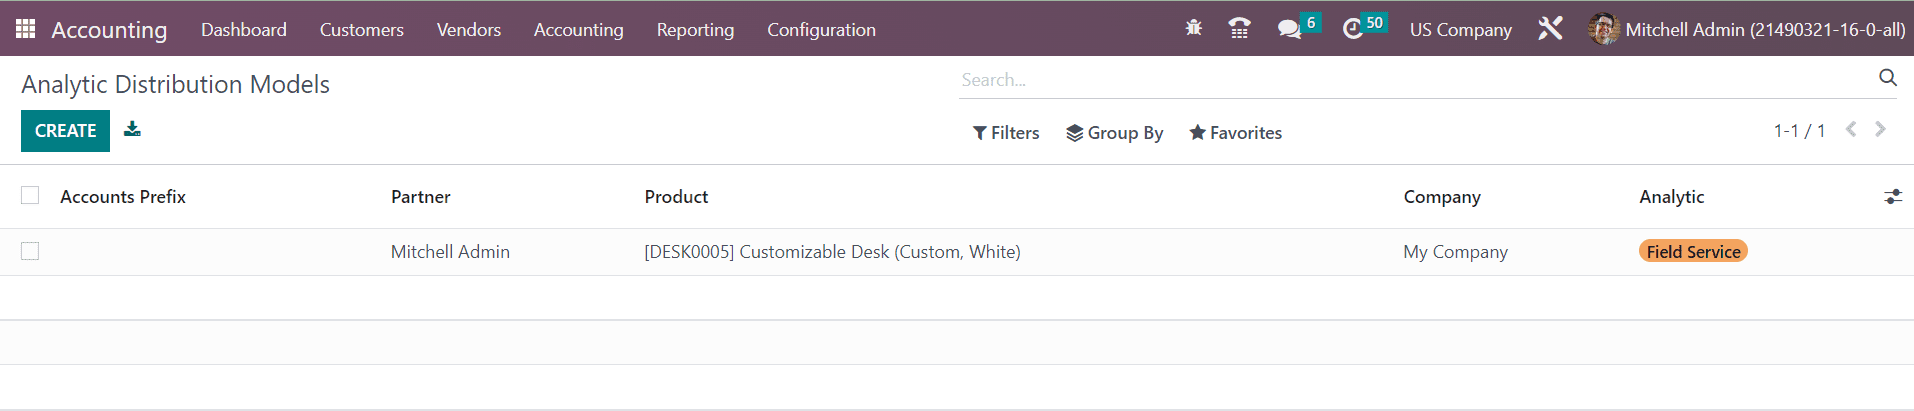
By activating the Analytic Accounting feature in Odoo, it is possible to define an analytic distribution in every journal item. It allows you to distribute the total amount to different analytic accounts. The option to manage and create a new **Analytic Distribution Model** can be seen in the Configuration menu of the module.
The preview of the list shows the details of the Accounts Prefix, Partner, Product, Company, and Analytic of each Analytic Distribution Models. You can create a new distribution model by clicking on the **Create** button.
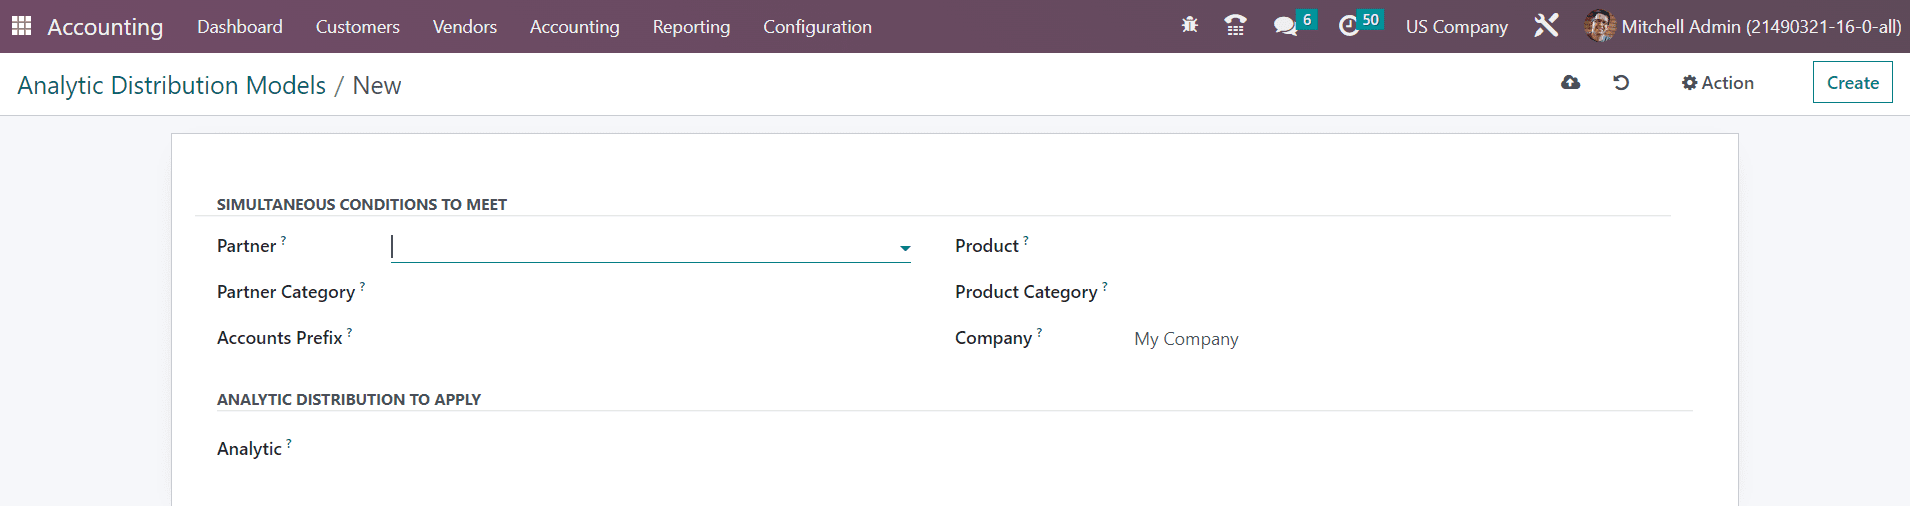
In this window, you can set conditions for the distribution model. You can select a **Partner, Partner Category, Product, Product Category,** and **Company** in the given fields for which the analytic distribution will be used. Set the **Accounts Prefix** that defines which accounts from the financial accounting this model should apply on. In the **Analytic Distribution to Apply** field, you can specify the Analytic Accounts to distribute the amount of the journal item to different analytic accounts.
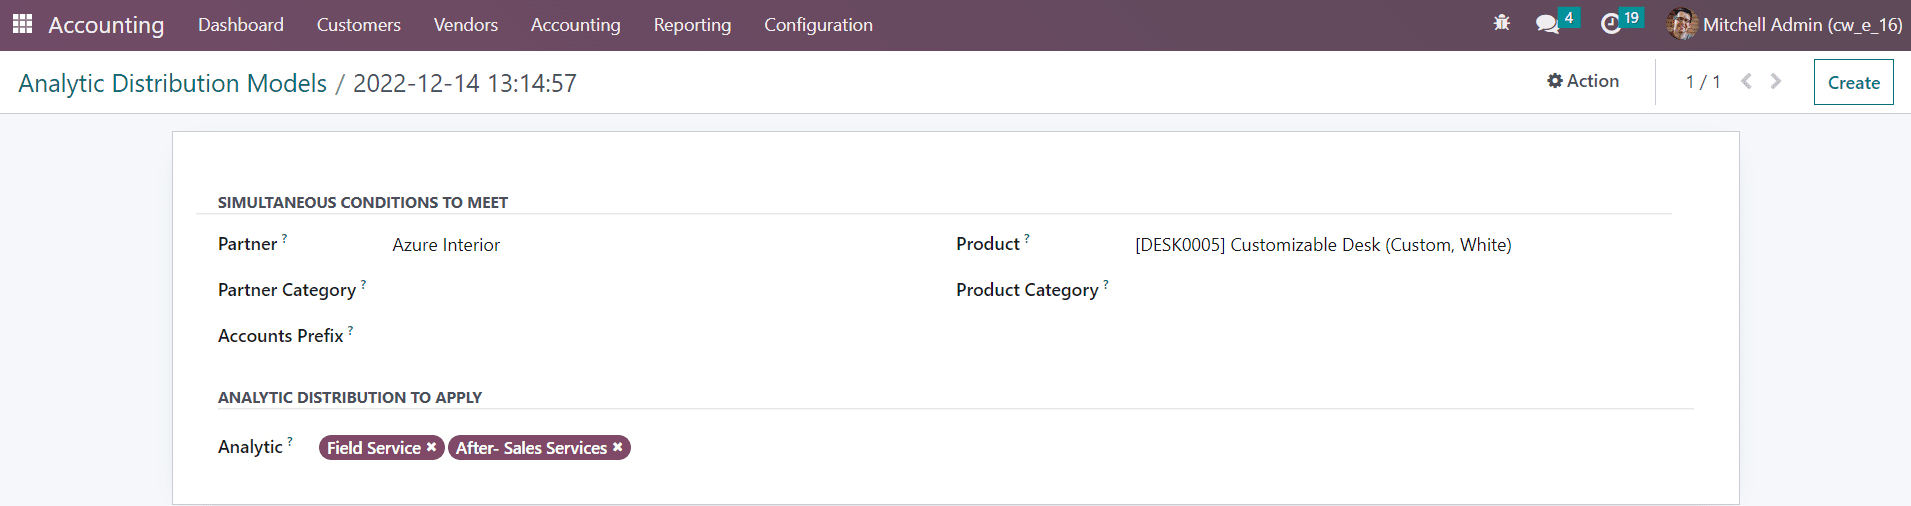
After configuring the distribution model, when you create an invoice for the partner mentioned in the distribution model, the amount will be distributed to the respective accounts. An example is shown below.
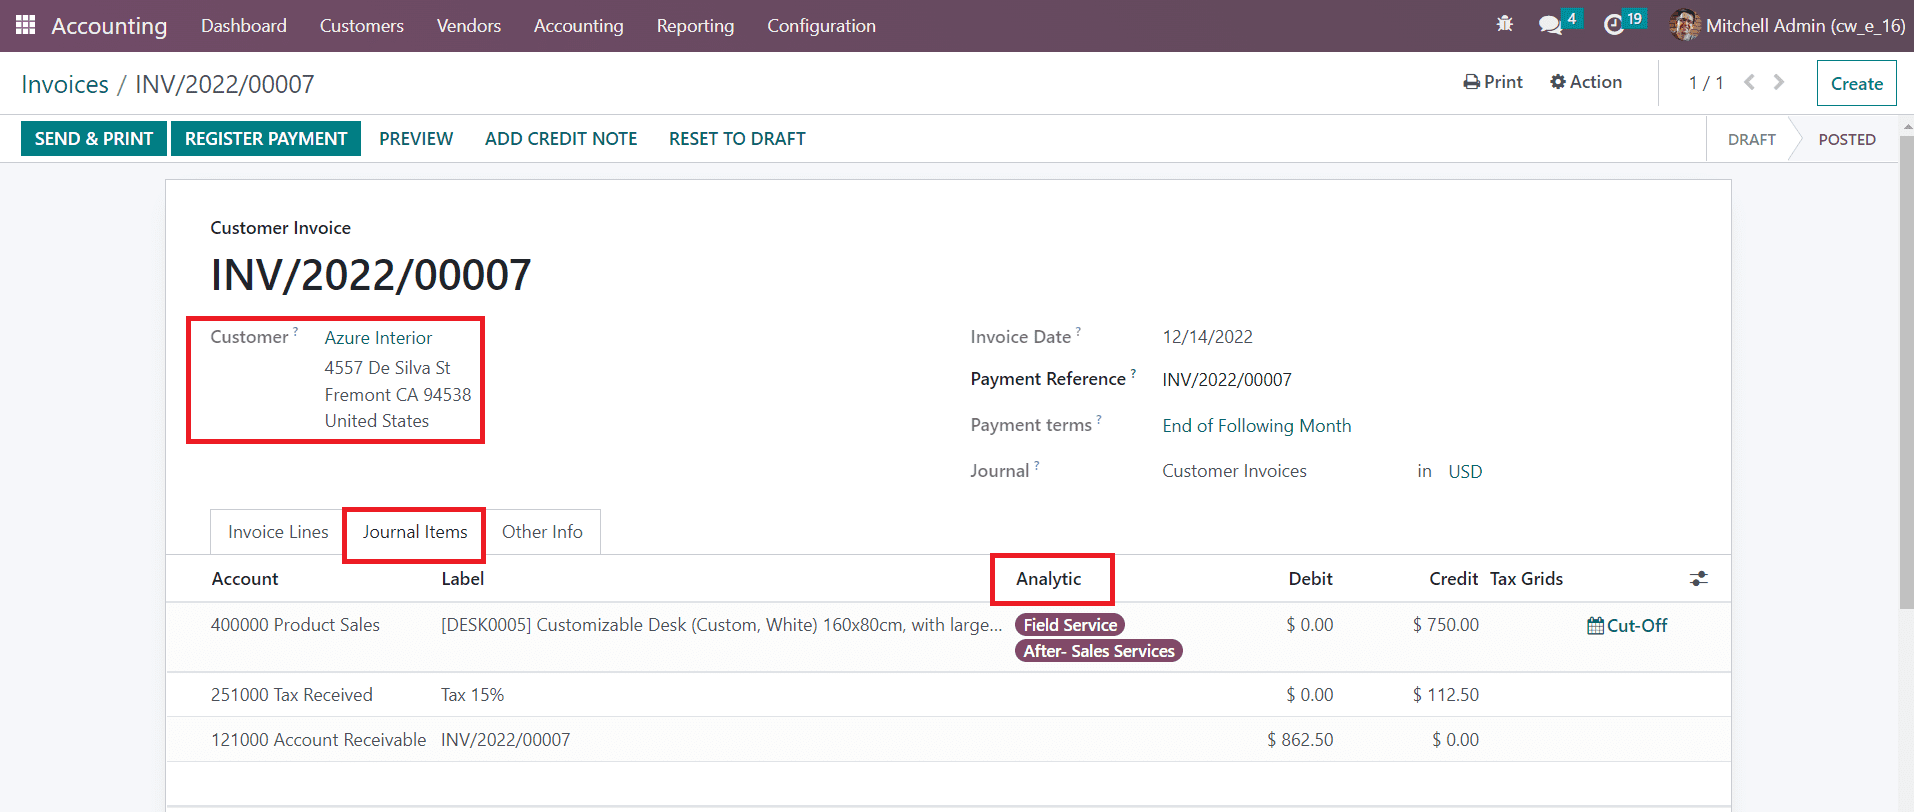
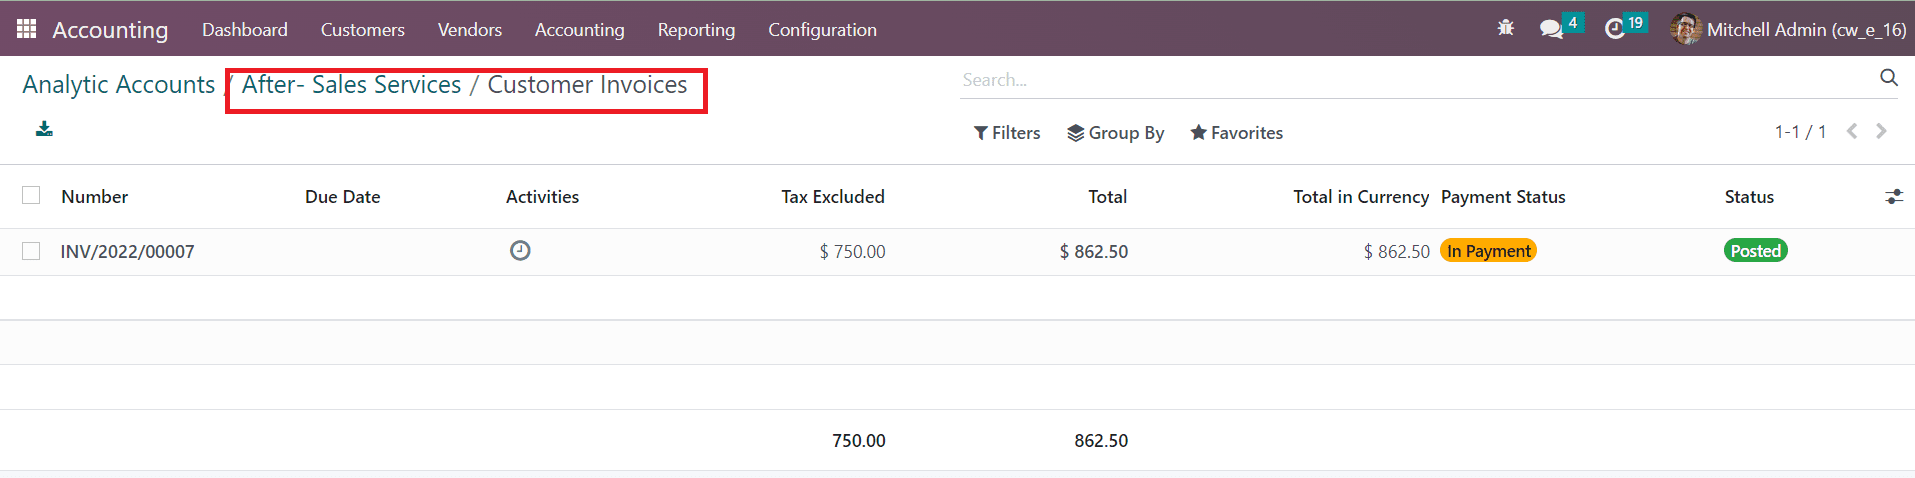
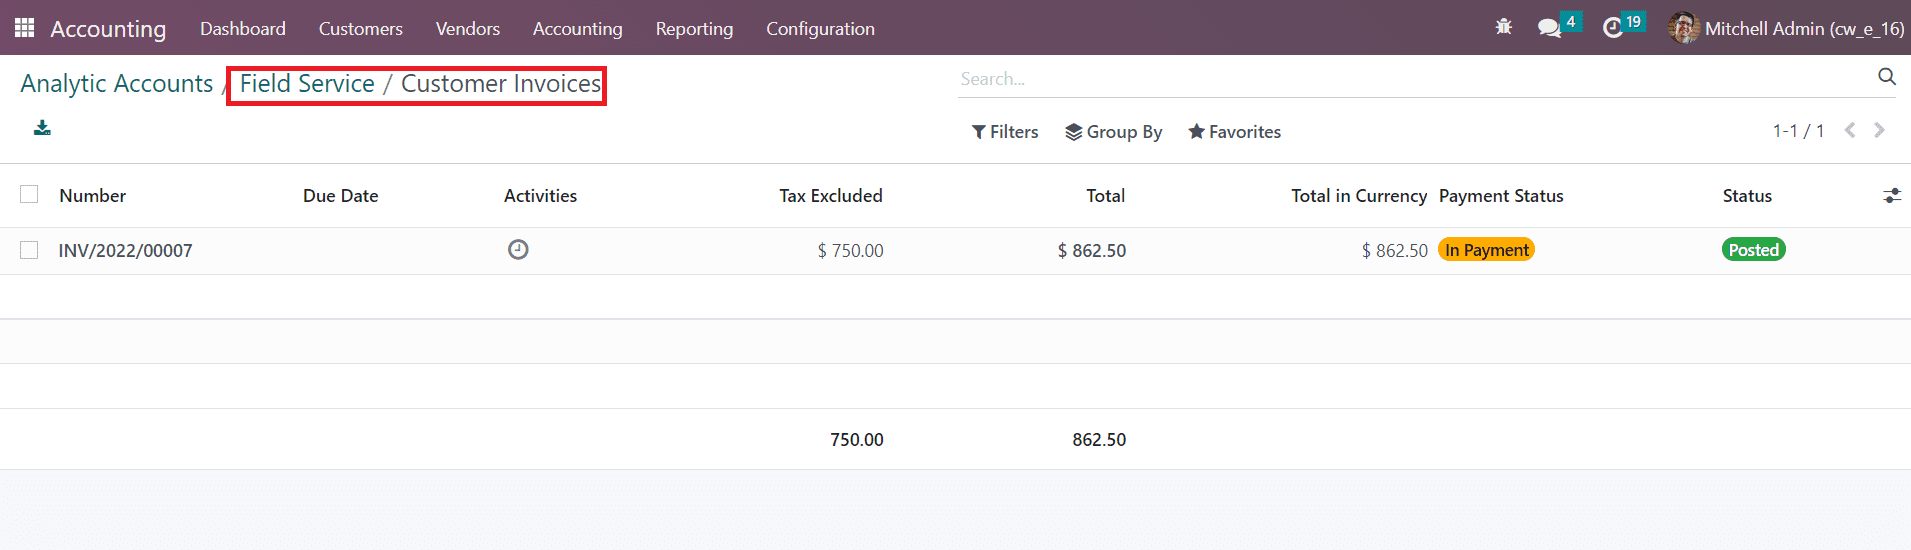
Here, while creating a new invoice, respective analytic accounts will automatically appear under the Journal Items. After confirming the payment, let’s check the entries of these analytic accounts.
[ ](https://www.images.cybrosys.com/images/odoo-book-16/odoo-book-16-accounting-237.png)
The screenshots show that the new analytic entry is distributed to the analytic accounts mentioned in the distribution models.
---
# Agent Instructions
This documentation is published with GitBook. GitBook is the documentation platform designed so that both humans and AI agents can read, navigate, and reason over technical content effectively. Learn more at gitbook.com.
## Querying This Documentation
If you need additional information that is not directly available in this page, you can query the documentation dynamically by asking a question.
Perform an HTTP GET request on the current page URL with the `ask` query parameter, and the optional `goal` query parameter:
```
GET https://docs.wafra.sa/accounting/analytic-accounts.md?ask=&goal=
```
`ask` is the immediate question: it should be specific, self-contained, and written in natural language.
`goal` is optional and describes the broader end goal you are ultimately trying to accomplish on behalf of the user. GitBook uses it to tailor the answer towards what is most useful for that goal.
The response will contain a direct answer to the question and relevant excerpts and sources from the documentation.
Use this mechanism when the answer is not explicitly present in the current page, you need clarification or additional context, or you want to retrieve related documentation sections.