Journals
Journals
It is very important to record all your accounting entries in accounting journals. An accounting journal is a record of transactions arranged by date. In Odoo, you can create a sales journal for customer invoices, a purchase journal for vendor bills, a bank journal for bank transactions, and a general journal for other miscellaneous operations. After creating suitable accounting journals, you can record your business transactions in these journals by adding journal entries. In order to view and create Journals in Odoo, you can go to the Configuration menu of the Accounting module where you will get the option Journals as shown in the screenshot below.
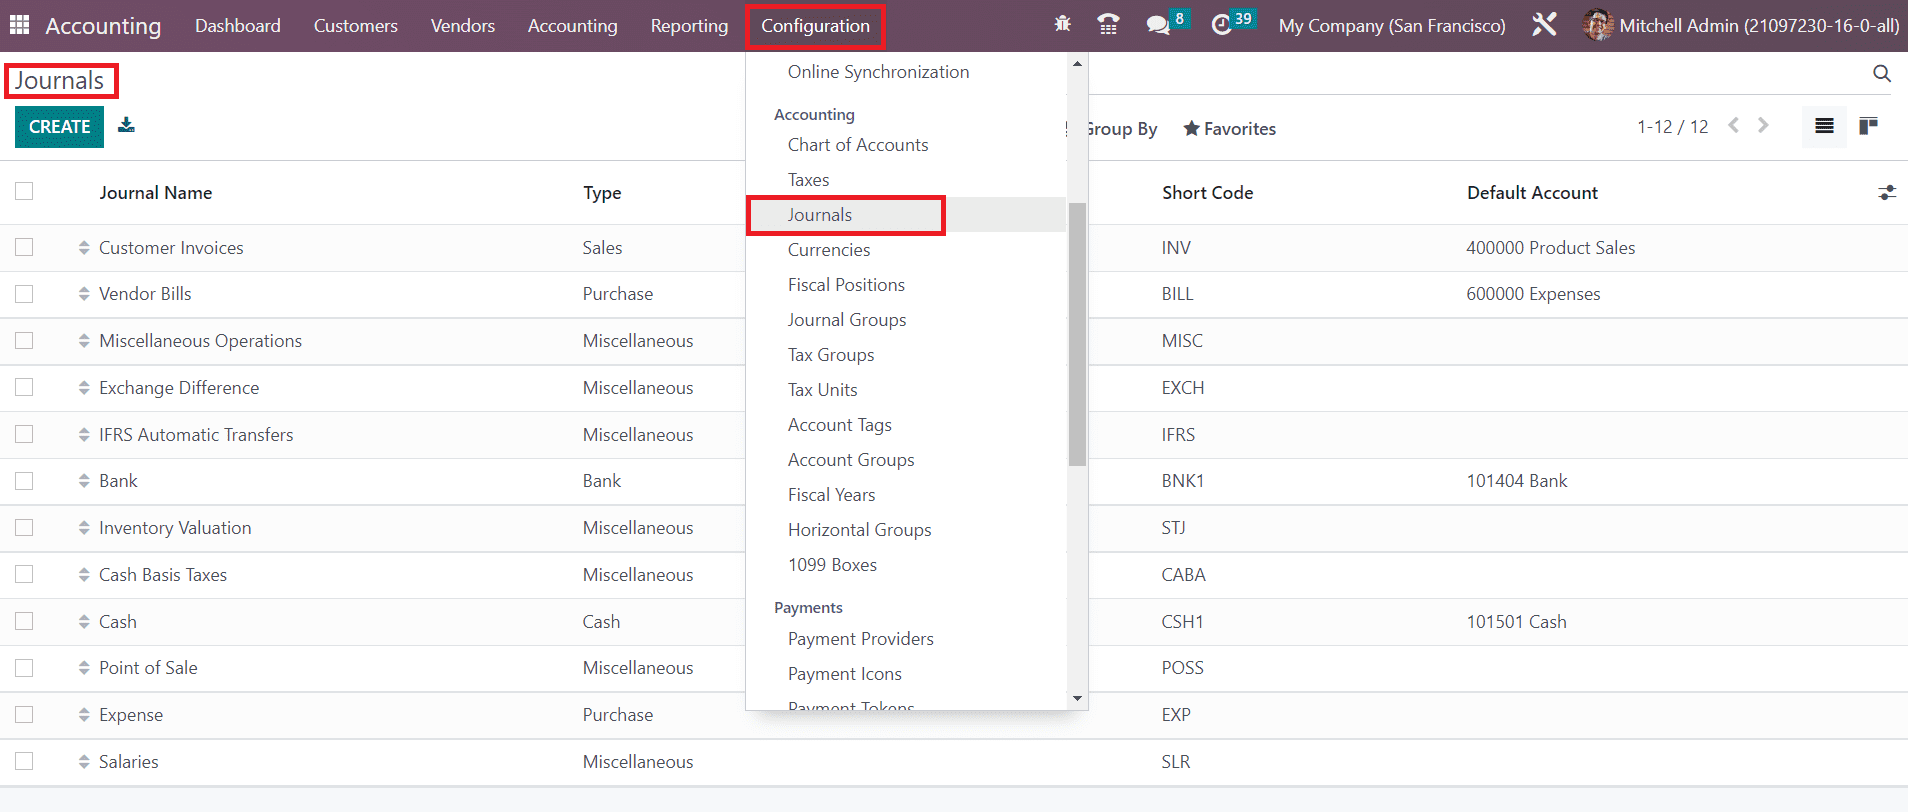
The list of already configured journals can be seen here with the details of the Journal Name, Type, Journal Groups, Short Code, and Default Account. You can create a new Journal for recording your accounting entries using the Create button.
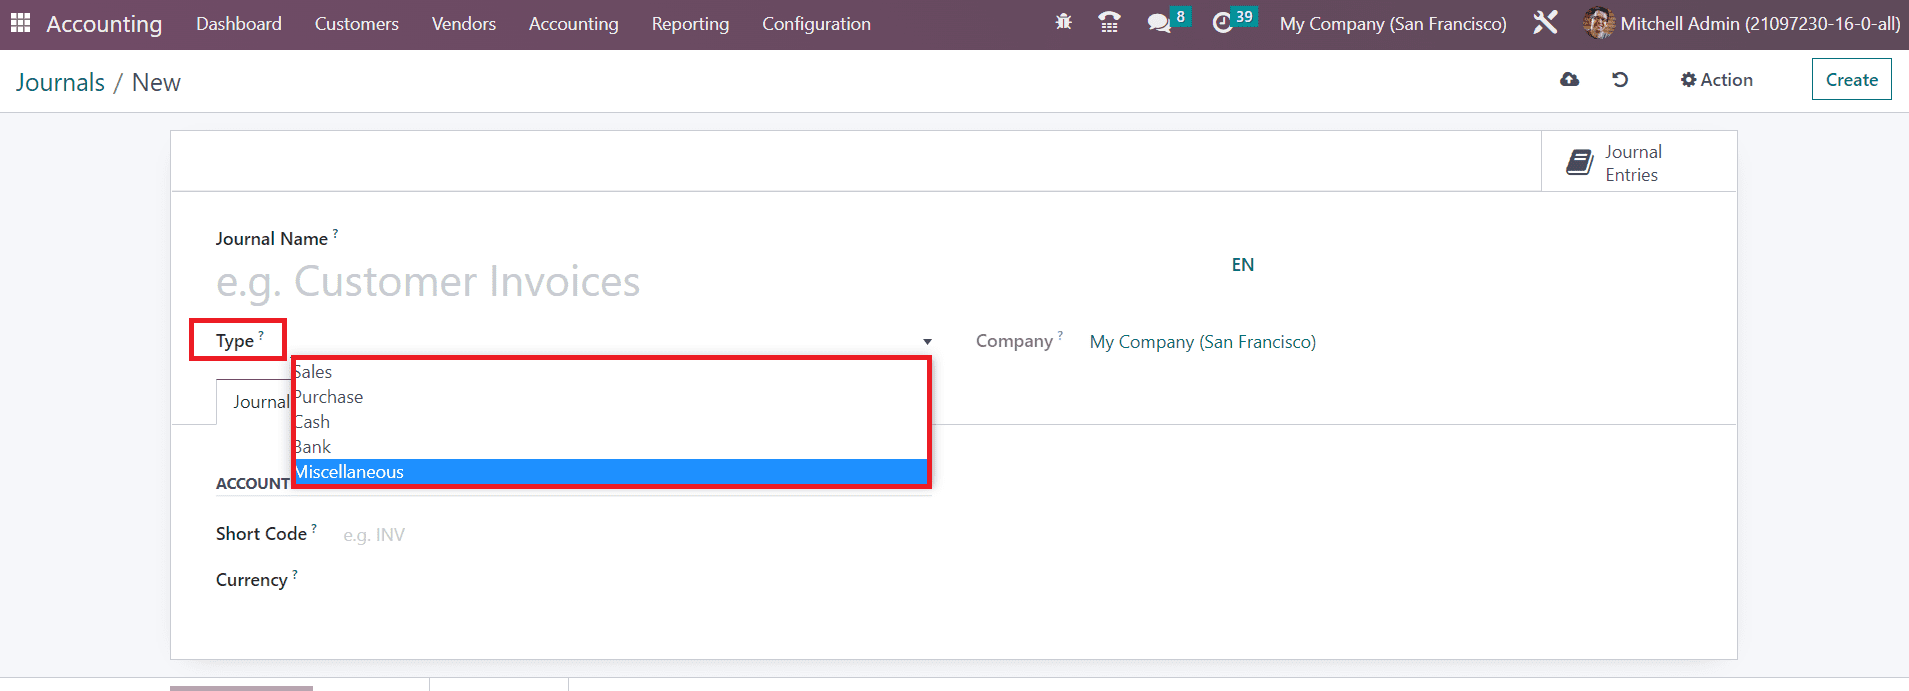
After mentioning the Journal Name, you are requested to define the Type of the journal. Your company id will auto-populate in the Company field. In Odoo, you can create Sales, Purchase, Cash, Bank, and Miscellaneous journals. The remaining configuration options will change according to the journal type you select. The journal type will decide where to use this journal in recording an accounting entry.
Let’s take a look at the configuration of each journal type separately.
Sales
For customer invoice entries, you can configure sales journals. For this, you can select the Journal Type as Sales. You will get some additional fields in both the Journal entries and Advanced Settings tabs.
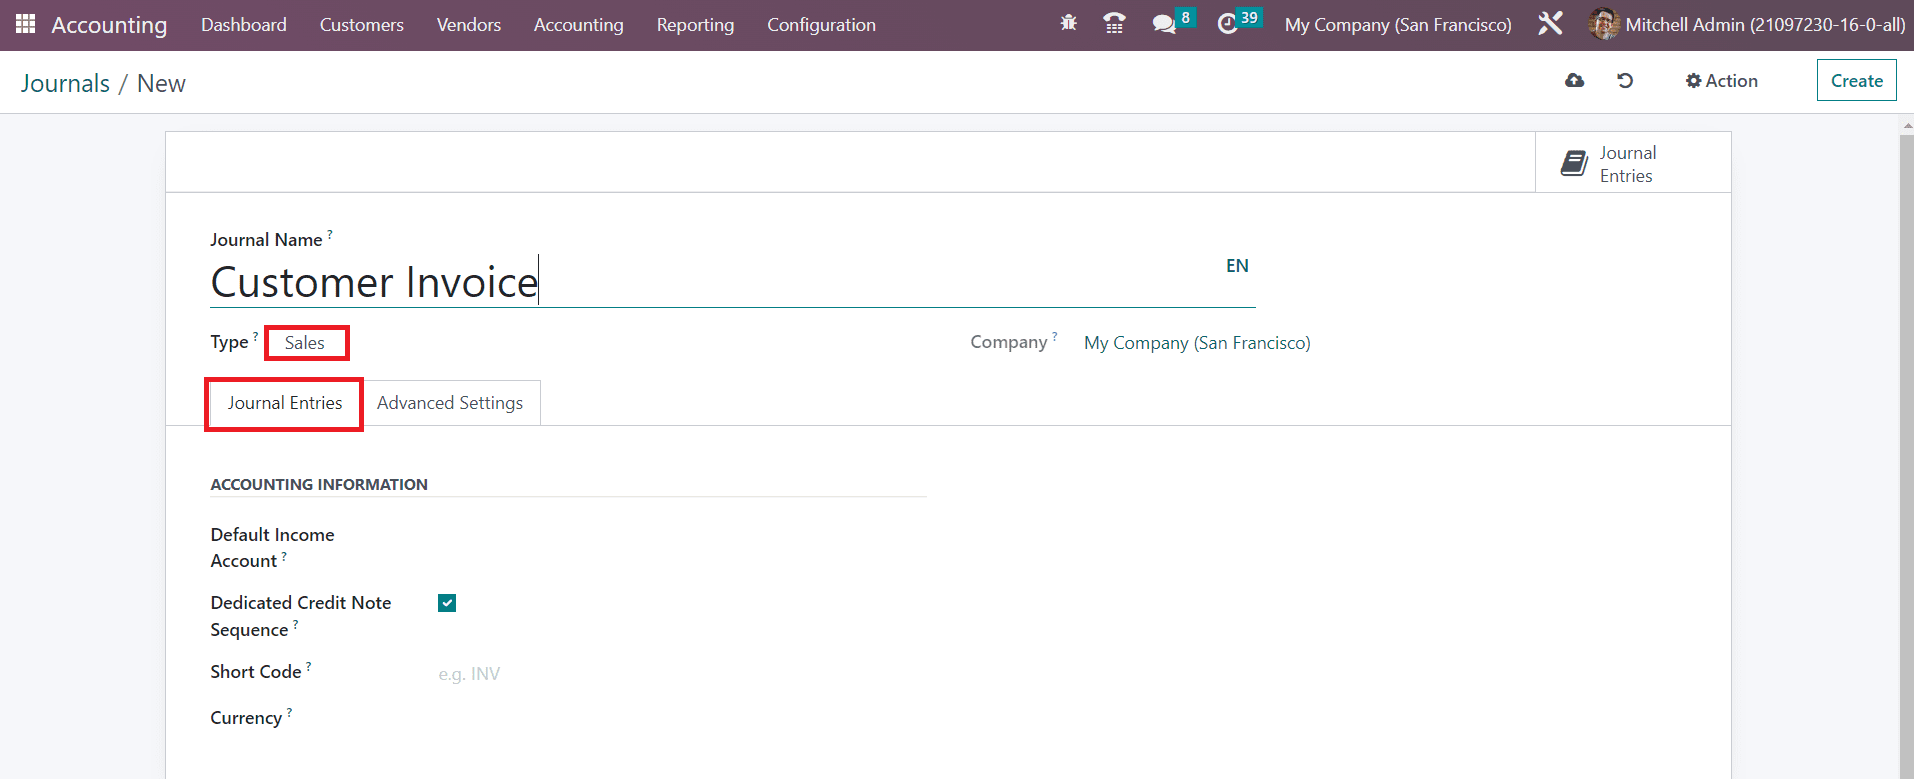
Under the Journal Entries tab, you can define the Accounting Information of the entries in this journal. You can set a Default Income Account for the sales journal in this tab. You can enable the Dedicated Credit Note Sequence field if you don’t want to share the same sequence for invoices and credit notes from this journal. By activating this option, a dedicated sequence will be assigned to credit notes added to this journal. You can mention a shorter name used for display in the Short Code field. The journal entries of this journal will be named using this prefix as default. The Currency used to record the accounting statements can be specified in the respective field.
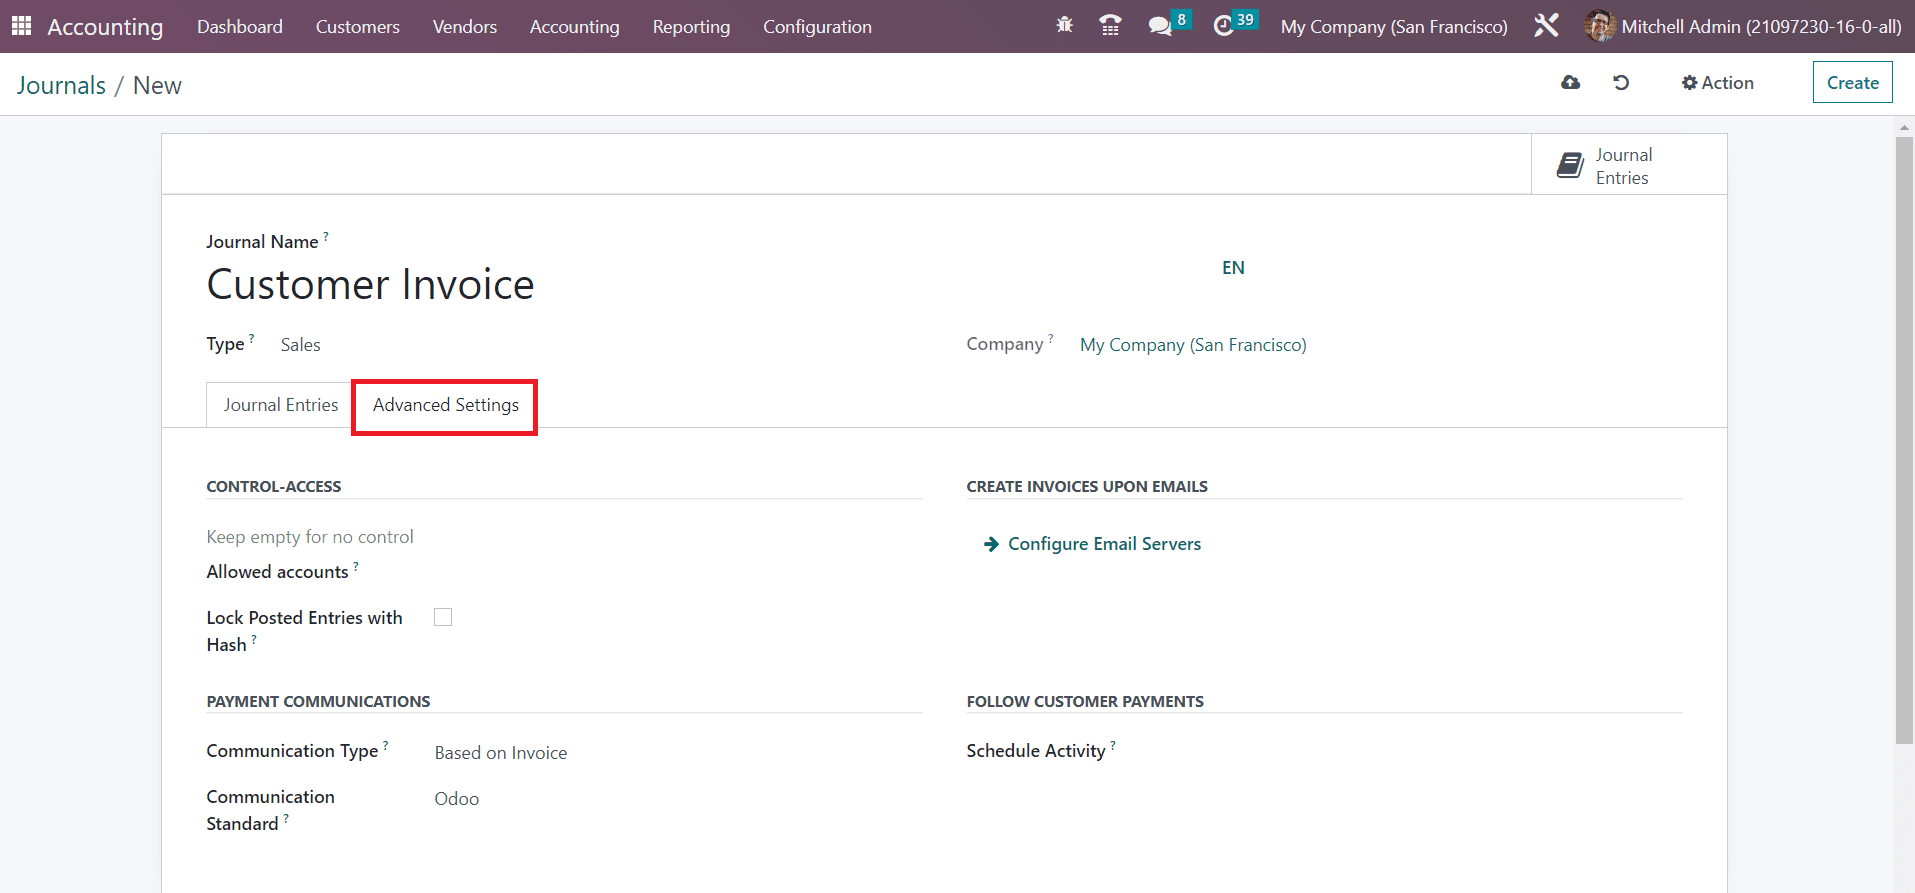
In the Advanced Settings tab, you can control access by mentioning the Allowed Accounts. If you don’t want to set any control over the accounts, you can keep the field empty. The accounting entry or invoice will receive a hash as soon as it is posted by enabling the Lock Posted Entries with Hash feature. By doing so, the posted entry will be locked and can not be modified anymore.
In the Communication Type field, you can define the payment communication method. You can set the default communication here that will appear on the customer invoice, once validated, to help the customer to refer to that particular invoice when making the payment. It can be set as Open, Based on Invoice, or Based on Customer. In the Communication Standard field, you can choose different models for each type of reference. Here, the default one is the Odoo reference. By configuring Email servers in the given field, it is possible to create invoices upon Emails. To follow customer payments, you can schedule different activities with the customer. The activity mentioned in the Schedule Activity field will be automatically scheduled on the payment due date in order to improve the collection process.
Purchase
For recording vendor bill entries, you can create purchase journals. The Journal Type can be set as Purchase. The Journal Entries and Advanced Settings tabs are almost similar to that of the sales journal.
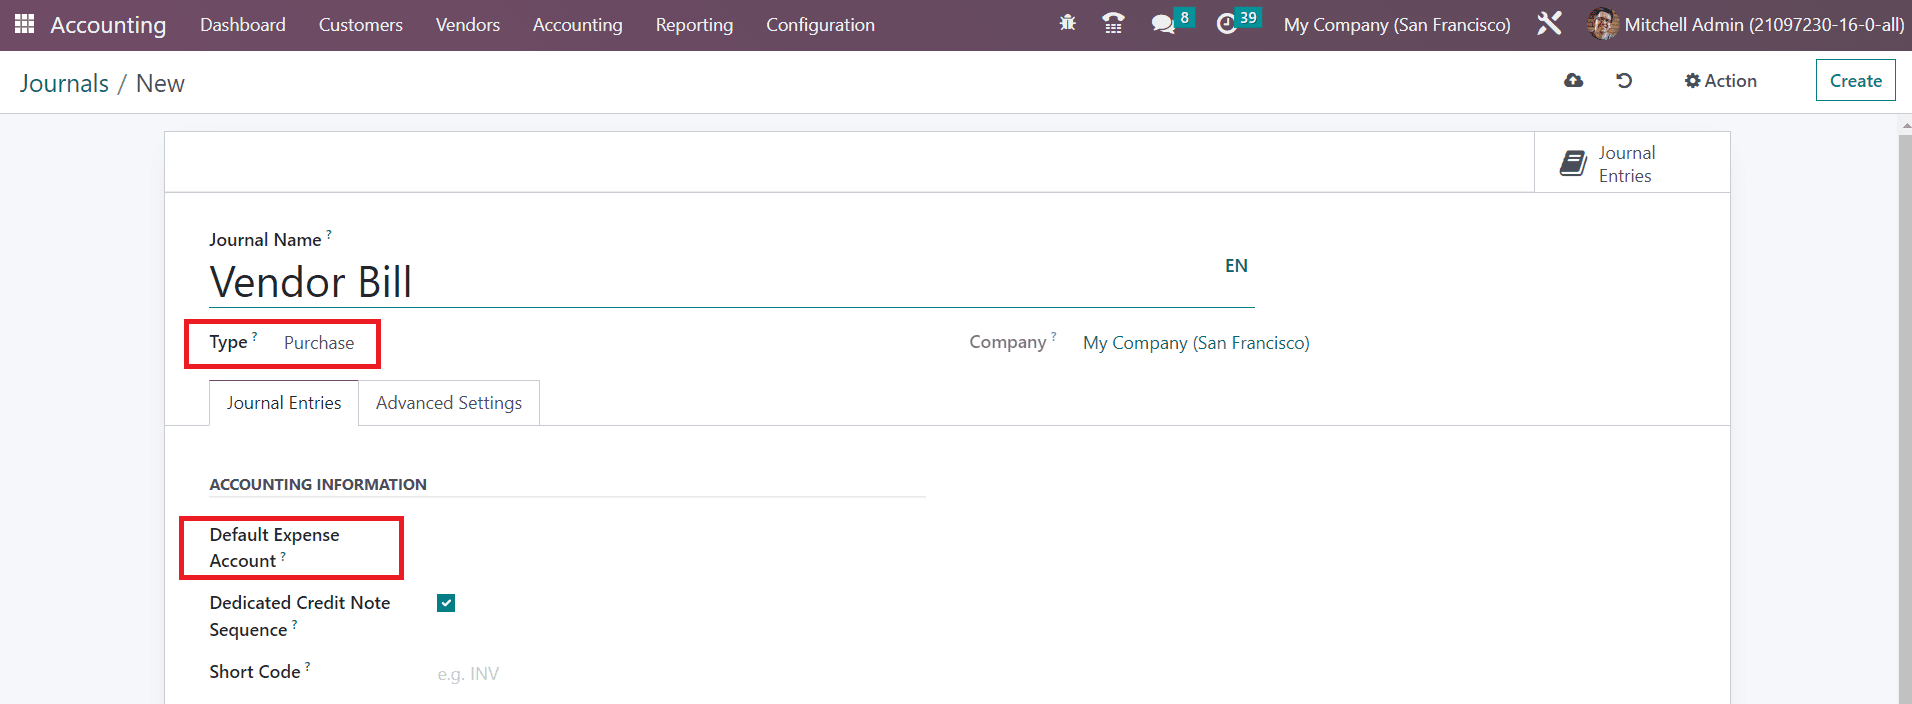
Here, you are requested to mention the Default Expense Account in the accounting information field.
Cash
The accounting entries through manual cash transactions can be recorded using the Cash journal. While configuring a cash journal, you will get some additional tabs as shown in the image below.
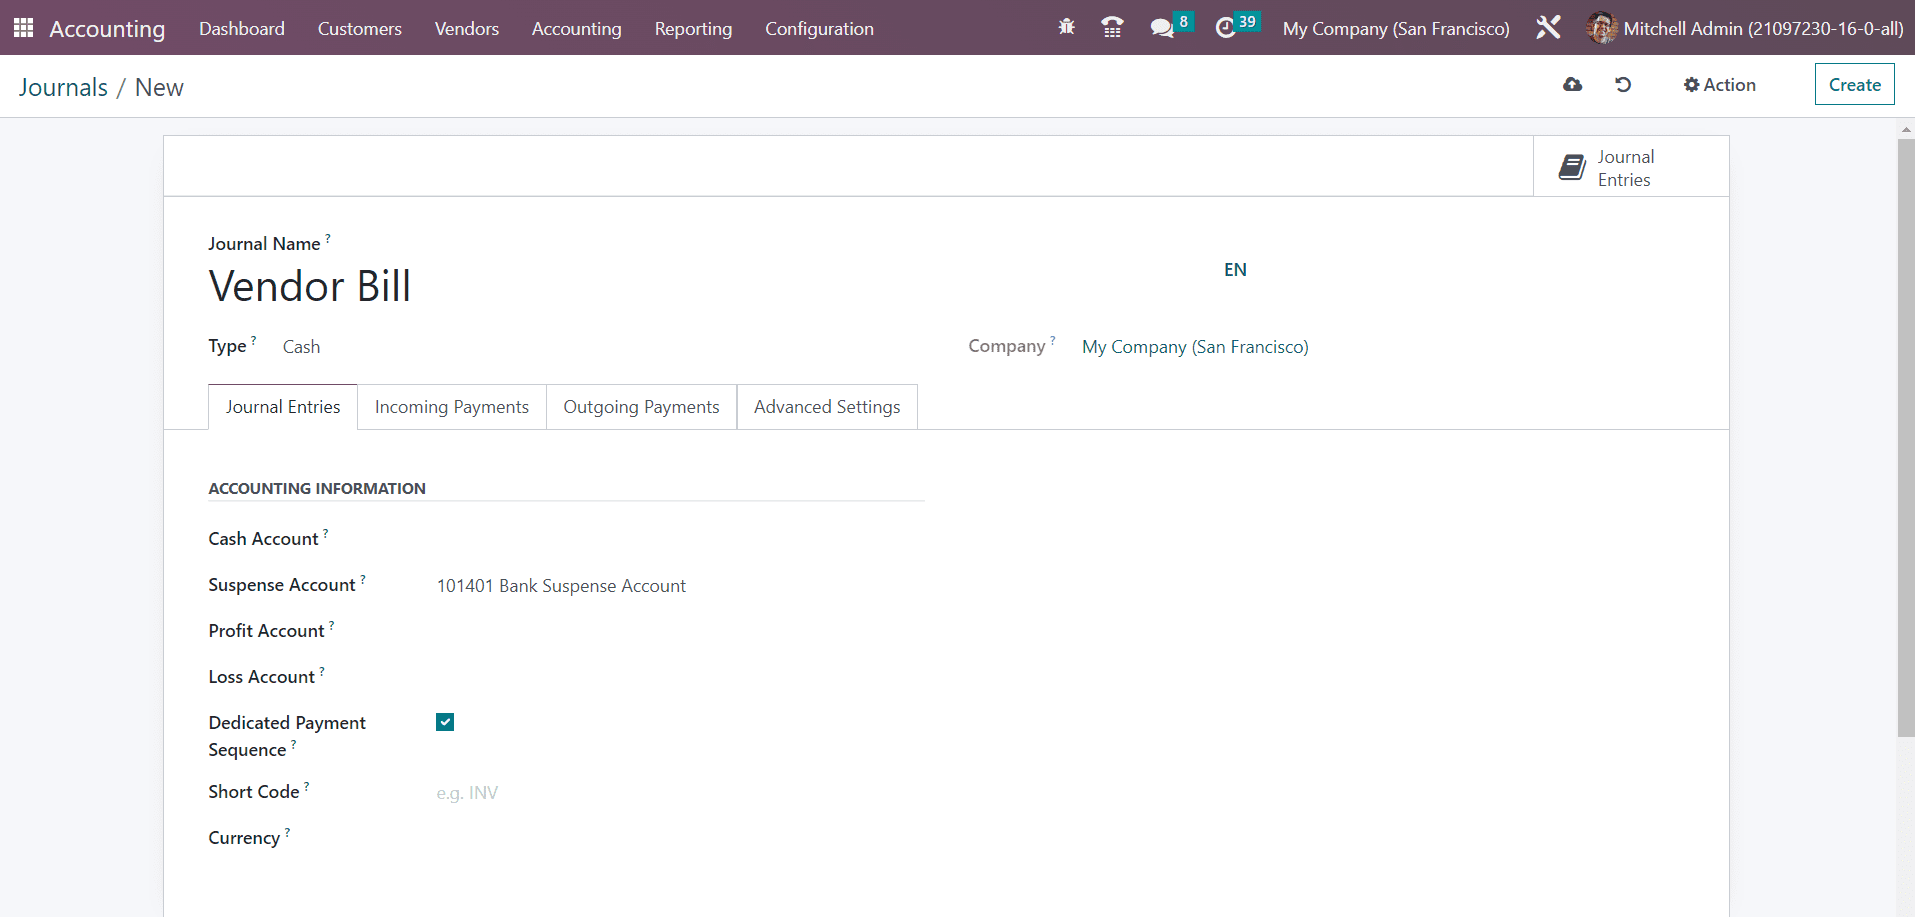
In the Journal Entries tab, you can specify the Cash Account . Additionally, you can specify a Suspense Account for the cash journal. The bank statements and transactions will be posted on the suspense account until the final reconciliation finds the right account. The Profit Account and Loss Account mentioned here are used to register a profit or loss respectively when the ending balance of a cash register differs from what the system computes. If you want to get a dedicated payment sequence for payments and bank transactions posted on this journal, you can enable the Dedicated Payment Sequence feature.
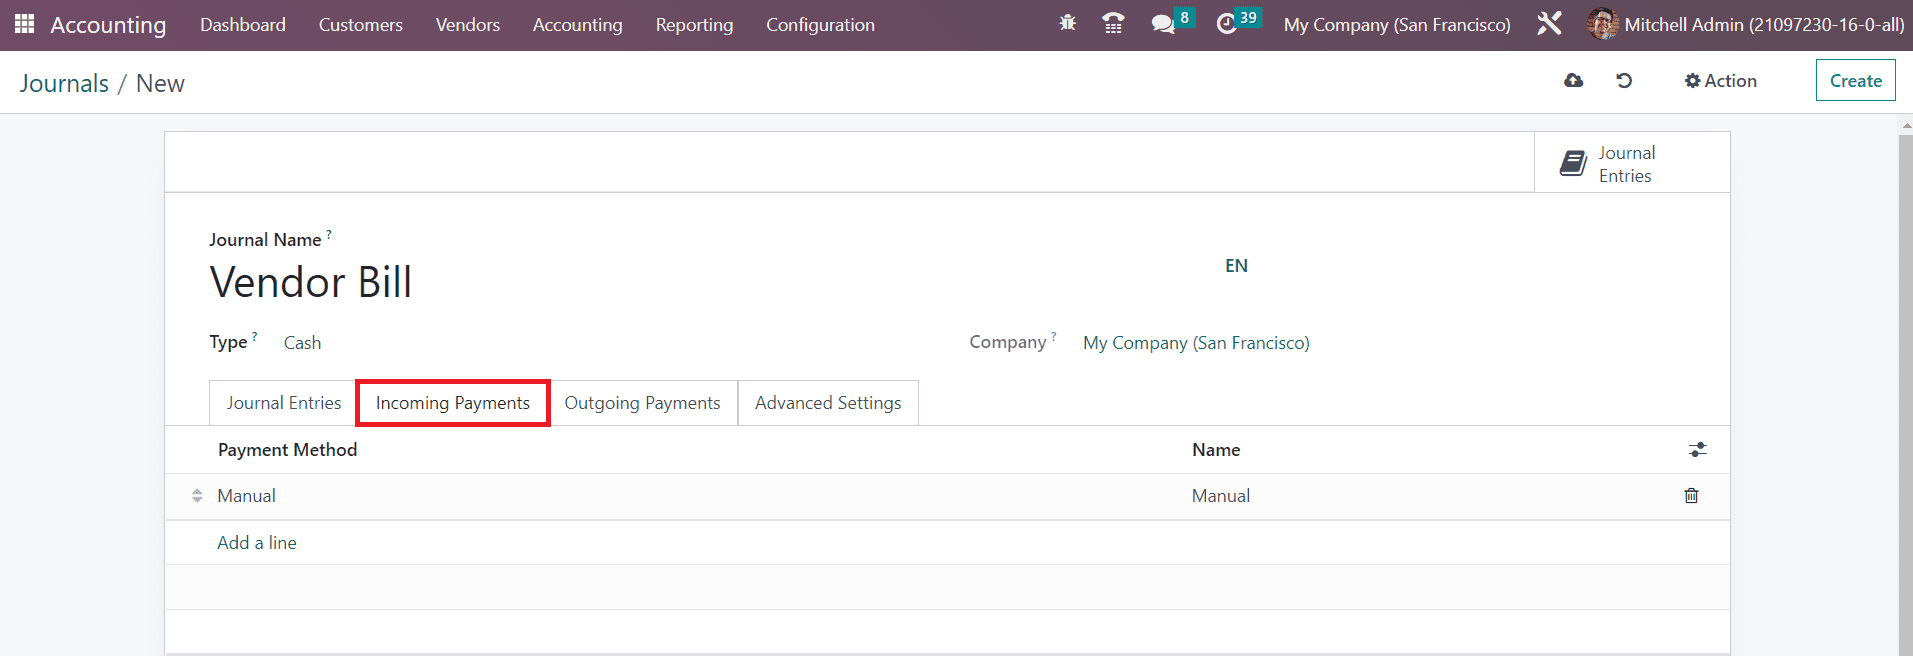
The incoming payment methods and their names can be specified under the Incoming Payments tab. Similarly, the outgoing payment method and their names can be added under the Outgoing Payments tab.

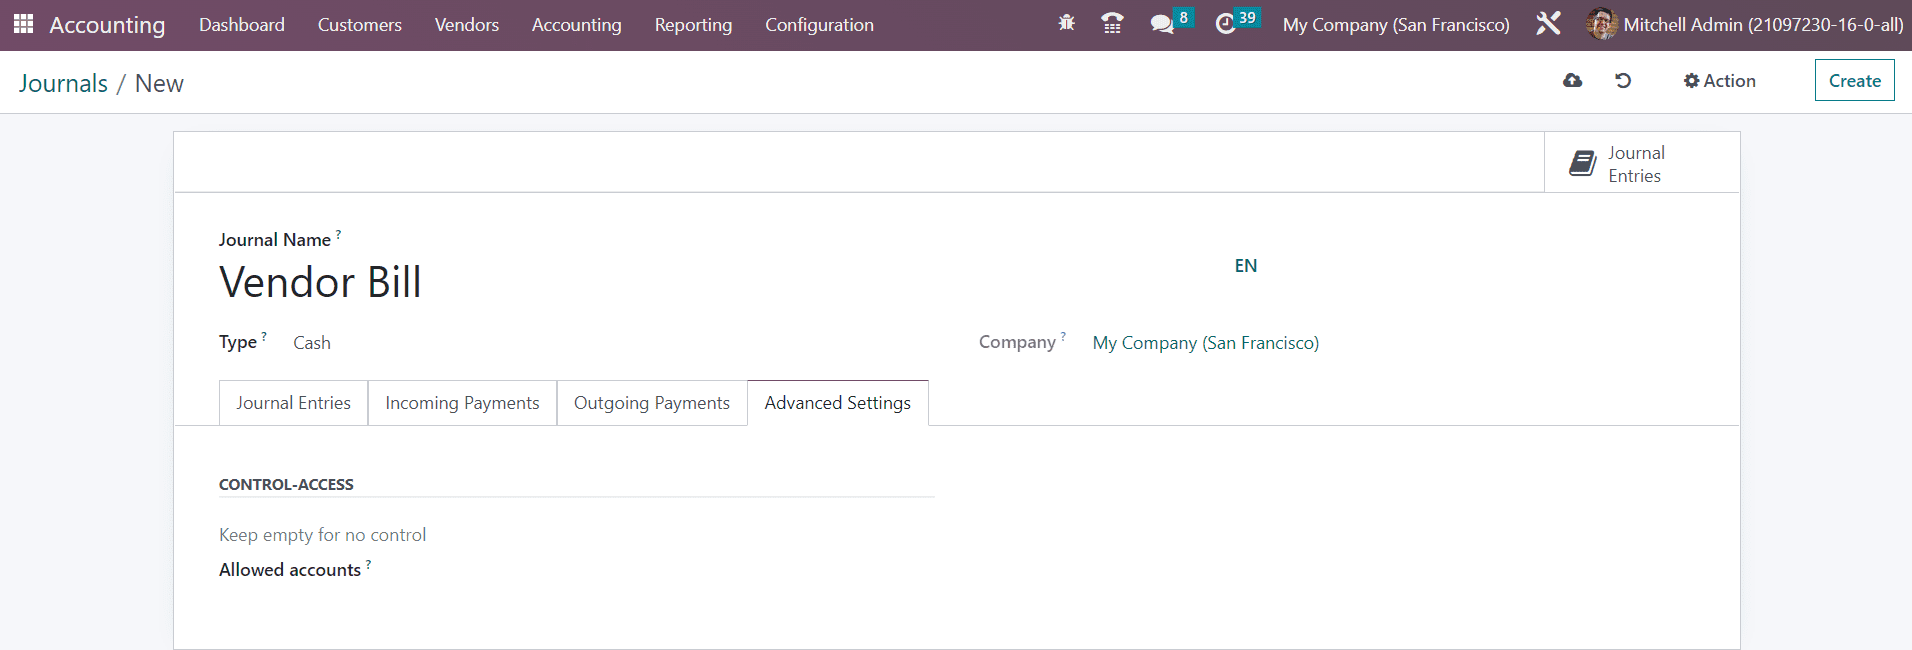
You can control access of the cash accounts by mentioning the allowed accounts in the Advanced Settings tab.
Bank
The bank transaction entries can be recorded in bank journals. For this, you can select Bank as the journal type.
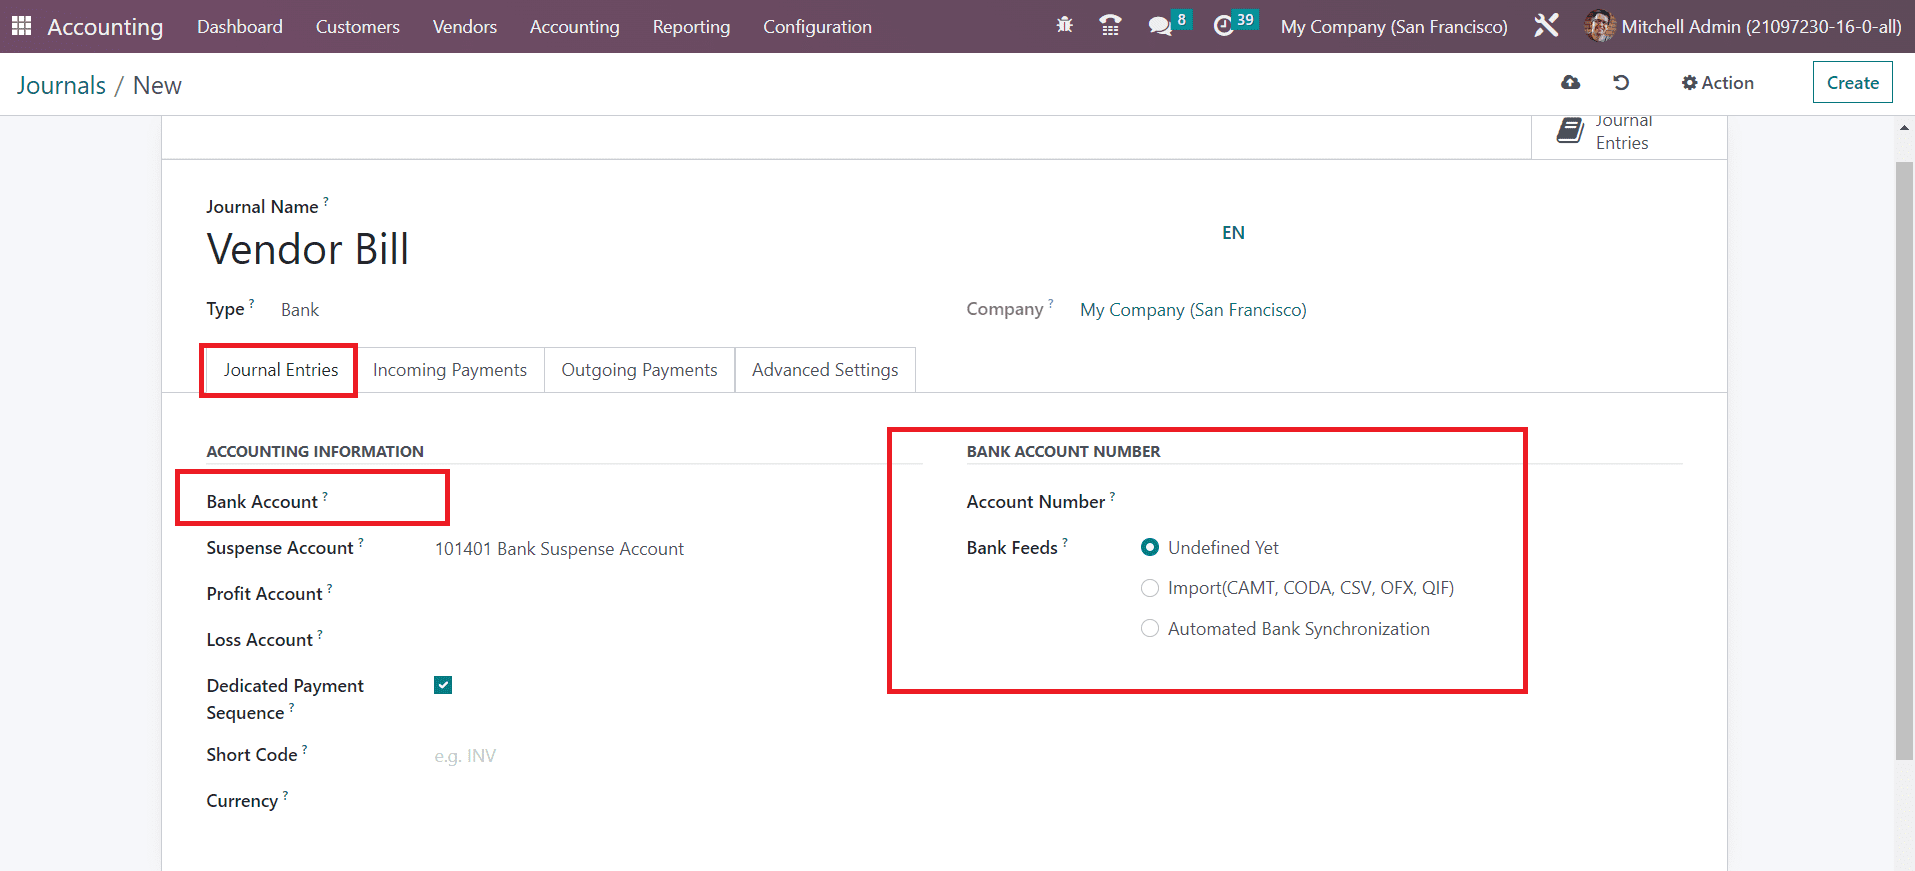
Here, you need to specify the Bank Account along with the Account Number. The option you select in the Bank Feeds field will define how the bank statements will be registered. You can either import the bank statements or automate bank synchronization. The option Undefined Yet can be chosen if you are not specific about the registration of bank statements.
The payment methods used for Incoming Payments and Outgoing Payments can be specified in the respective tabs.
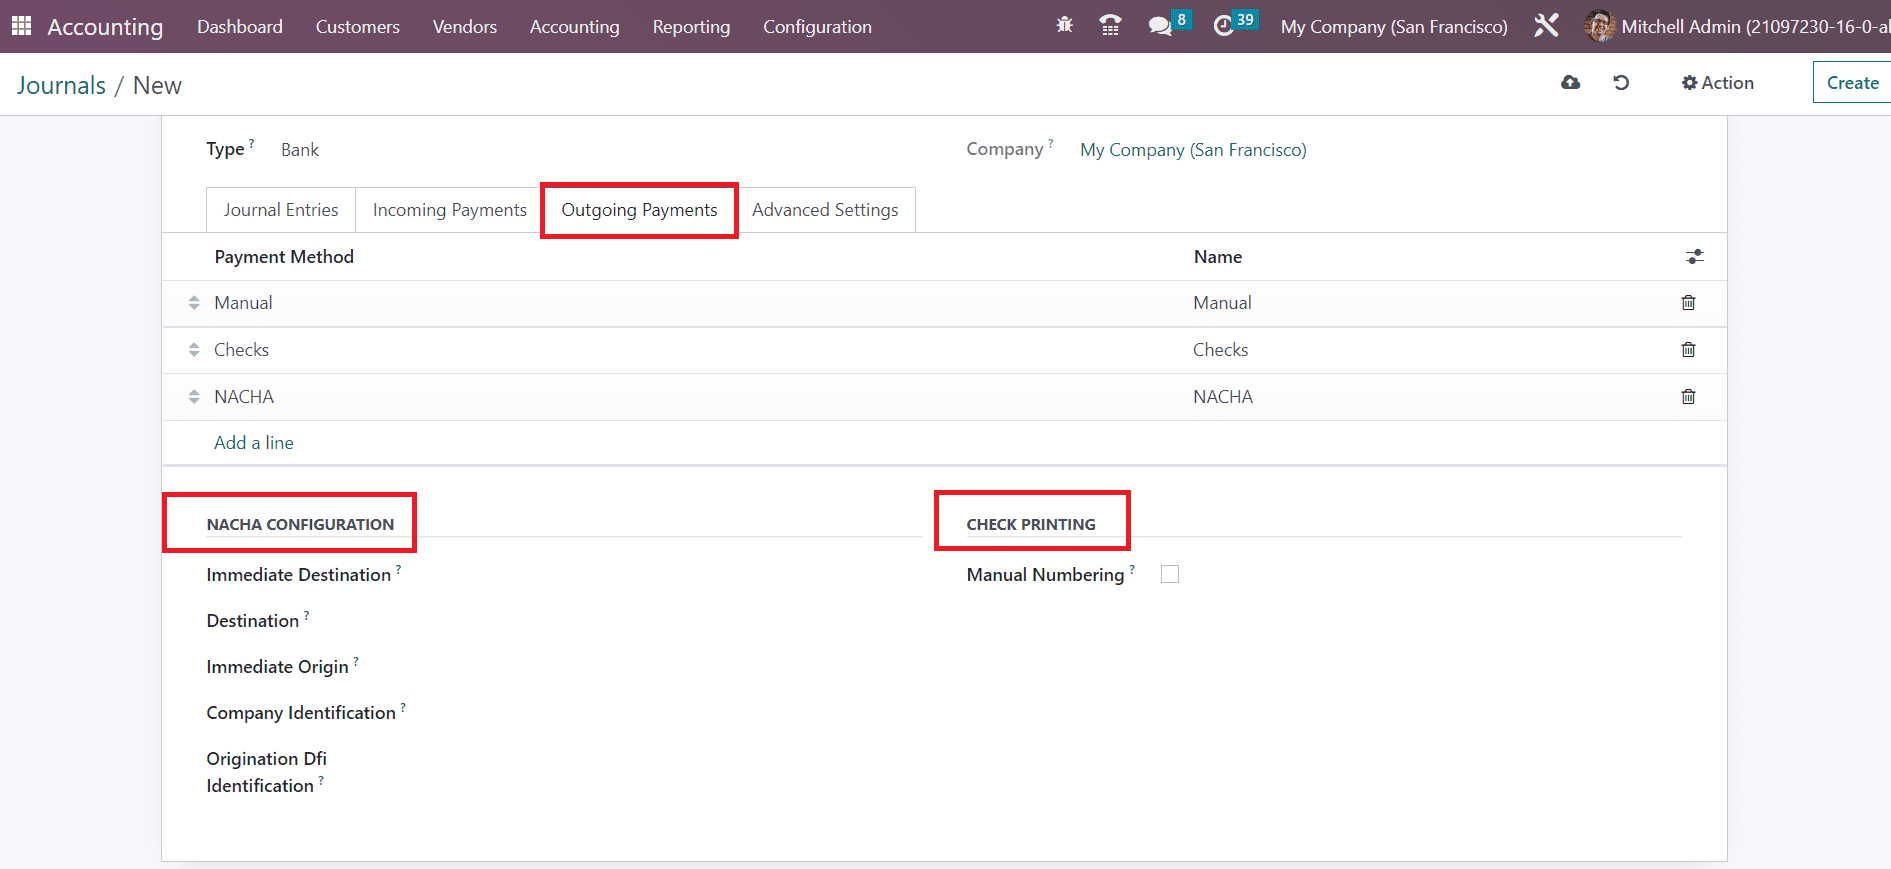
While selecting different payment methods, you will get additional configuration options based on the payment method you select.
For recording the invoices and payments which do not fit into any specific category, you can use the miscellaneous journal. Once you complete the configuration of the Journal it will be automatically saved in your system.
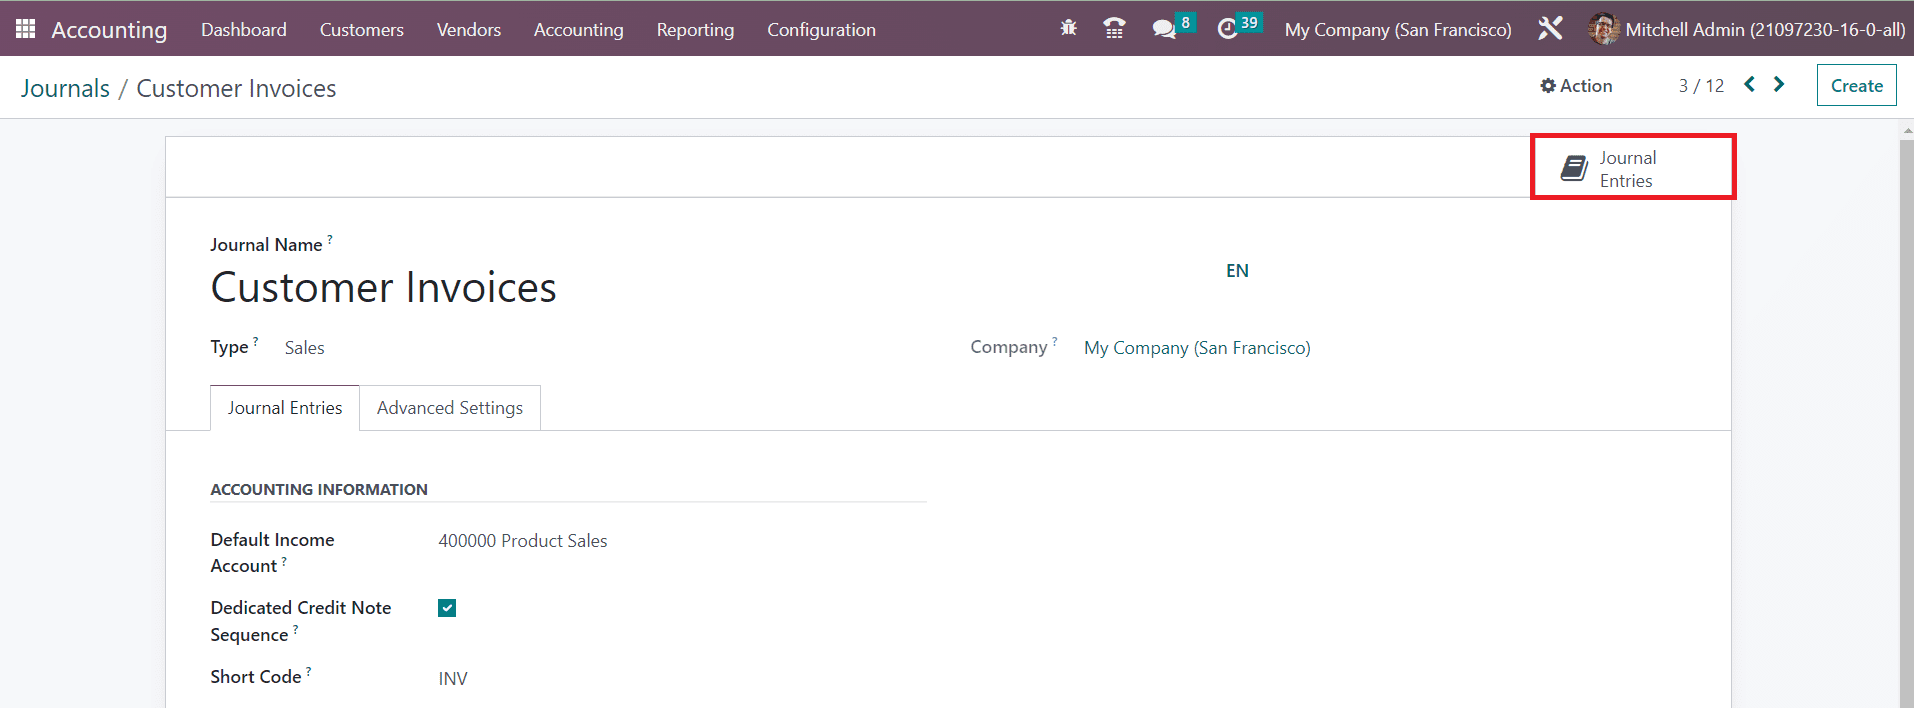
All entries added to a journal can be observed using the smart button Journal Entries as shown in the image above.
Last updated