
Automatic Transfers
Automatic Transfers
The Automatic Transfers feature in the Odoo Accounting module lets you plan scheduled transfers which will assist you to automate the bookkeeping operations. This feature can be used when you need to transfer an amount from one account to another over a fixed period of time. In order to get access to this feature, you can go to the Accounting menu.
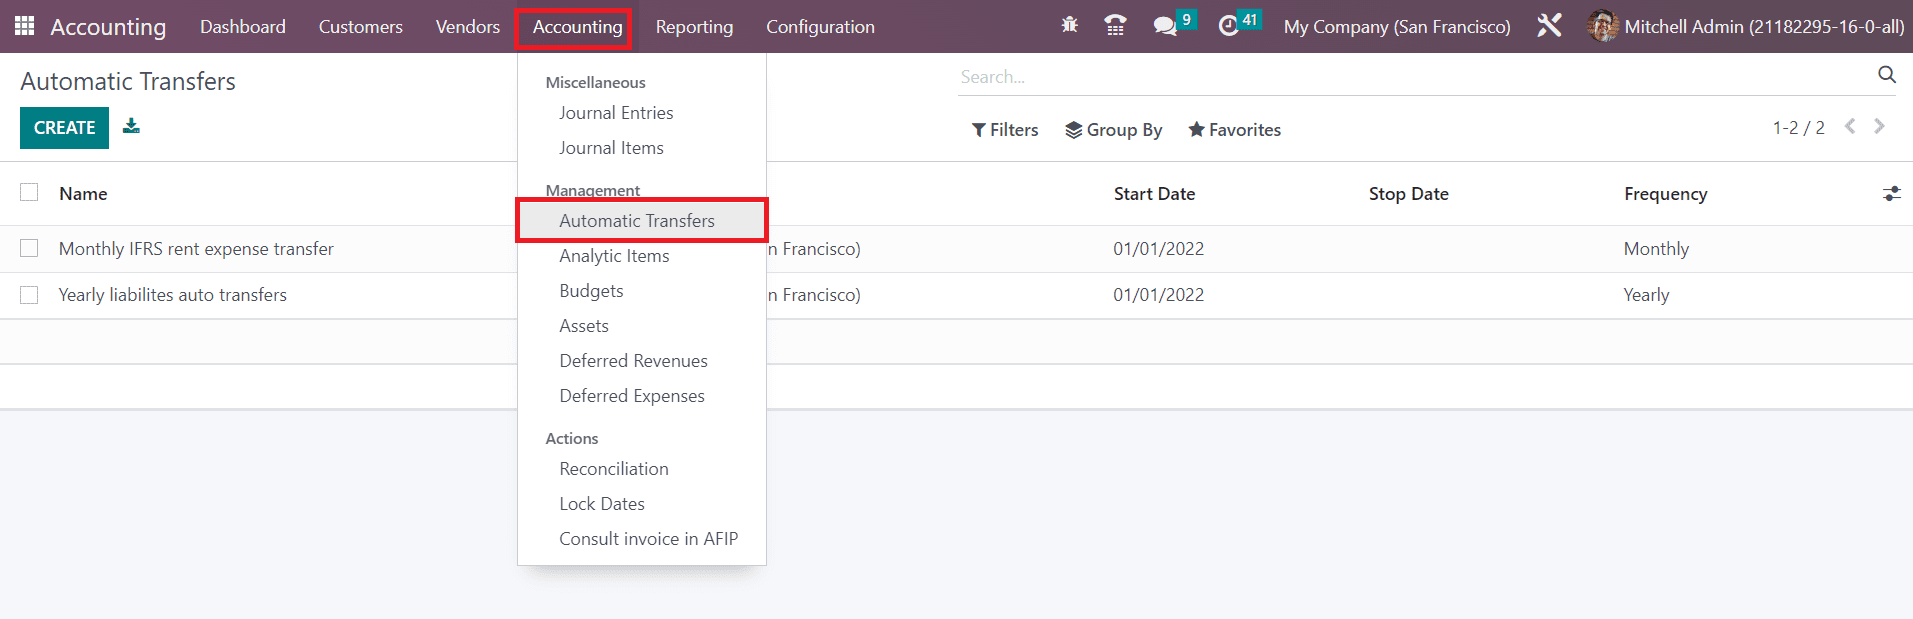
By clicking on the Accounting Transfers option, Odoo leads you to a new platform that shows the list view of the already scheduled automatic transfers. The preview gives the Name, Company, Start Date, Stop Date, and Frequency of each automatic transfer. Clicking on the Create button, you can schedule a new automatic transfer.
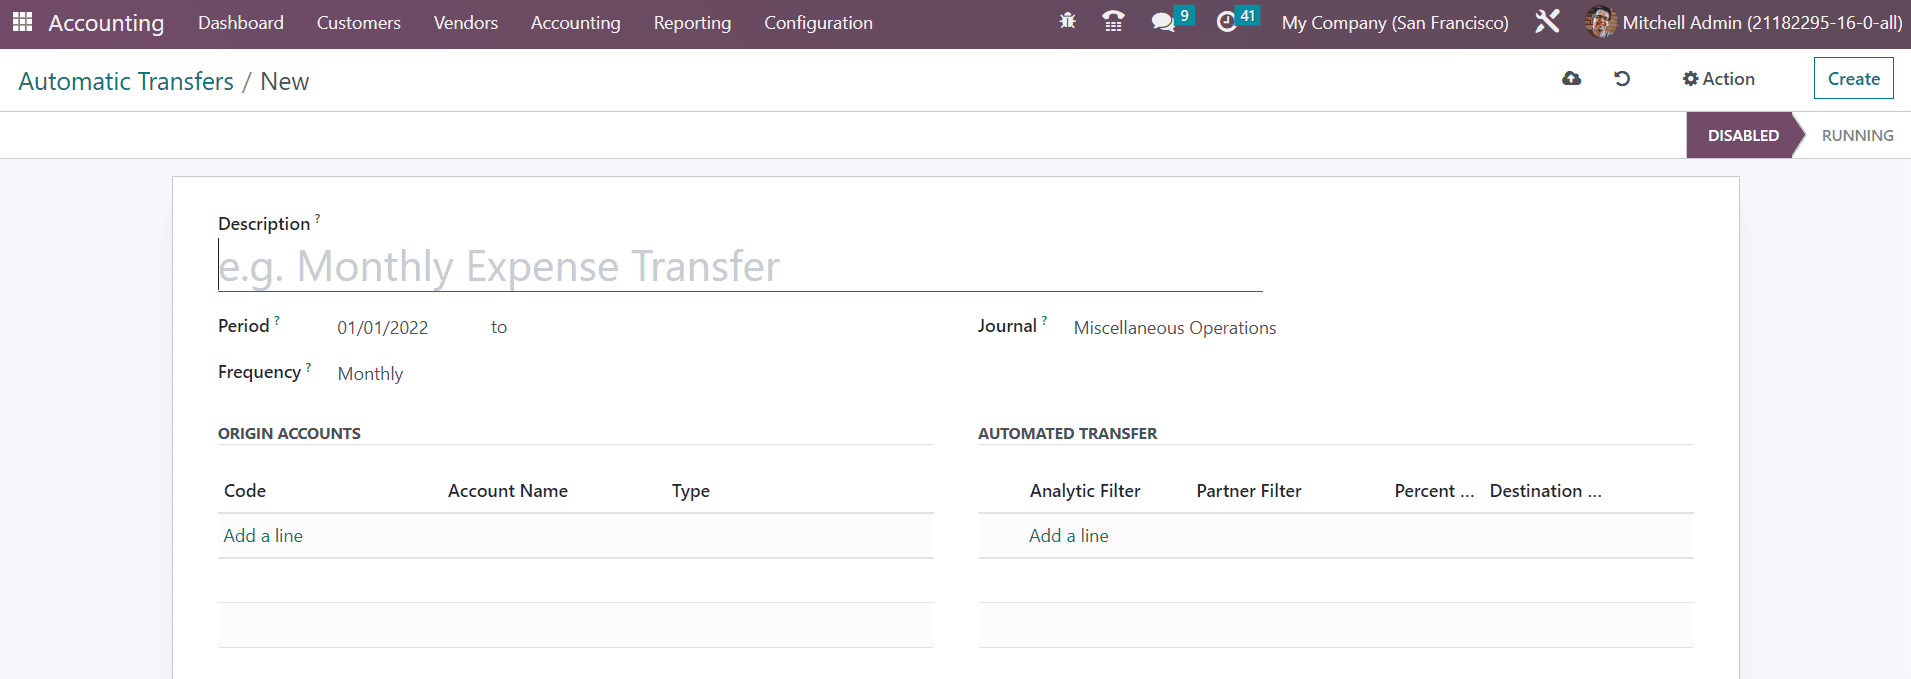
In the Description field, add a small title for the transfer. You can set the starting and ending date of the transfer in the Period field. The transfer can be scheduled on a monthly, quarterly, or yearly basis. This can be specified in the Frequency field. Along with these details, you can mention a Journal to record the accounting entries of this transfer. In order to add the source accounts of this transfer, you can use the Add a Line button available in the Origin Accounts tab. A wizard will appear to select the suitable source accounts for the transfer.
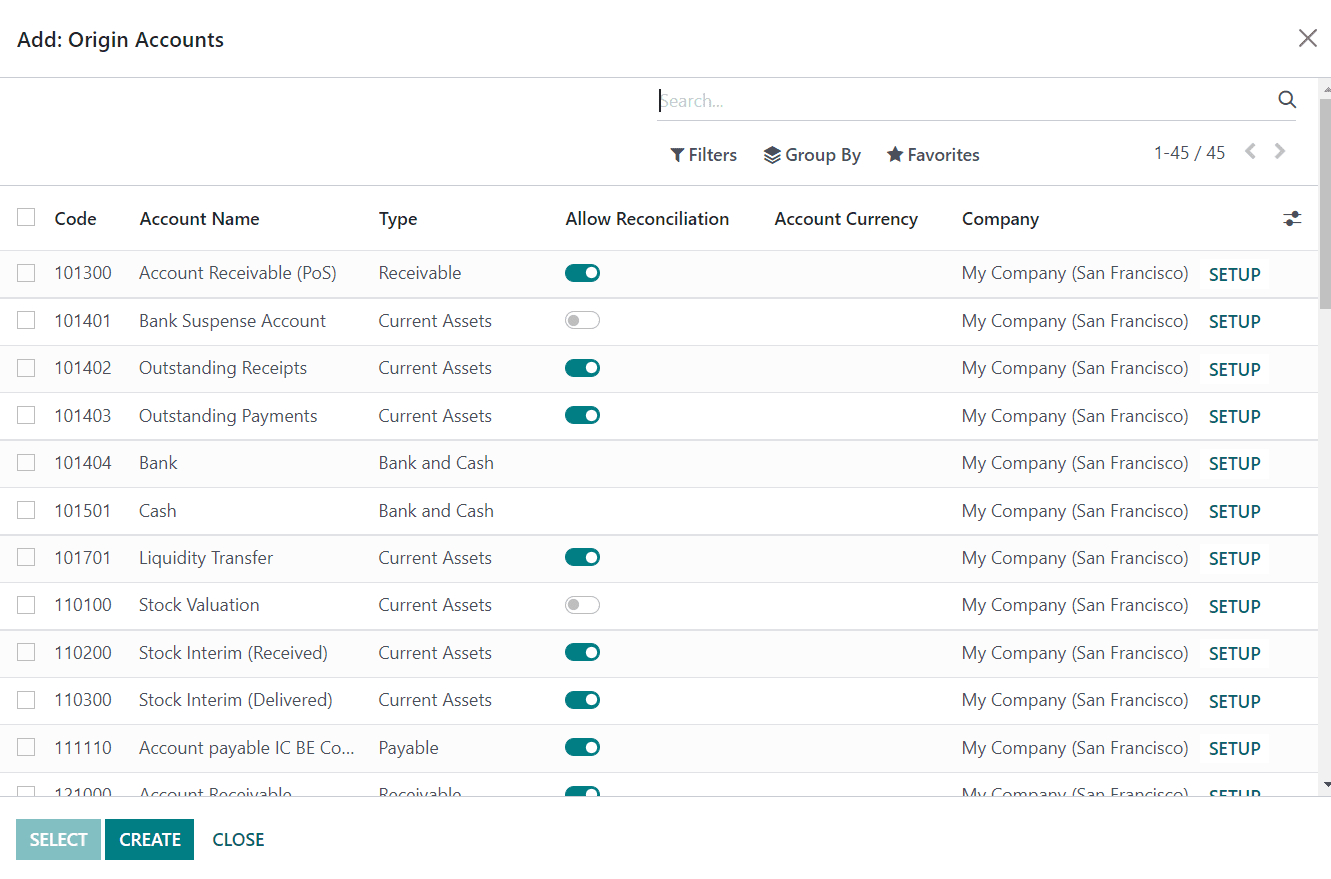
After selecting accounts, you can click the Select button and it will be added to the automatic transfers form view. You can observe the Code, Account Name, and Type of the source account under the Origin Accounts tab.
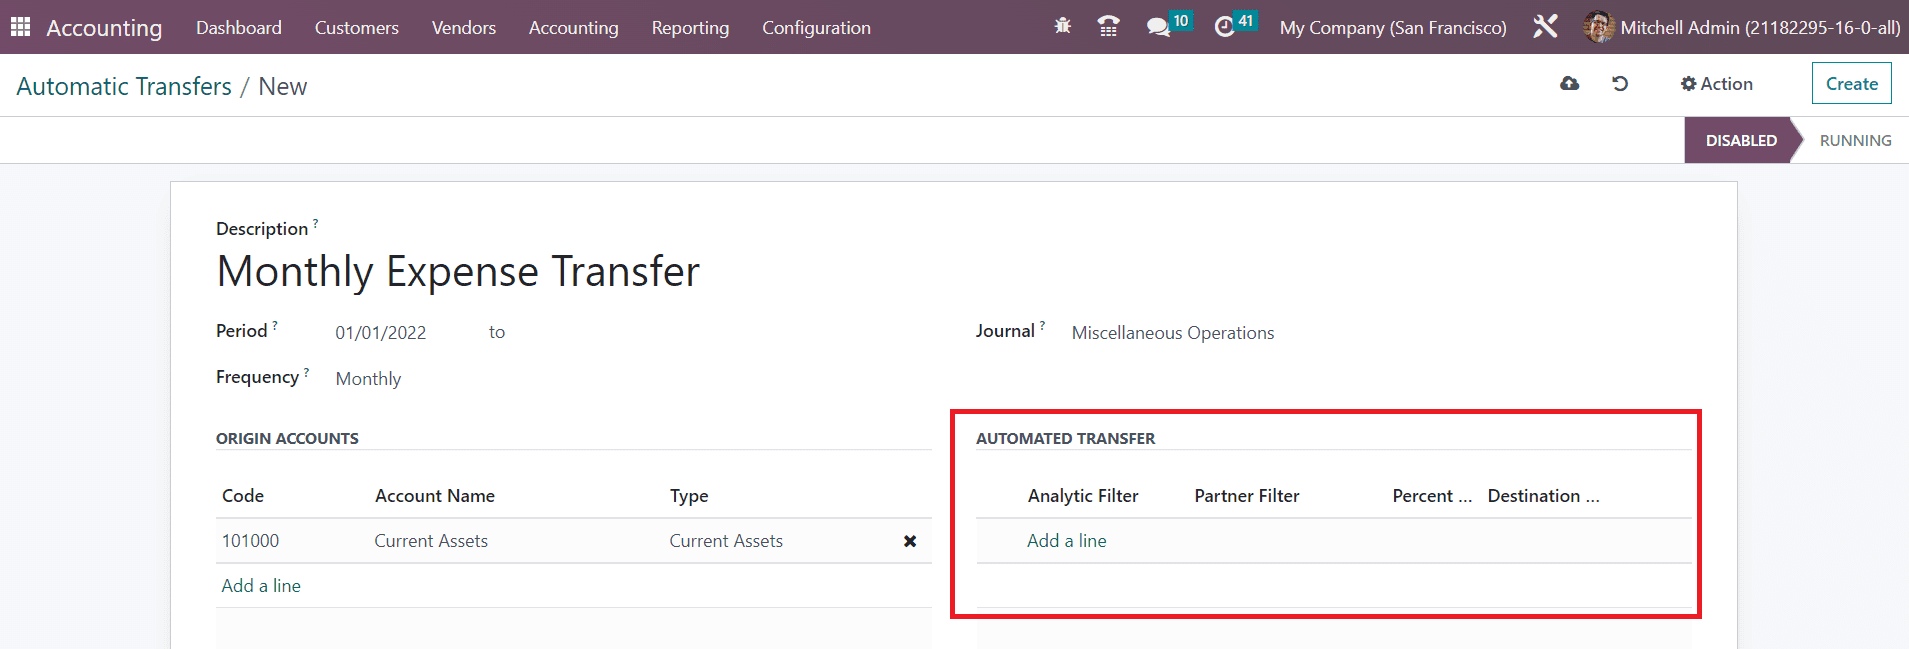
Now, the destination account accounts can be added under the Automatic Transfers tab with the help of the Add a Line button. Along with this, you can set Analytic and Partner Filters which add a condition to only transfer the sum of the lines from the origin accounts that match the mentioned analytic account and partners to the destination account. You can mention the percentage of transactions in the Percentage field. By doing so, the mentioned percentage of the sum lines from the origin accounts will be transferred to the destination account.
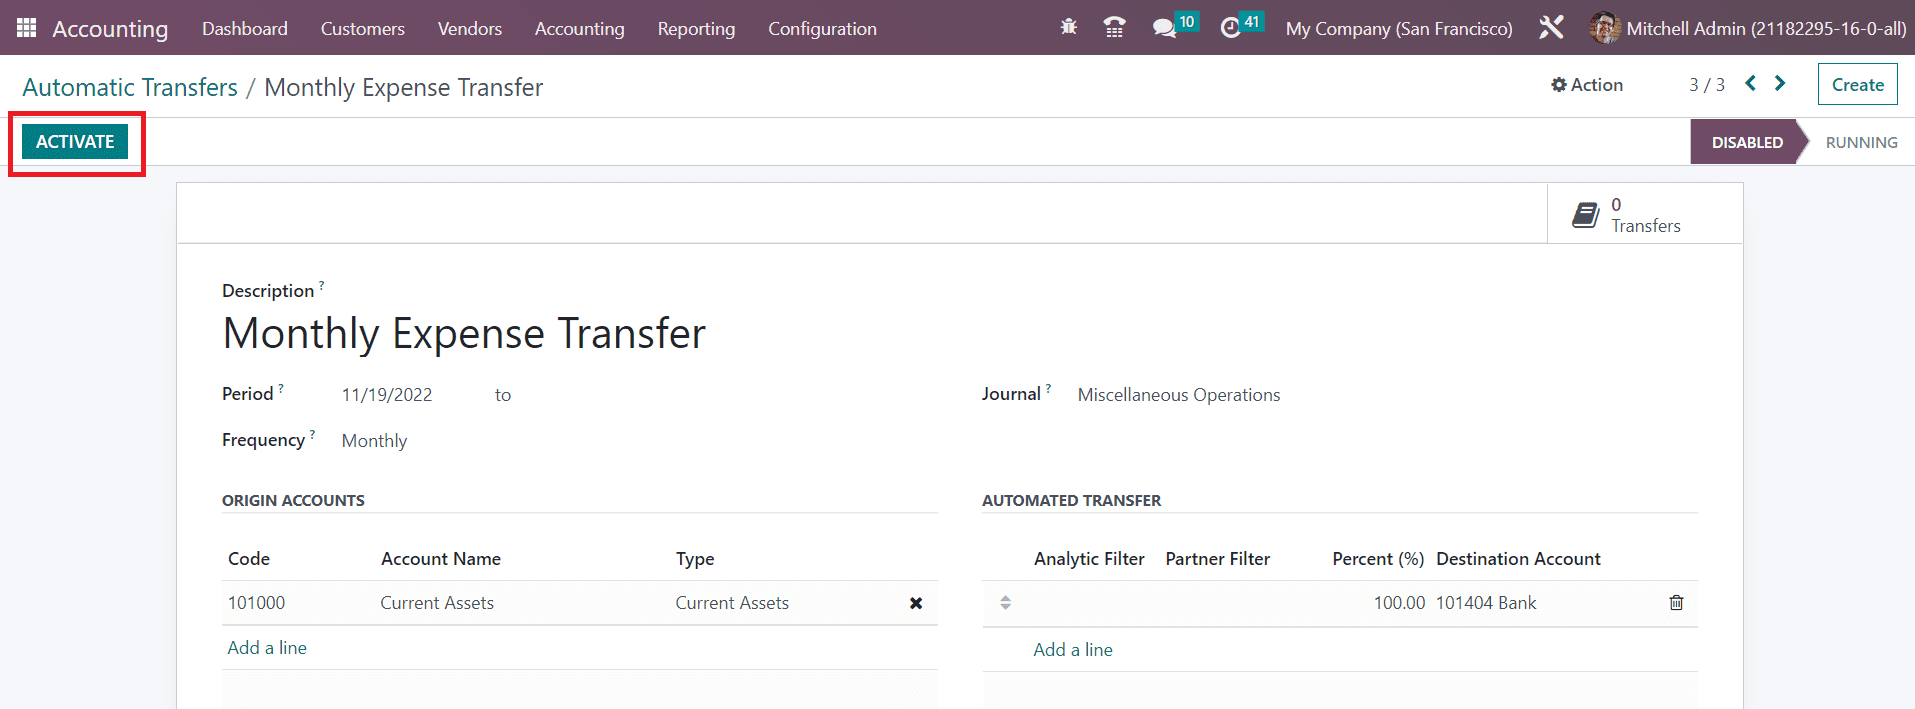
After completing the configuration process, you will get the Activate button to activate the automatic transfer.
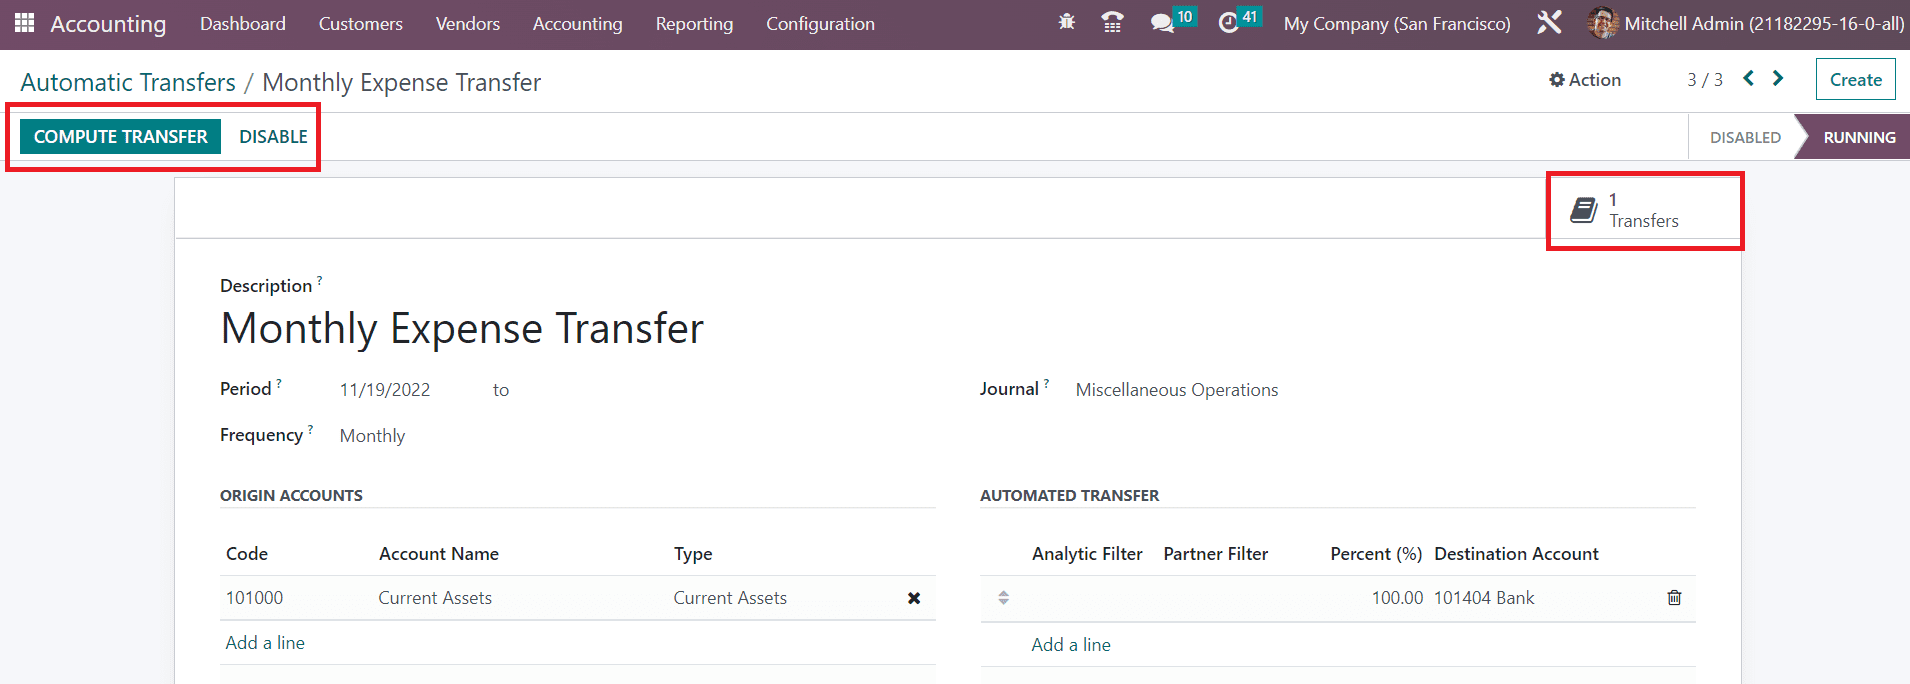
Once the transfer is activated, you can compute the transfer to the destination account using the Compute Transfer button. You can observe the transfers done using this scheduled plan in the Transfers smart button as highlighted in the screenshot below.
If you want to deactivate the automatic transfer before its ending date, you can use the Disable button.
Last updated