# Receipts
### Receipts
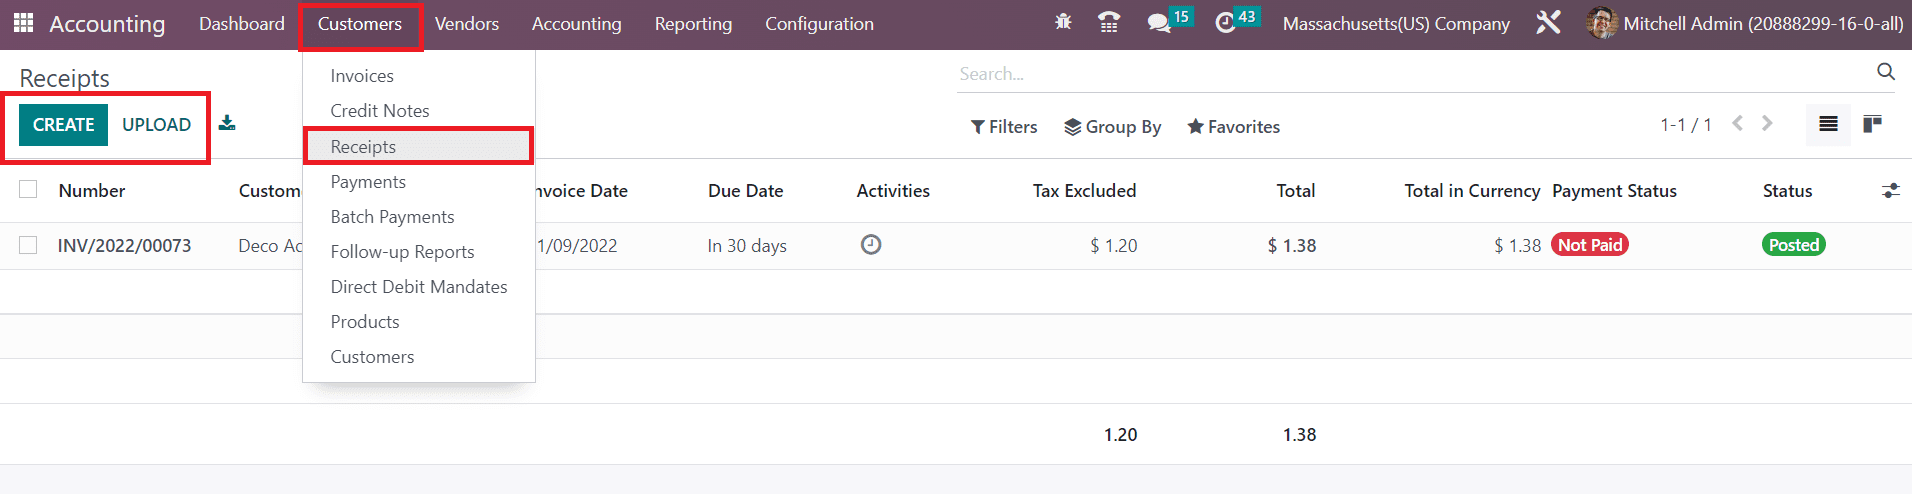
The users will get separate platforms to manage the sales and purchase receipts in the Odoo Accounting module. Sales receipts are generated after confirming a sales order. It is considered as the document which confirms that the product or service mentioned in the sales order is received by the respective customer. In Odoo, you can generate sales receipts directly from the sales orders. If you want to create sales receipts manually, you can go to the **Customers** menu of the Accounting module where you can find the **Receipts** option.
The list view of this platform is shown above with the details of the Number, Customer, Invoice Date, Due Date, Activities, Tax Excluded, Total, Total in Currency, Payment Status, and Status. You can upload a sales receipt to the system using the **Upload** button. For creating a new sales receipt, click on the **Create** button.
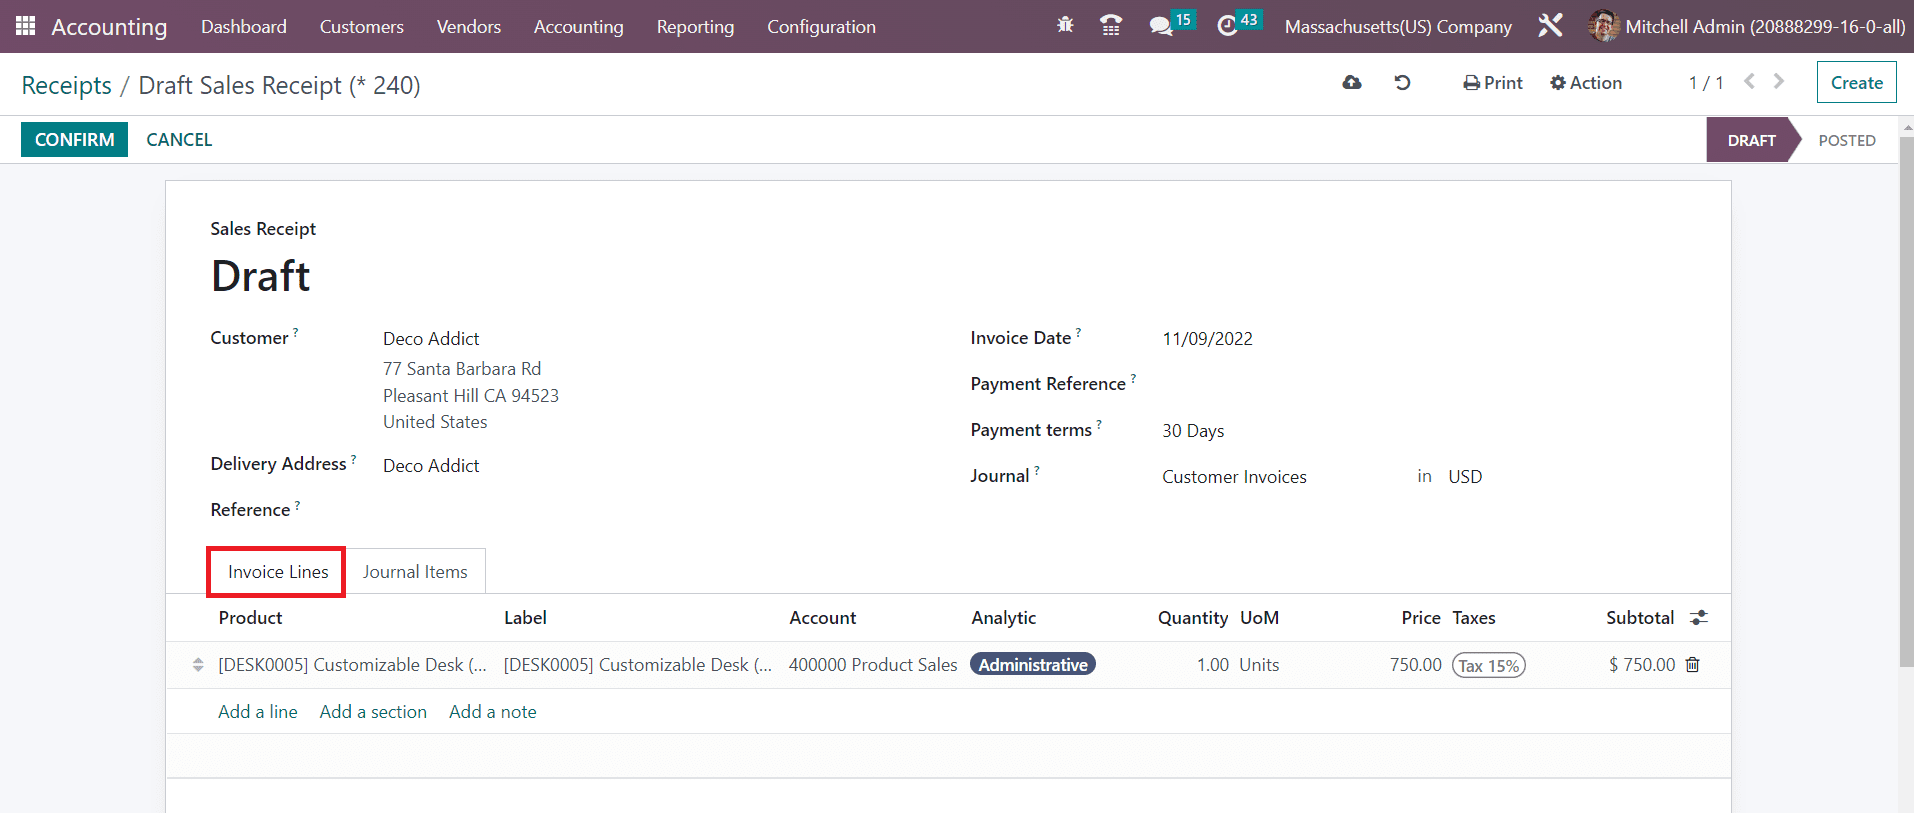
The creation of a new sales receipt is similar to that of the creation of an invoice in Odoo. In the corresponding fields, you can specify the Customer, Delivery Address, Reference, Invoice Date, Payment Reference, Payment Terms, and Journal.
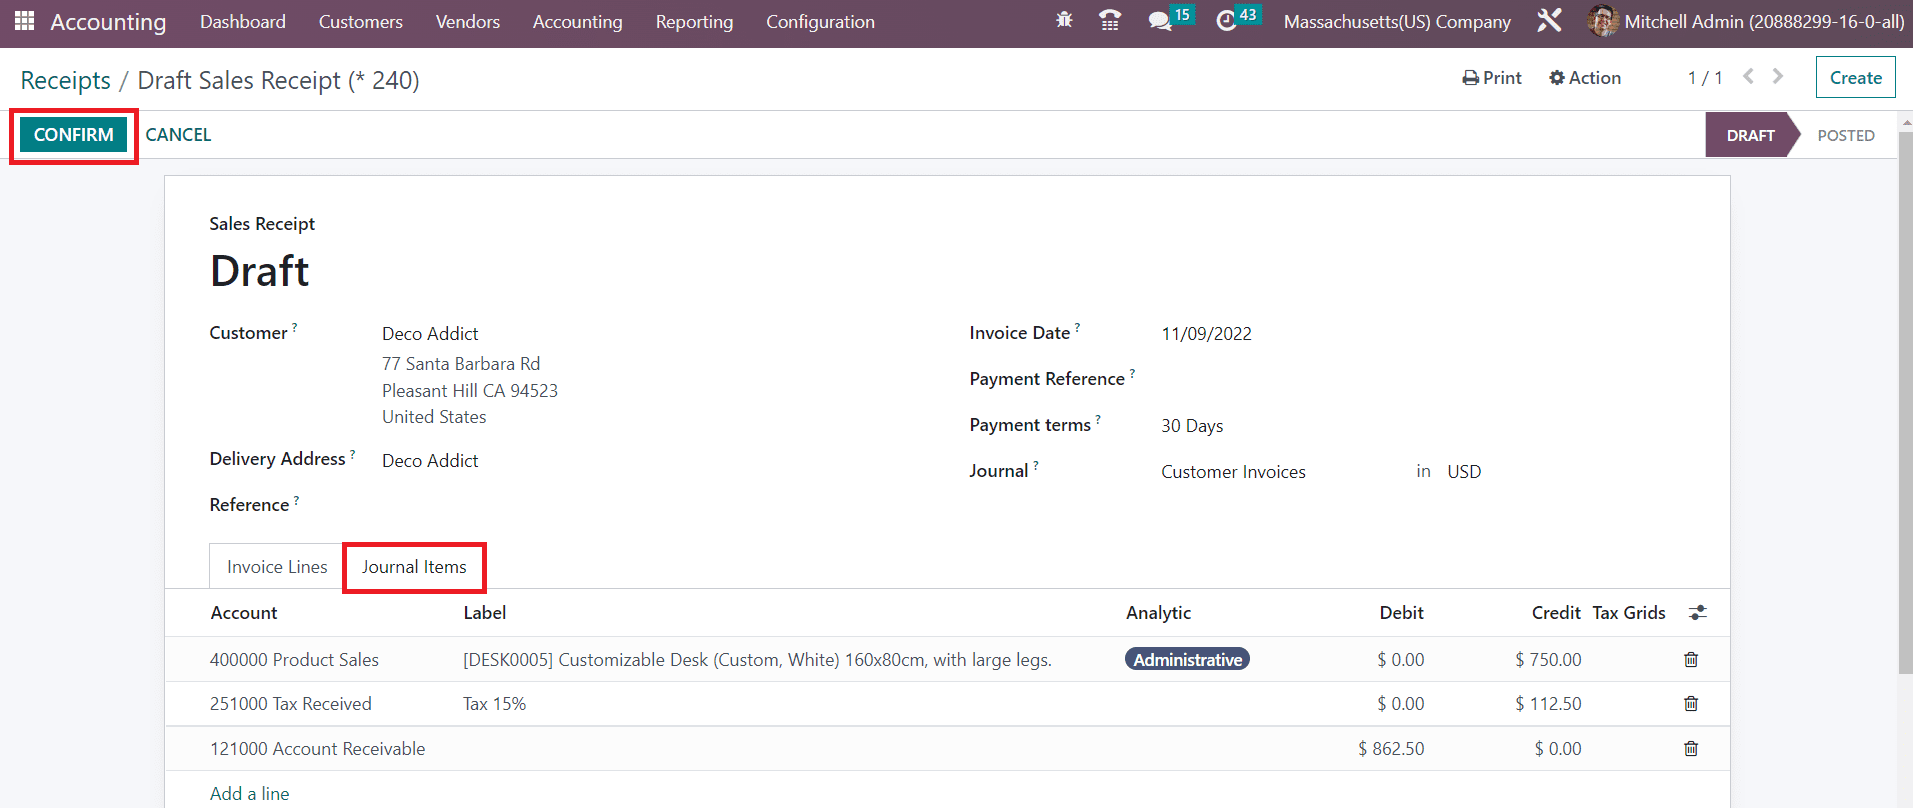
Under the **Invoice Lines** tab, add the products on which you want to generate receipts one by one using the **Add a Line** button. The product will be displayed in the list with the Product name, Label, Account, Analytic, Quantity, UoM, Price, Taxes, and Subtotal details. Corresponding journal items to record the payment details can be observed in the Journal Items tab as shown below with the Account, Label, Analytic, Debit, and Credit details.
By clicking on the **Confirm** button, you can confirm the receipt.
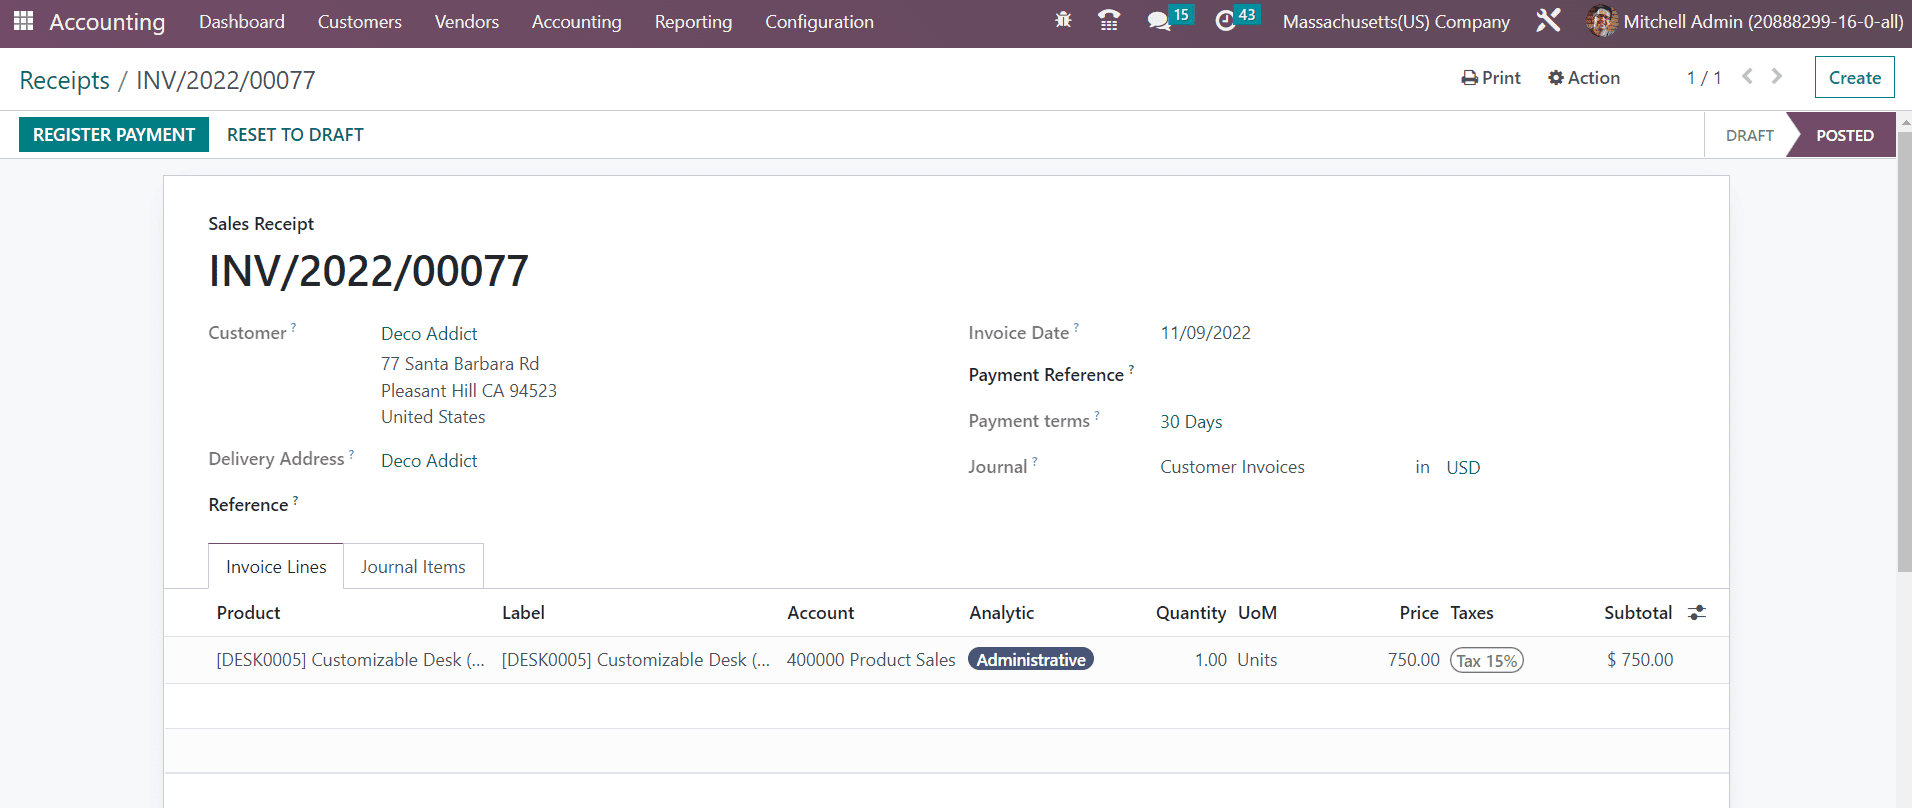
Once the sales receipt is confirmed, you can register the customer payment using the **Register Payment** button.
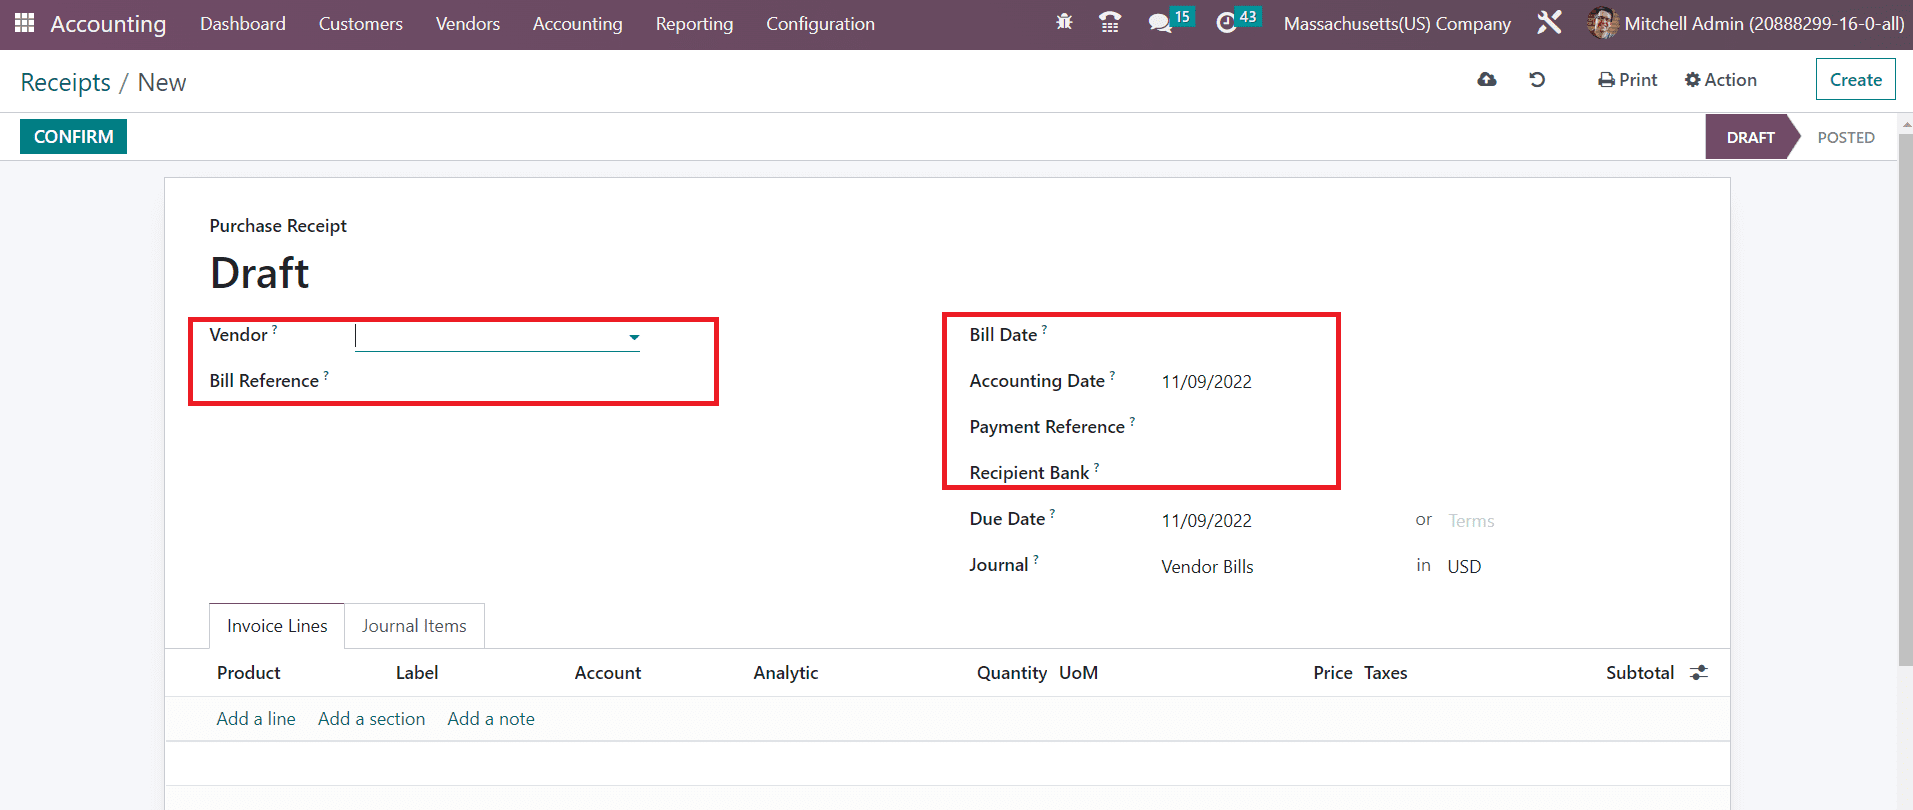
In the **Vendor** menu of the Accounting module, you will see another **Receipt** button that records the purchase receipts of your company. Once you confirm a purchase order and receive products, the purchase receipt will be generated. You can record a purchase receipt manually from the Account module. Go to the **Vendor** menu and click on the **Receipt** option. The configuration of the sales receipt and purchase receipt are almost similar. The changes in the purchase receipt are highlighted in the screenshot below.
In a purchase receipt, you need to mention the Vendor, Bill Reference, Bill Date, Accounting Date, and Recipient Bank. Click on the Confirm button to confirm the receipt. This feature is generally used in Odoo when you pay the invoice directly with your company’s money for an expense.